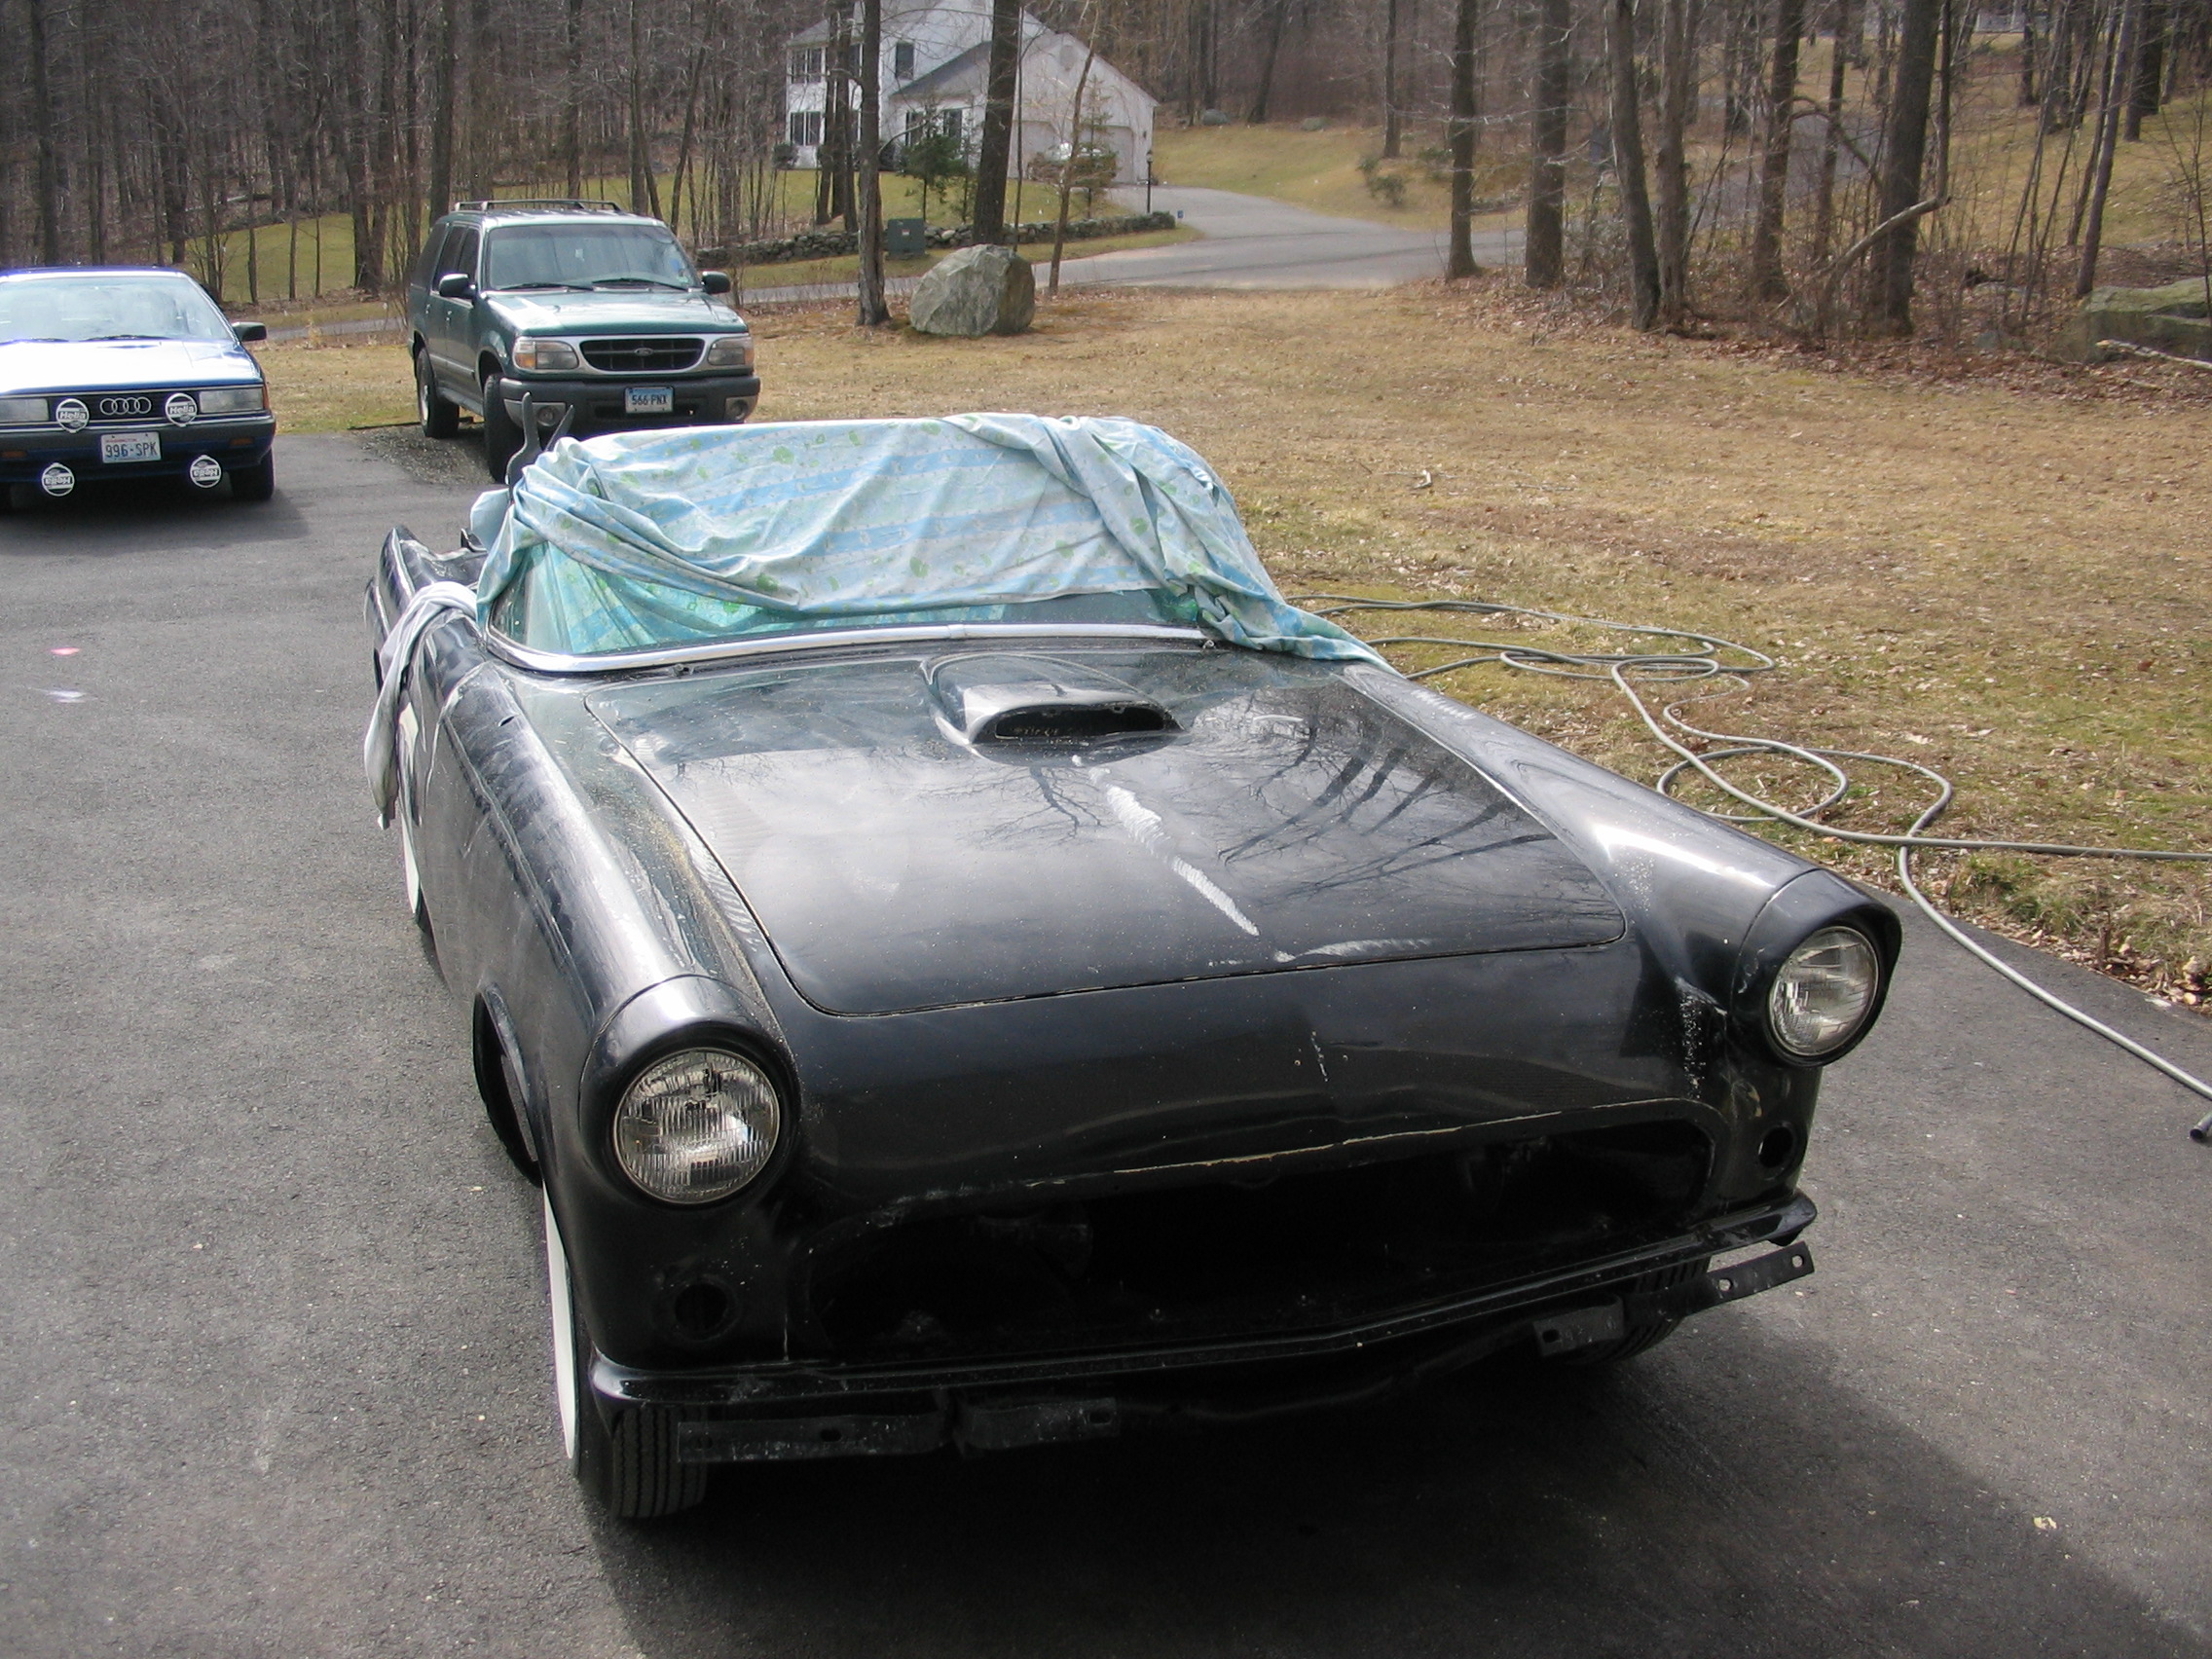
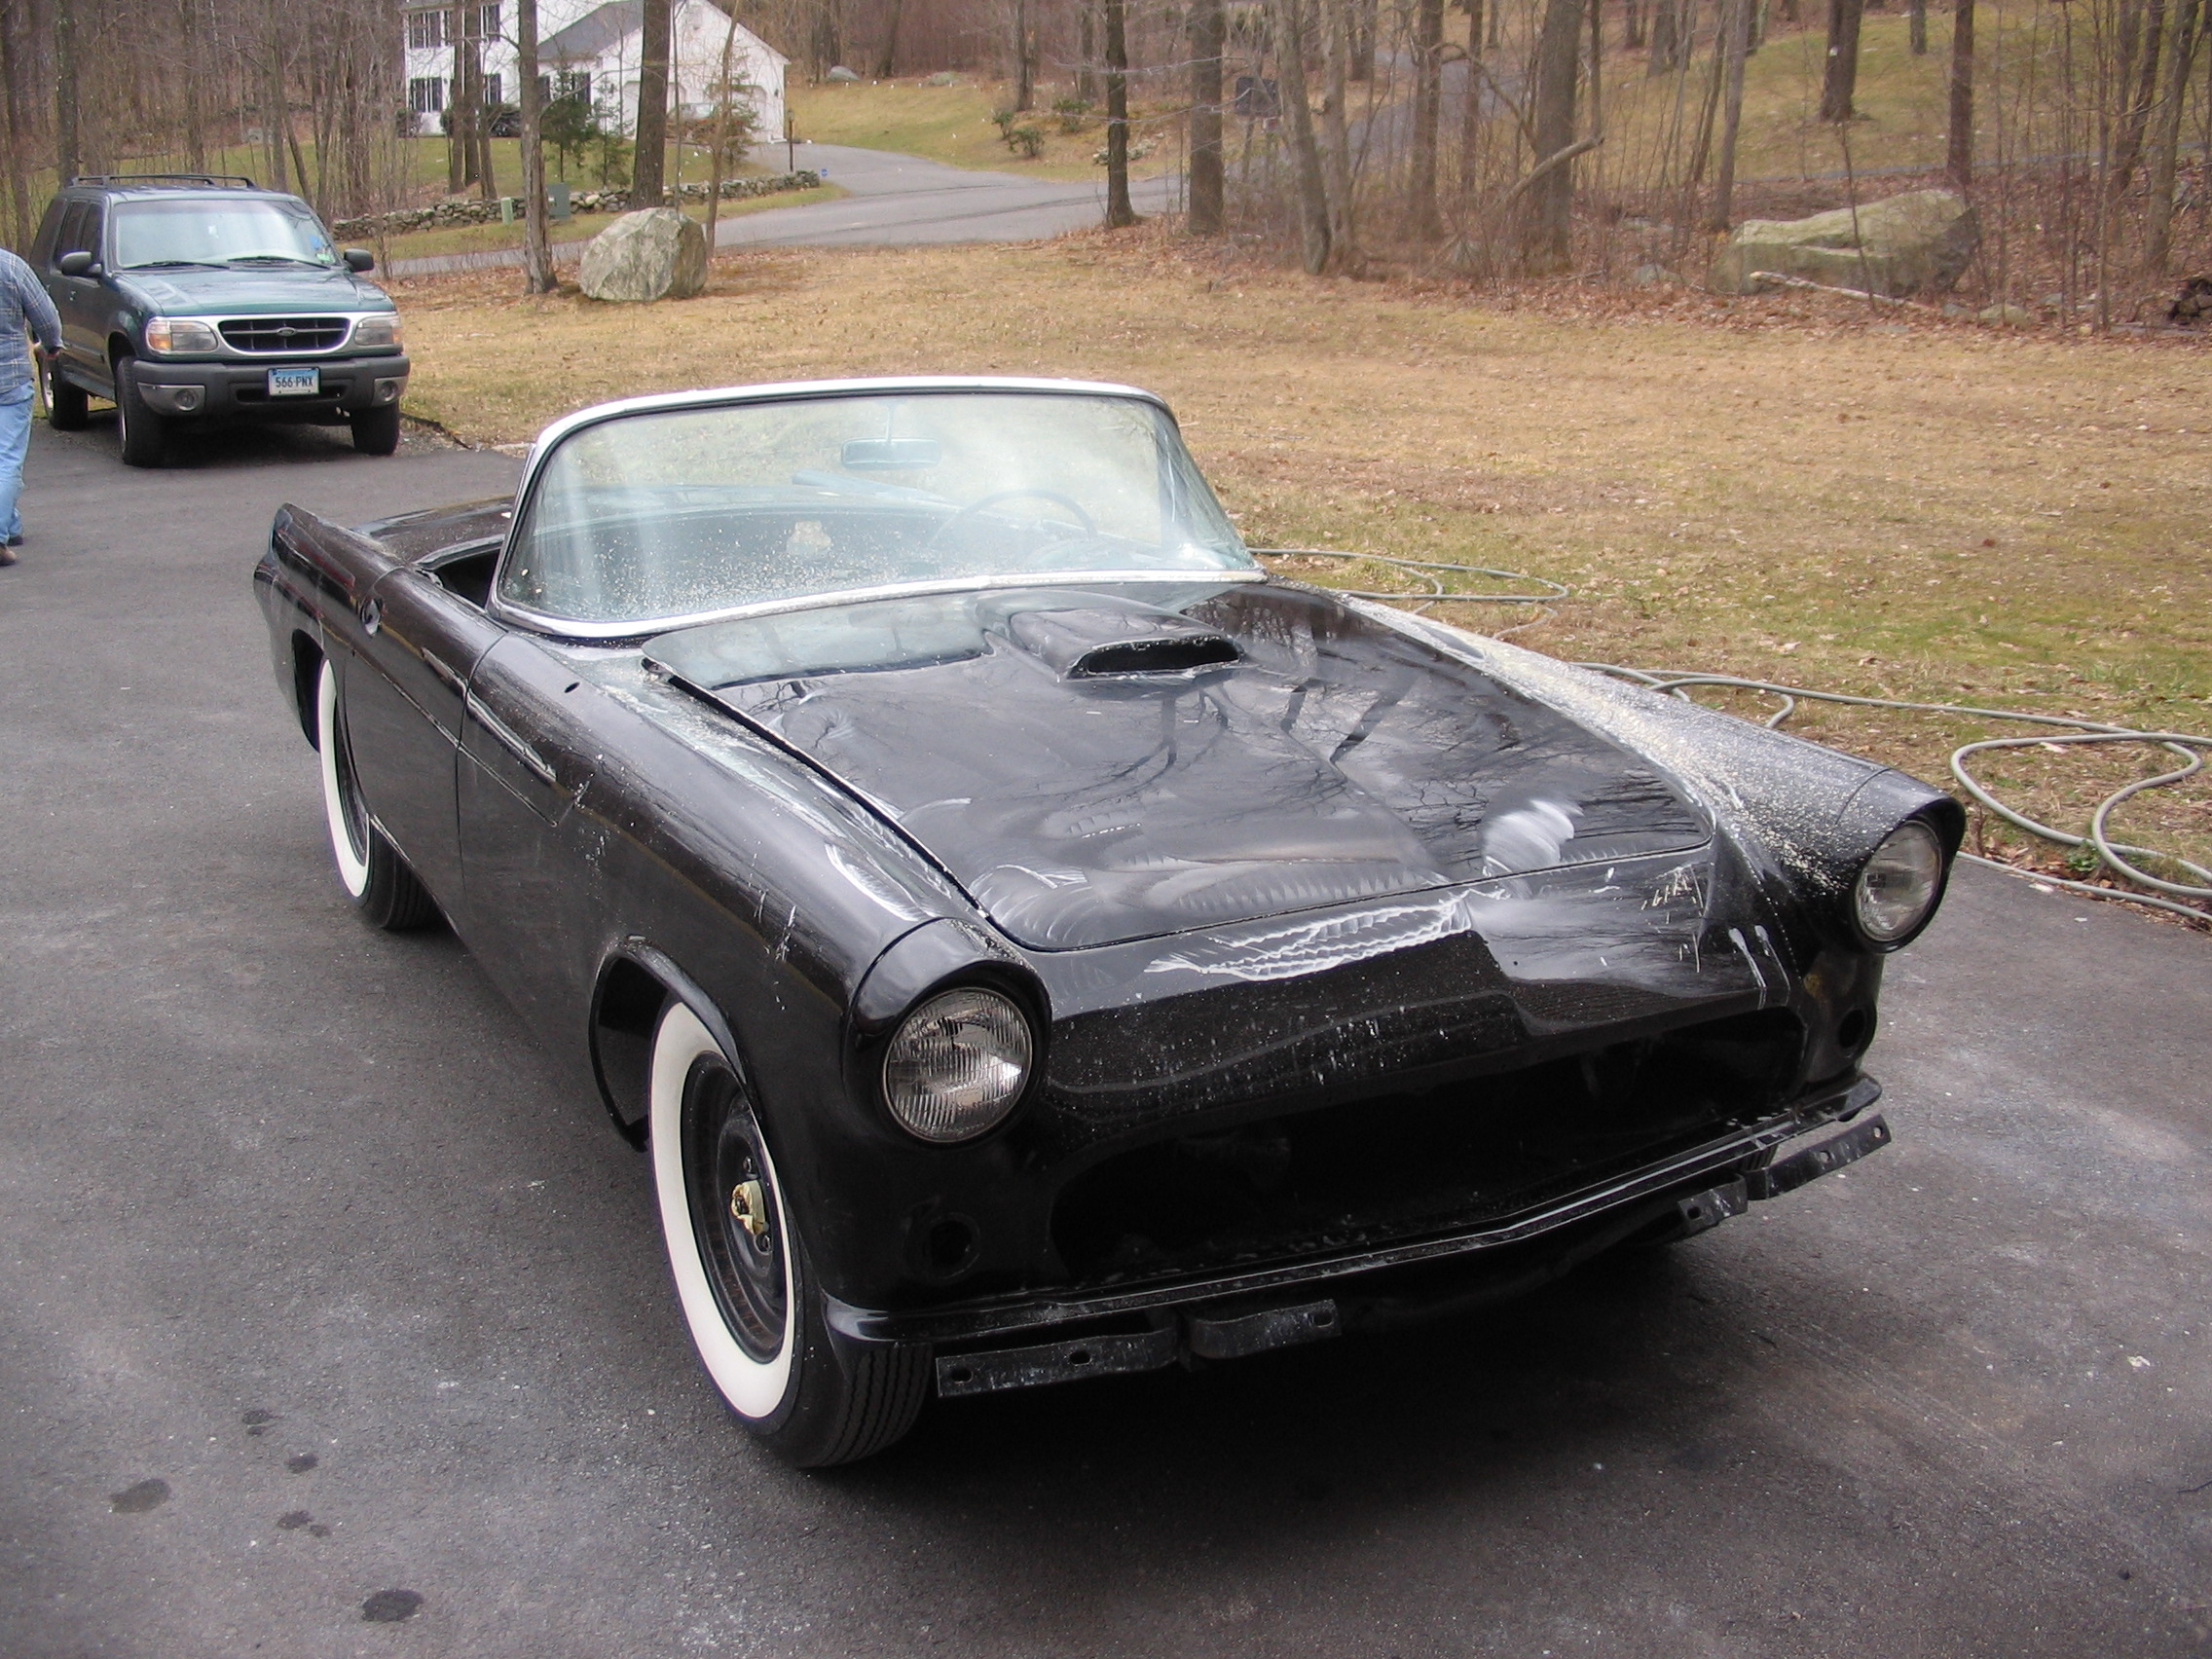
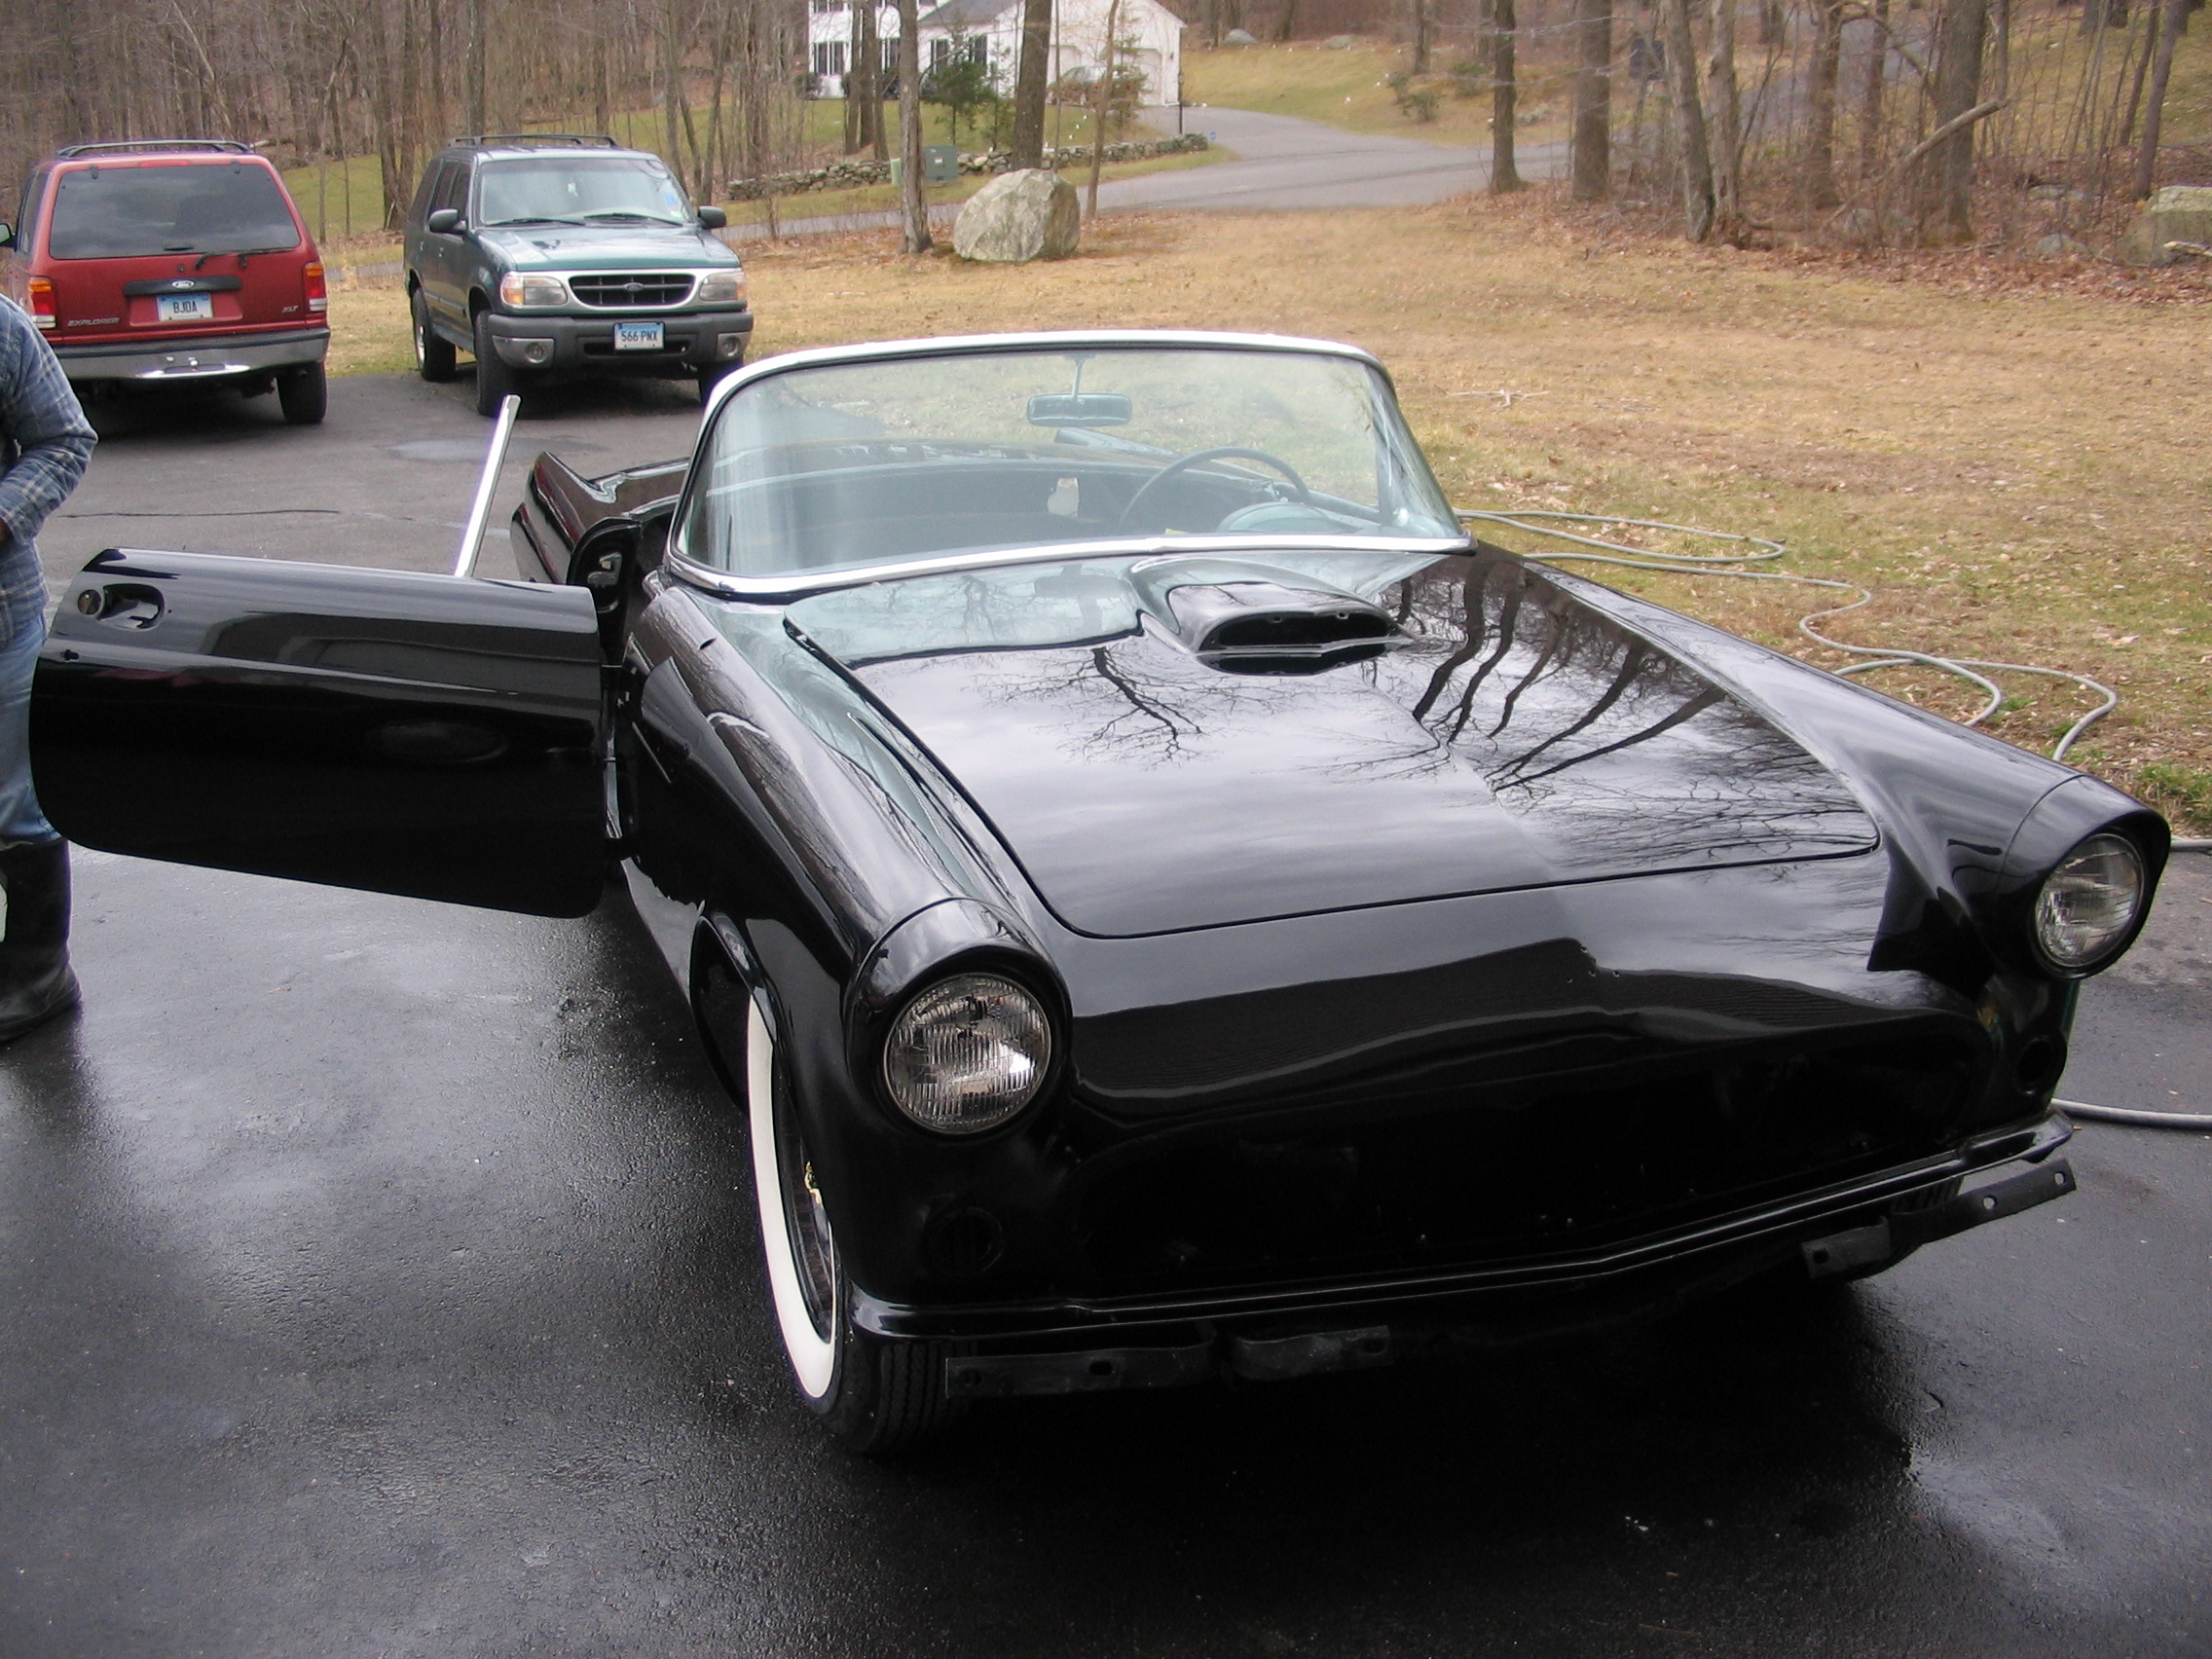
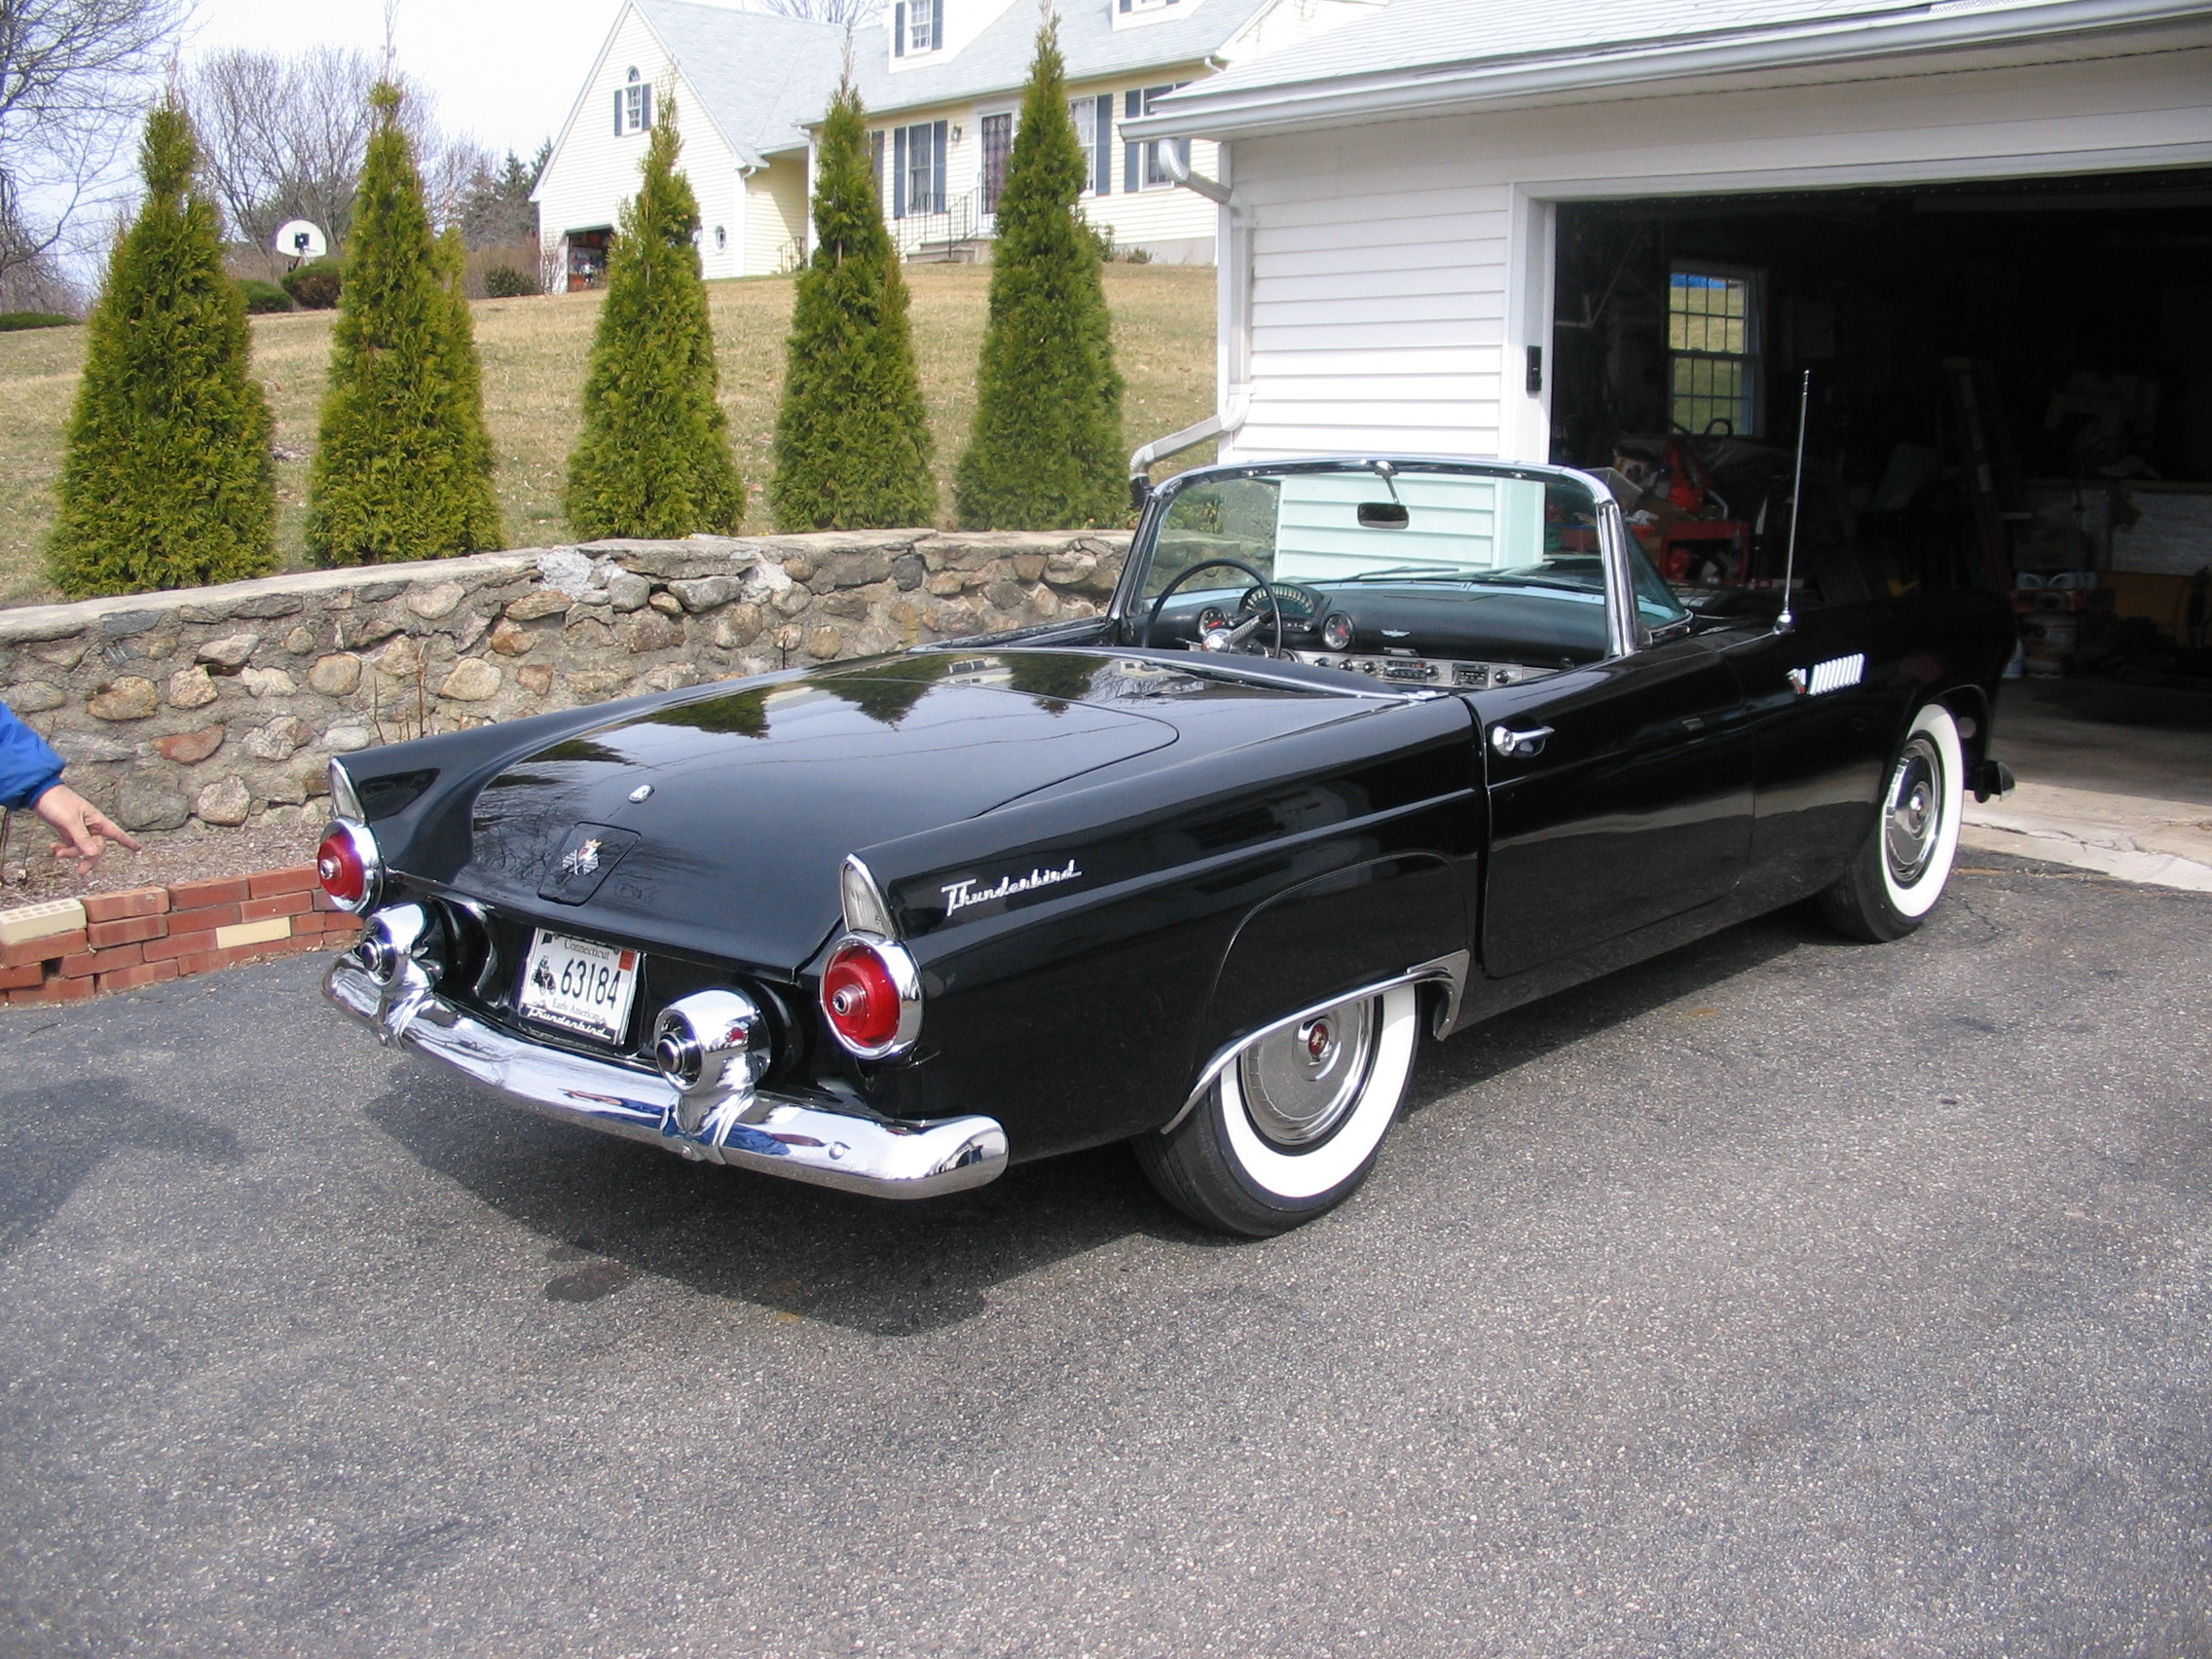
1955 Thunderbird
Best viewed with Internet Explorer

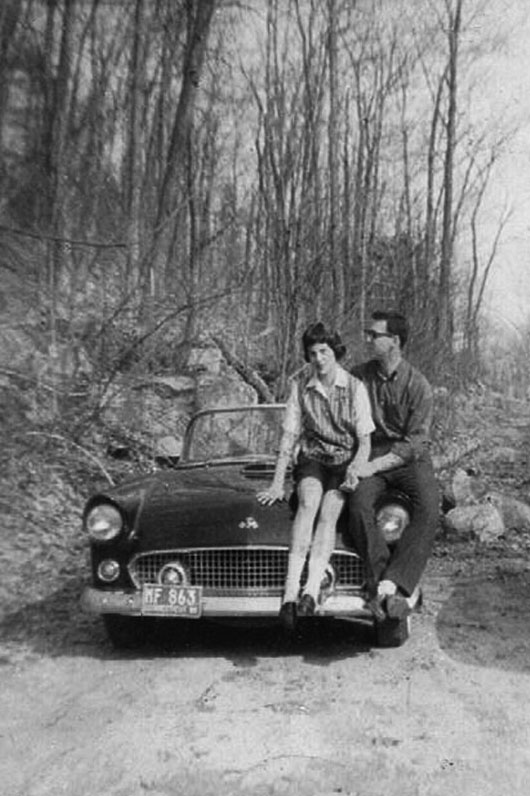
Click here to read about My Story
1955 Thunderbird
Best viewed with Internet Explorer
--------------------------------------------------------------------------
Engine Removal
5/ 11
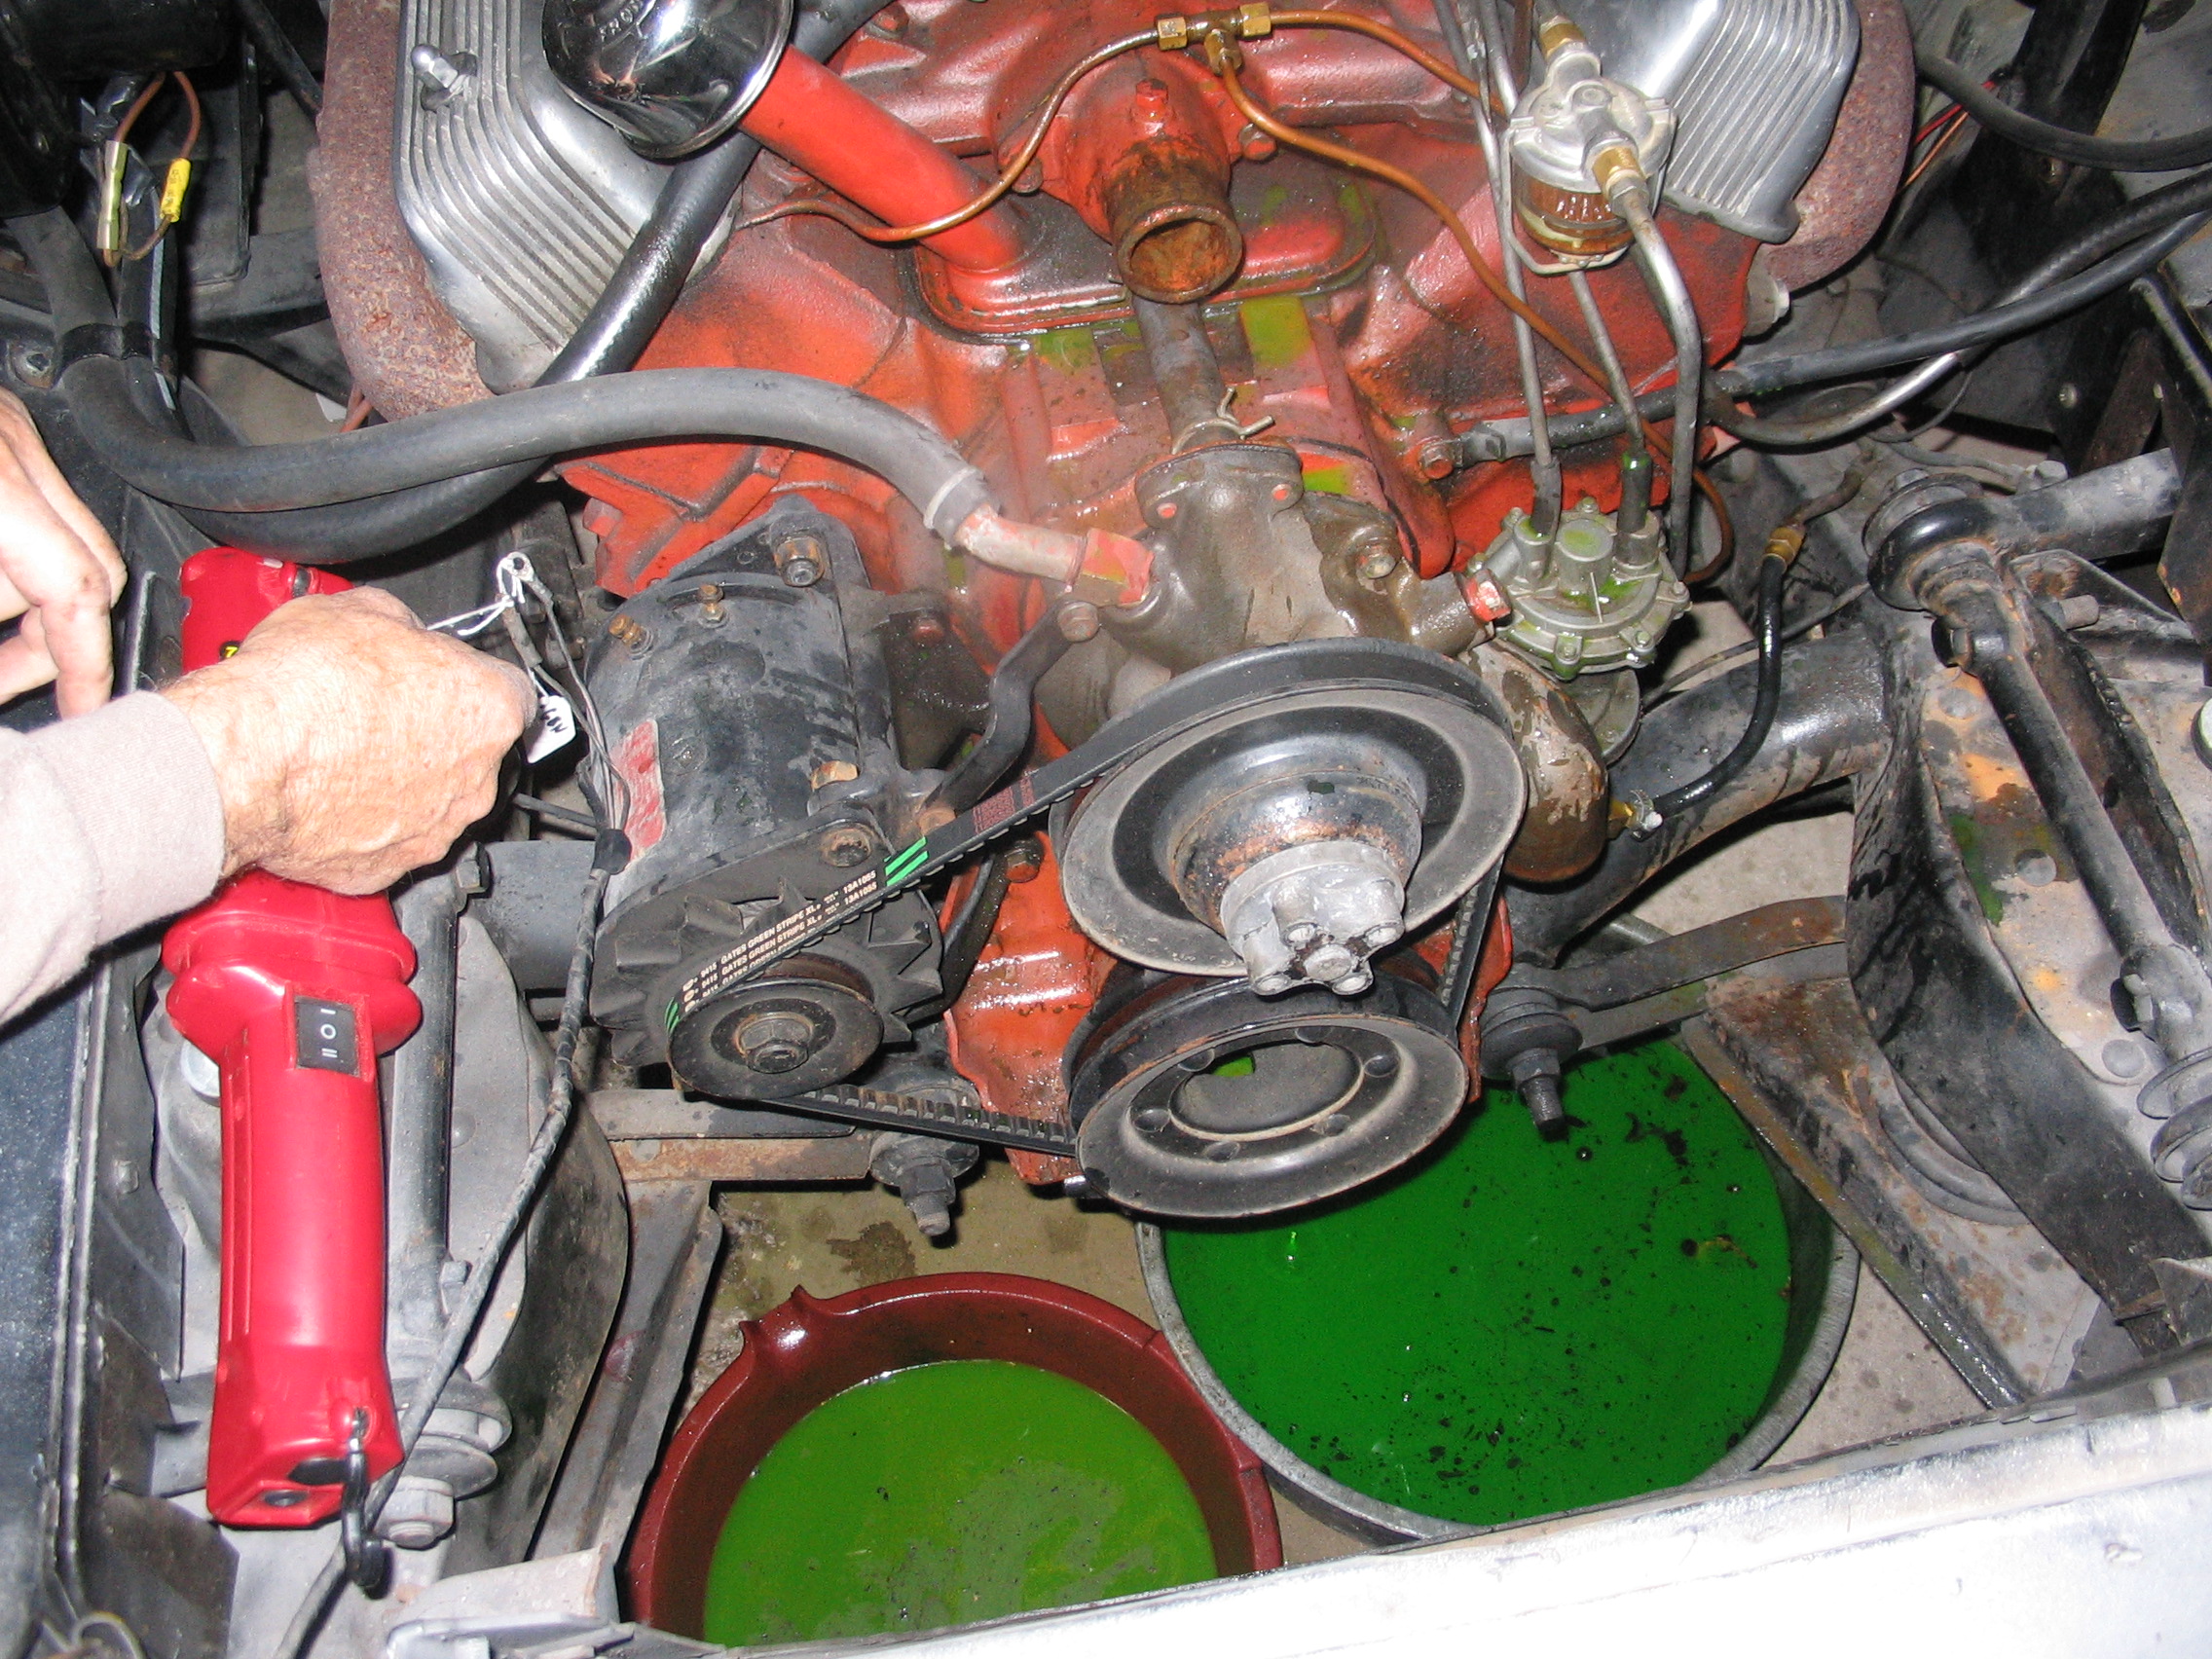
Draining fluids
6 / 11
Battery ground cable
7 / 11
Body ground strap and linkage support
8 / 11
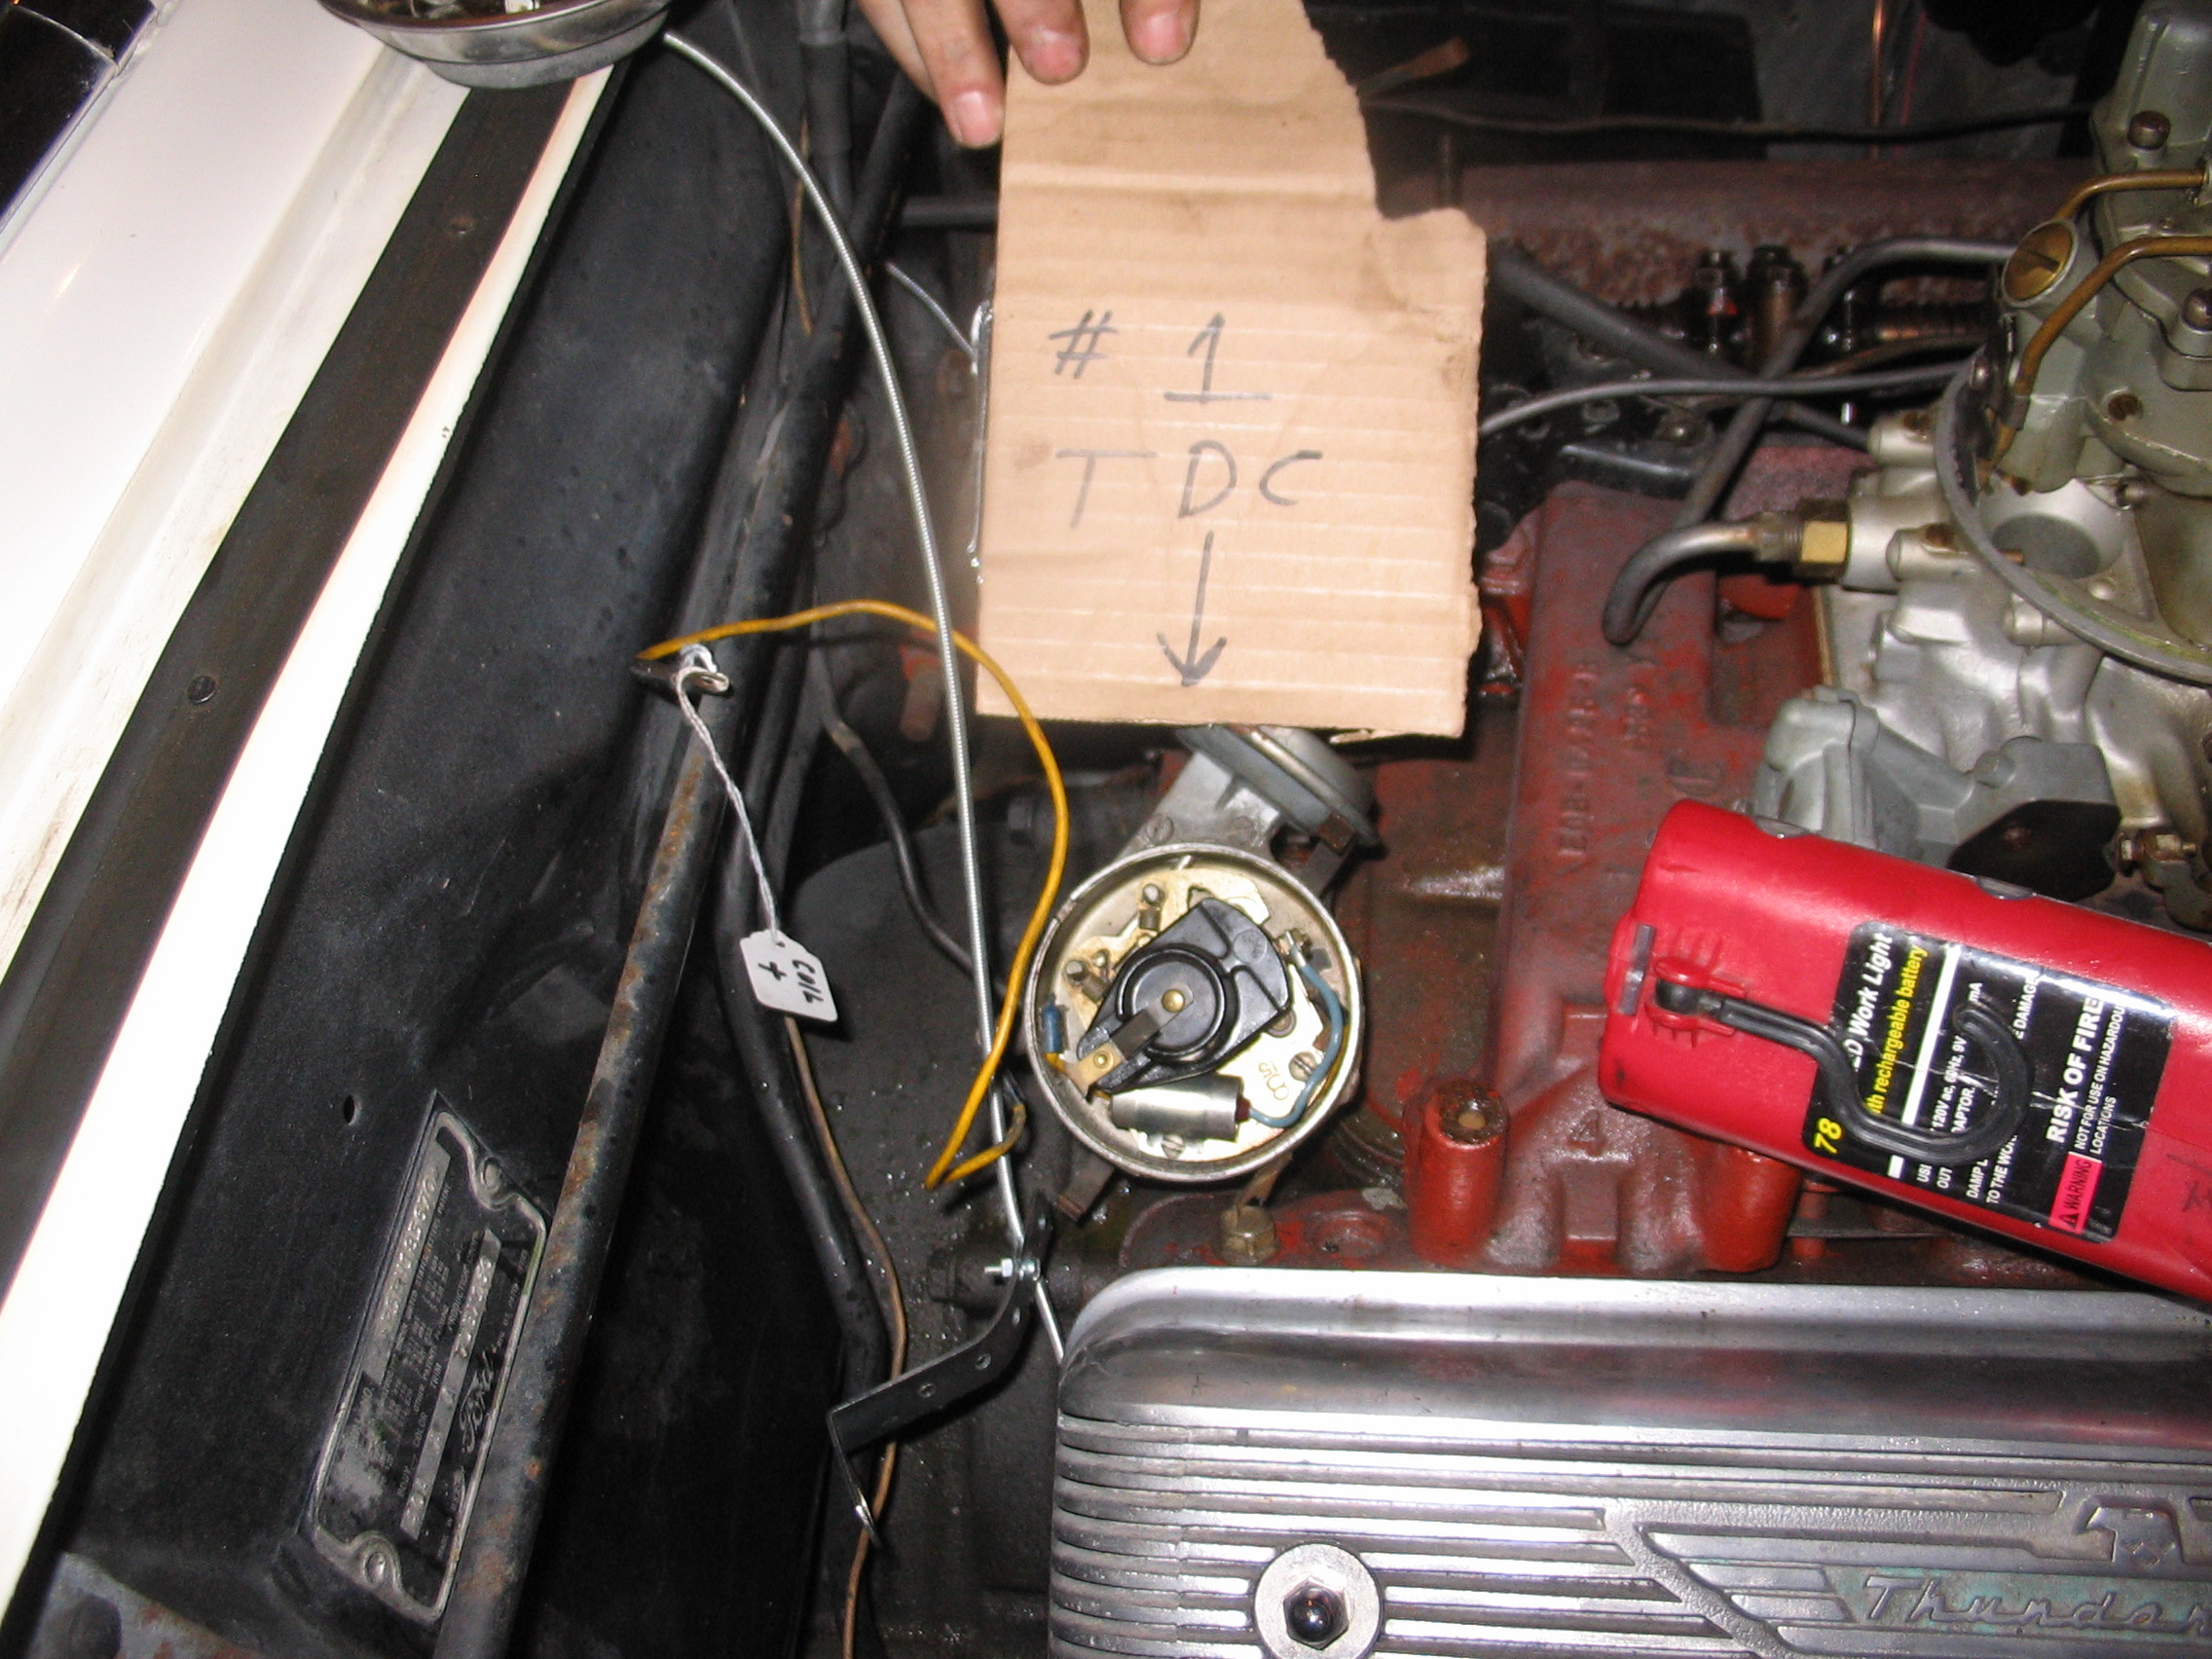
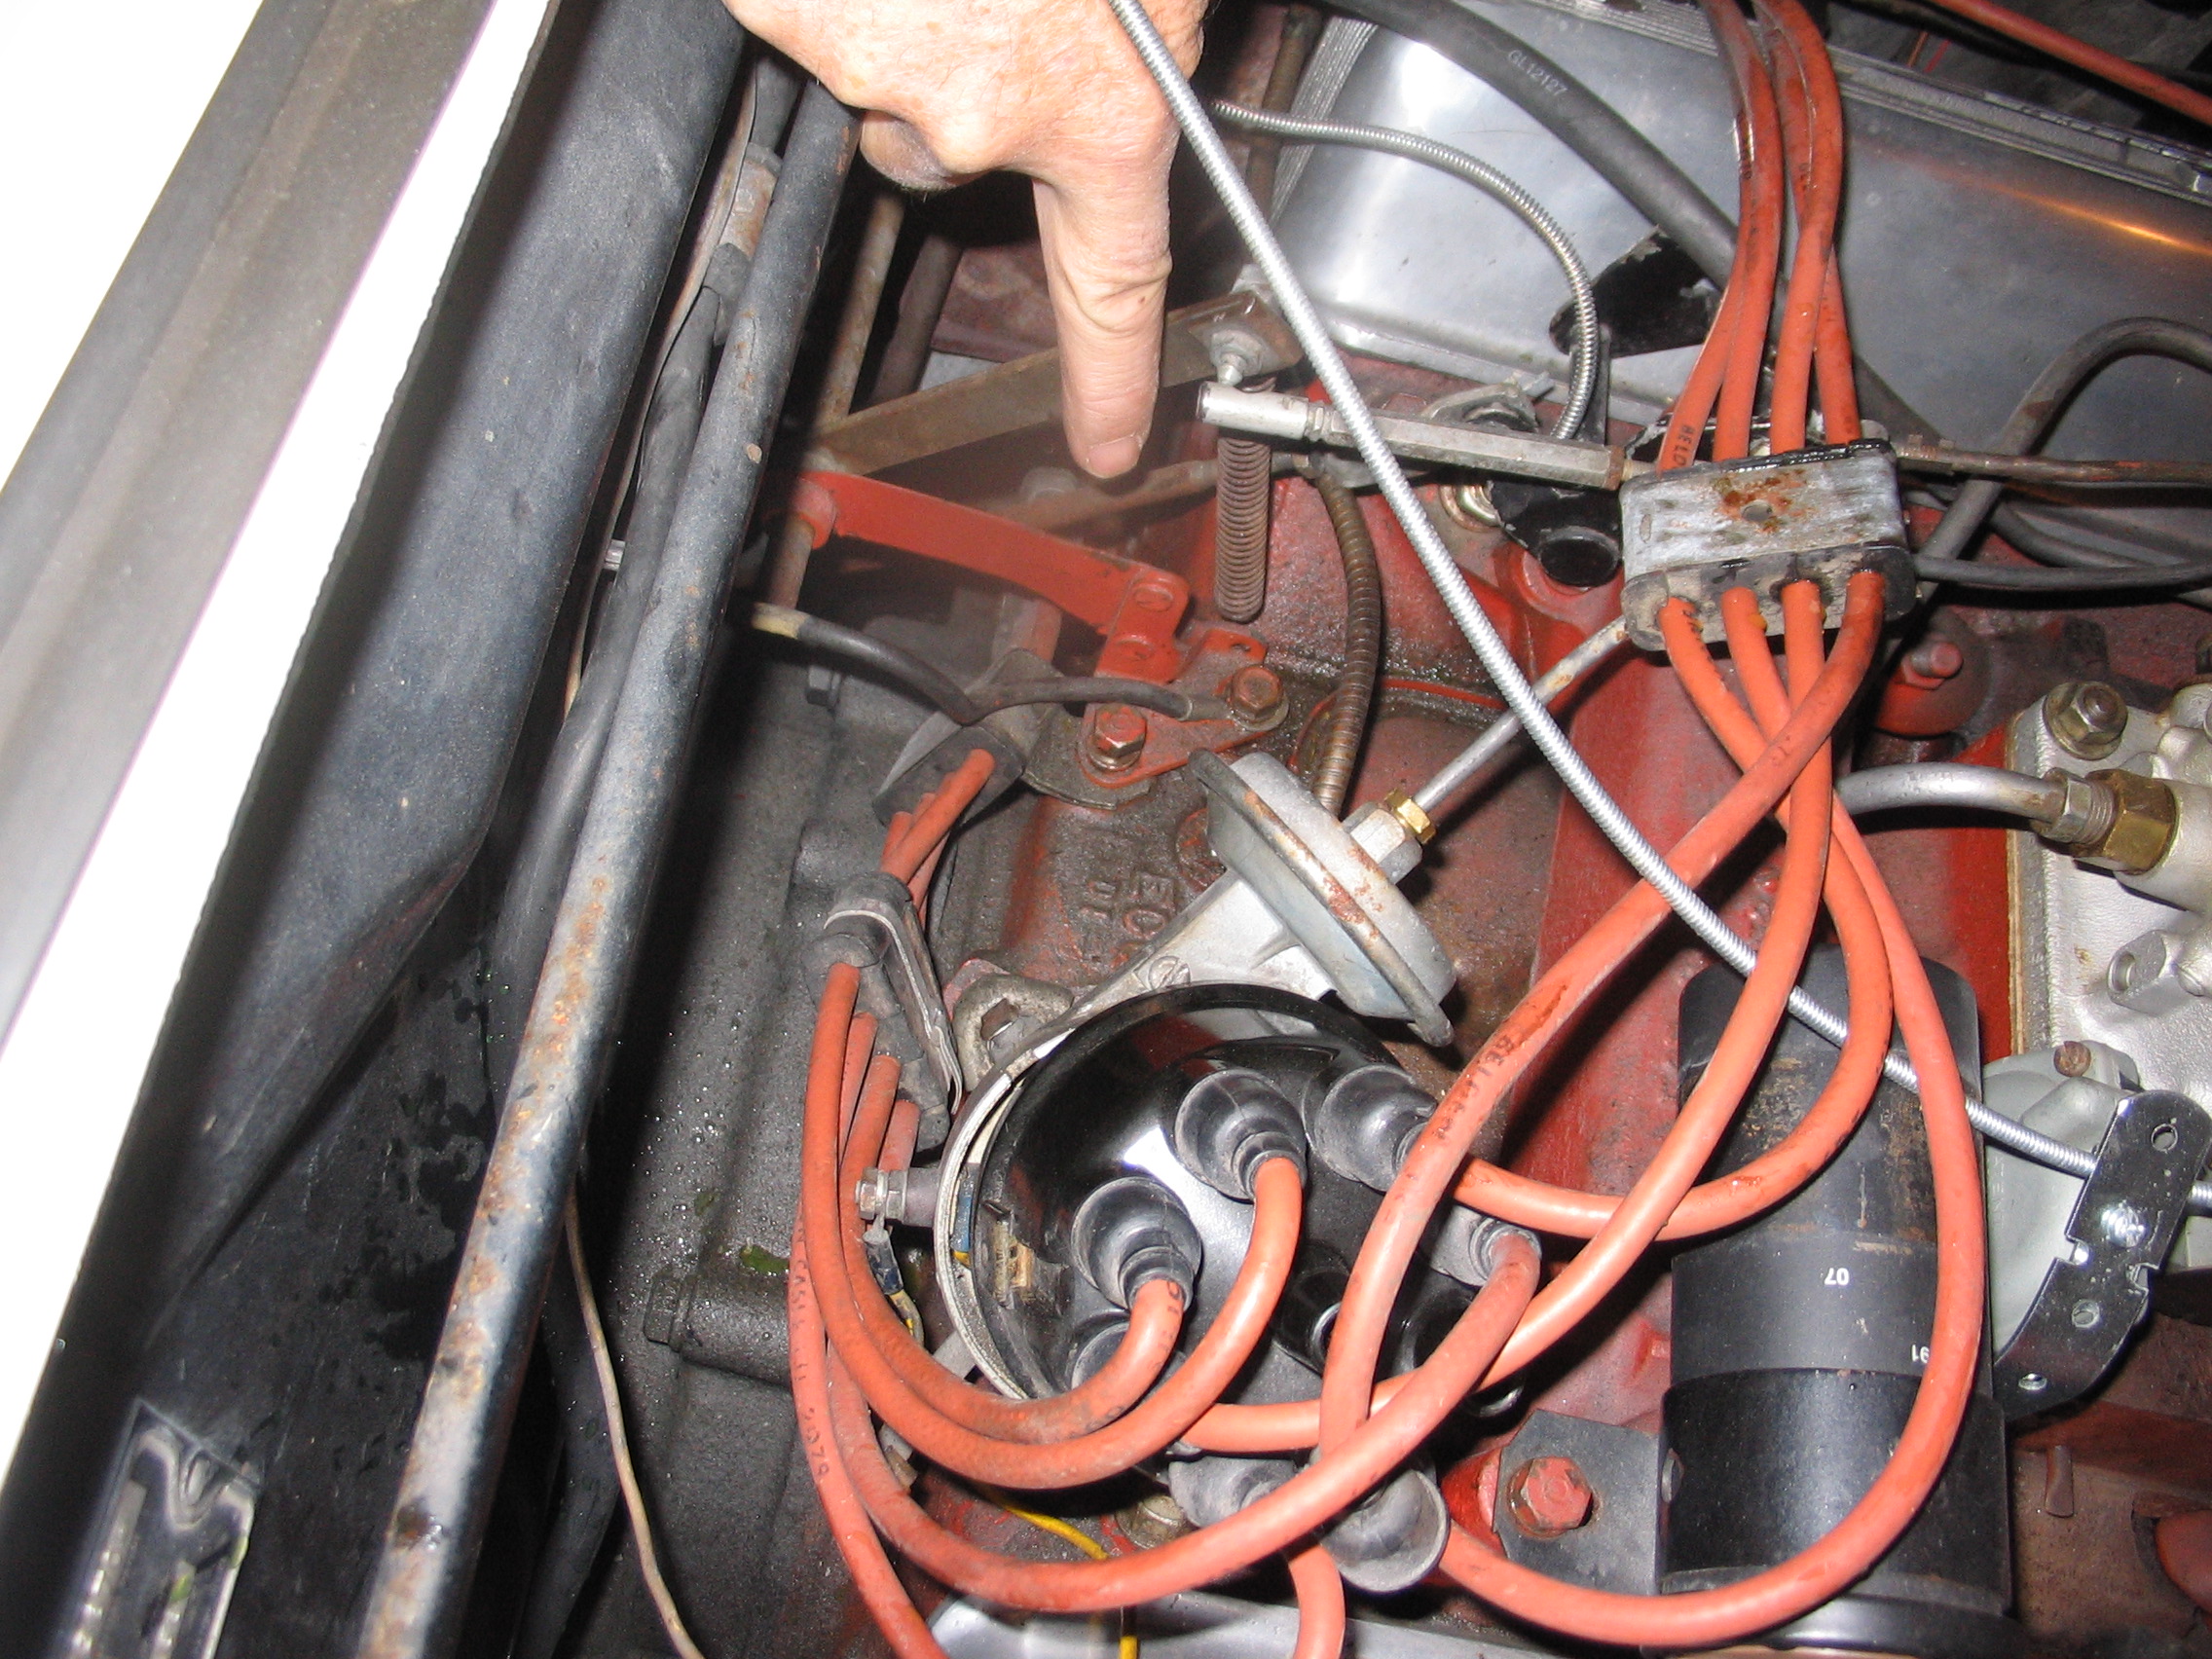
Distributor TDC location
9 / 11
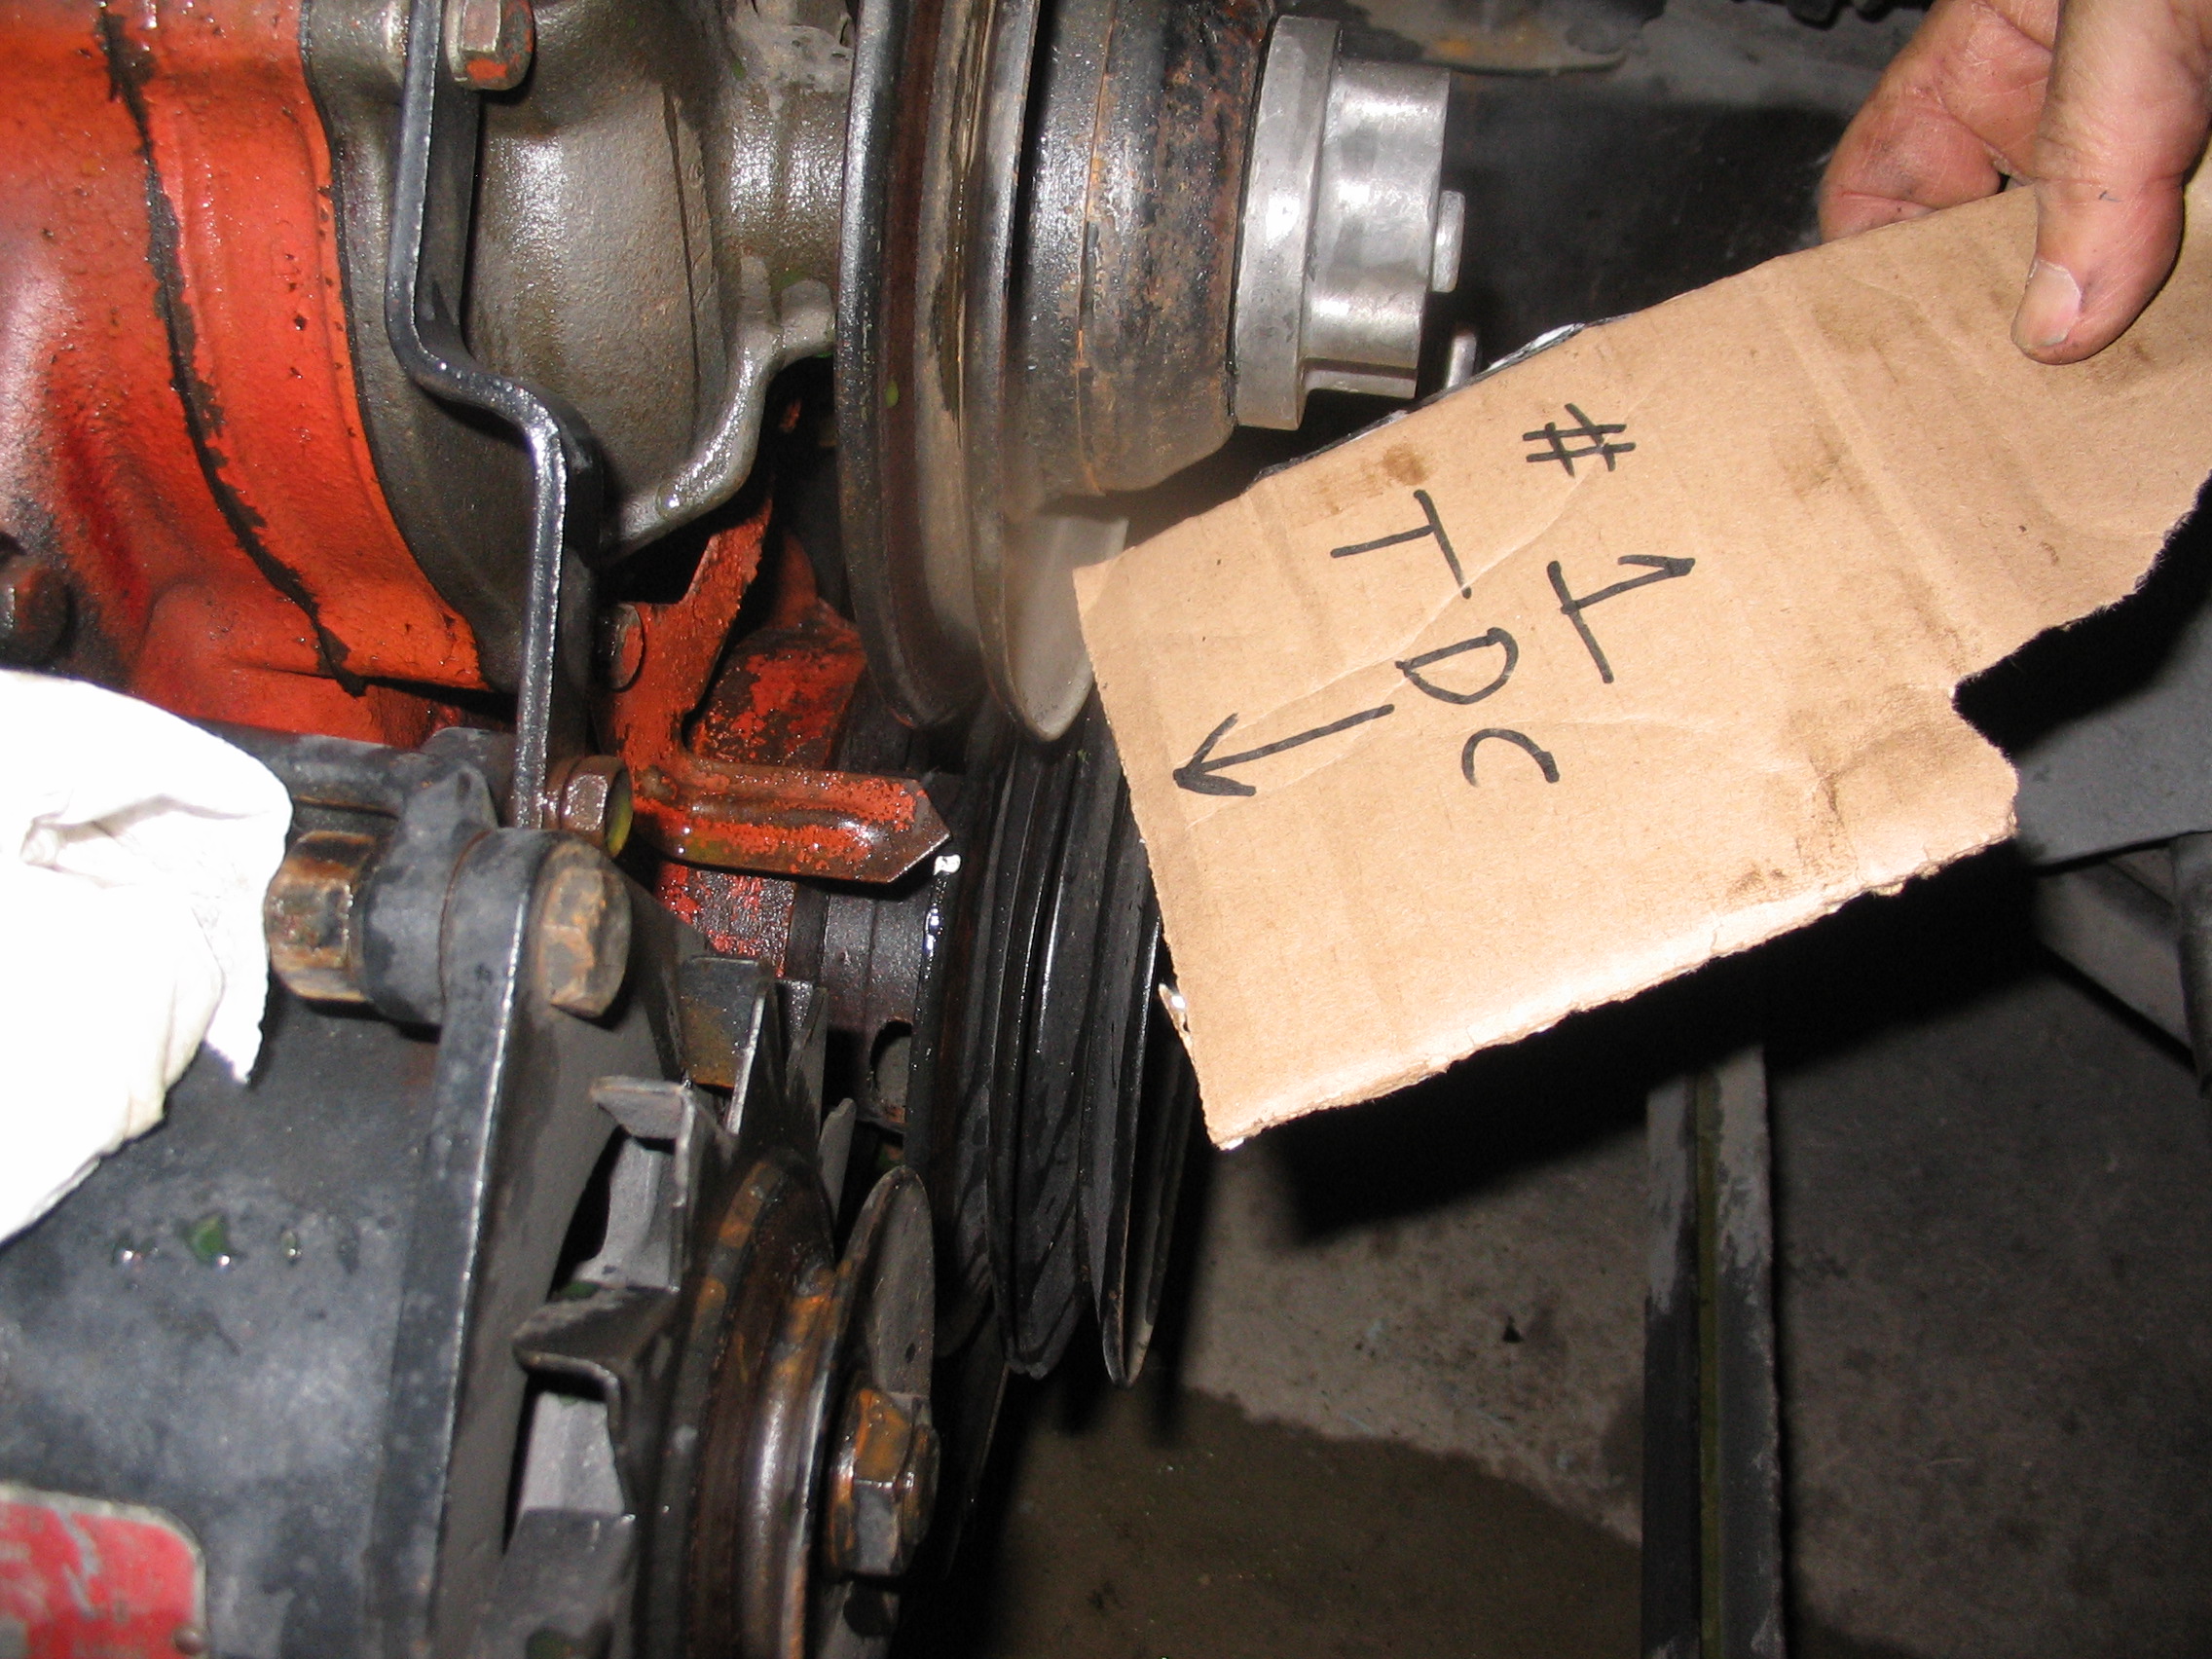
Damper pully TDC mark
10 / 11
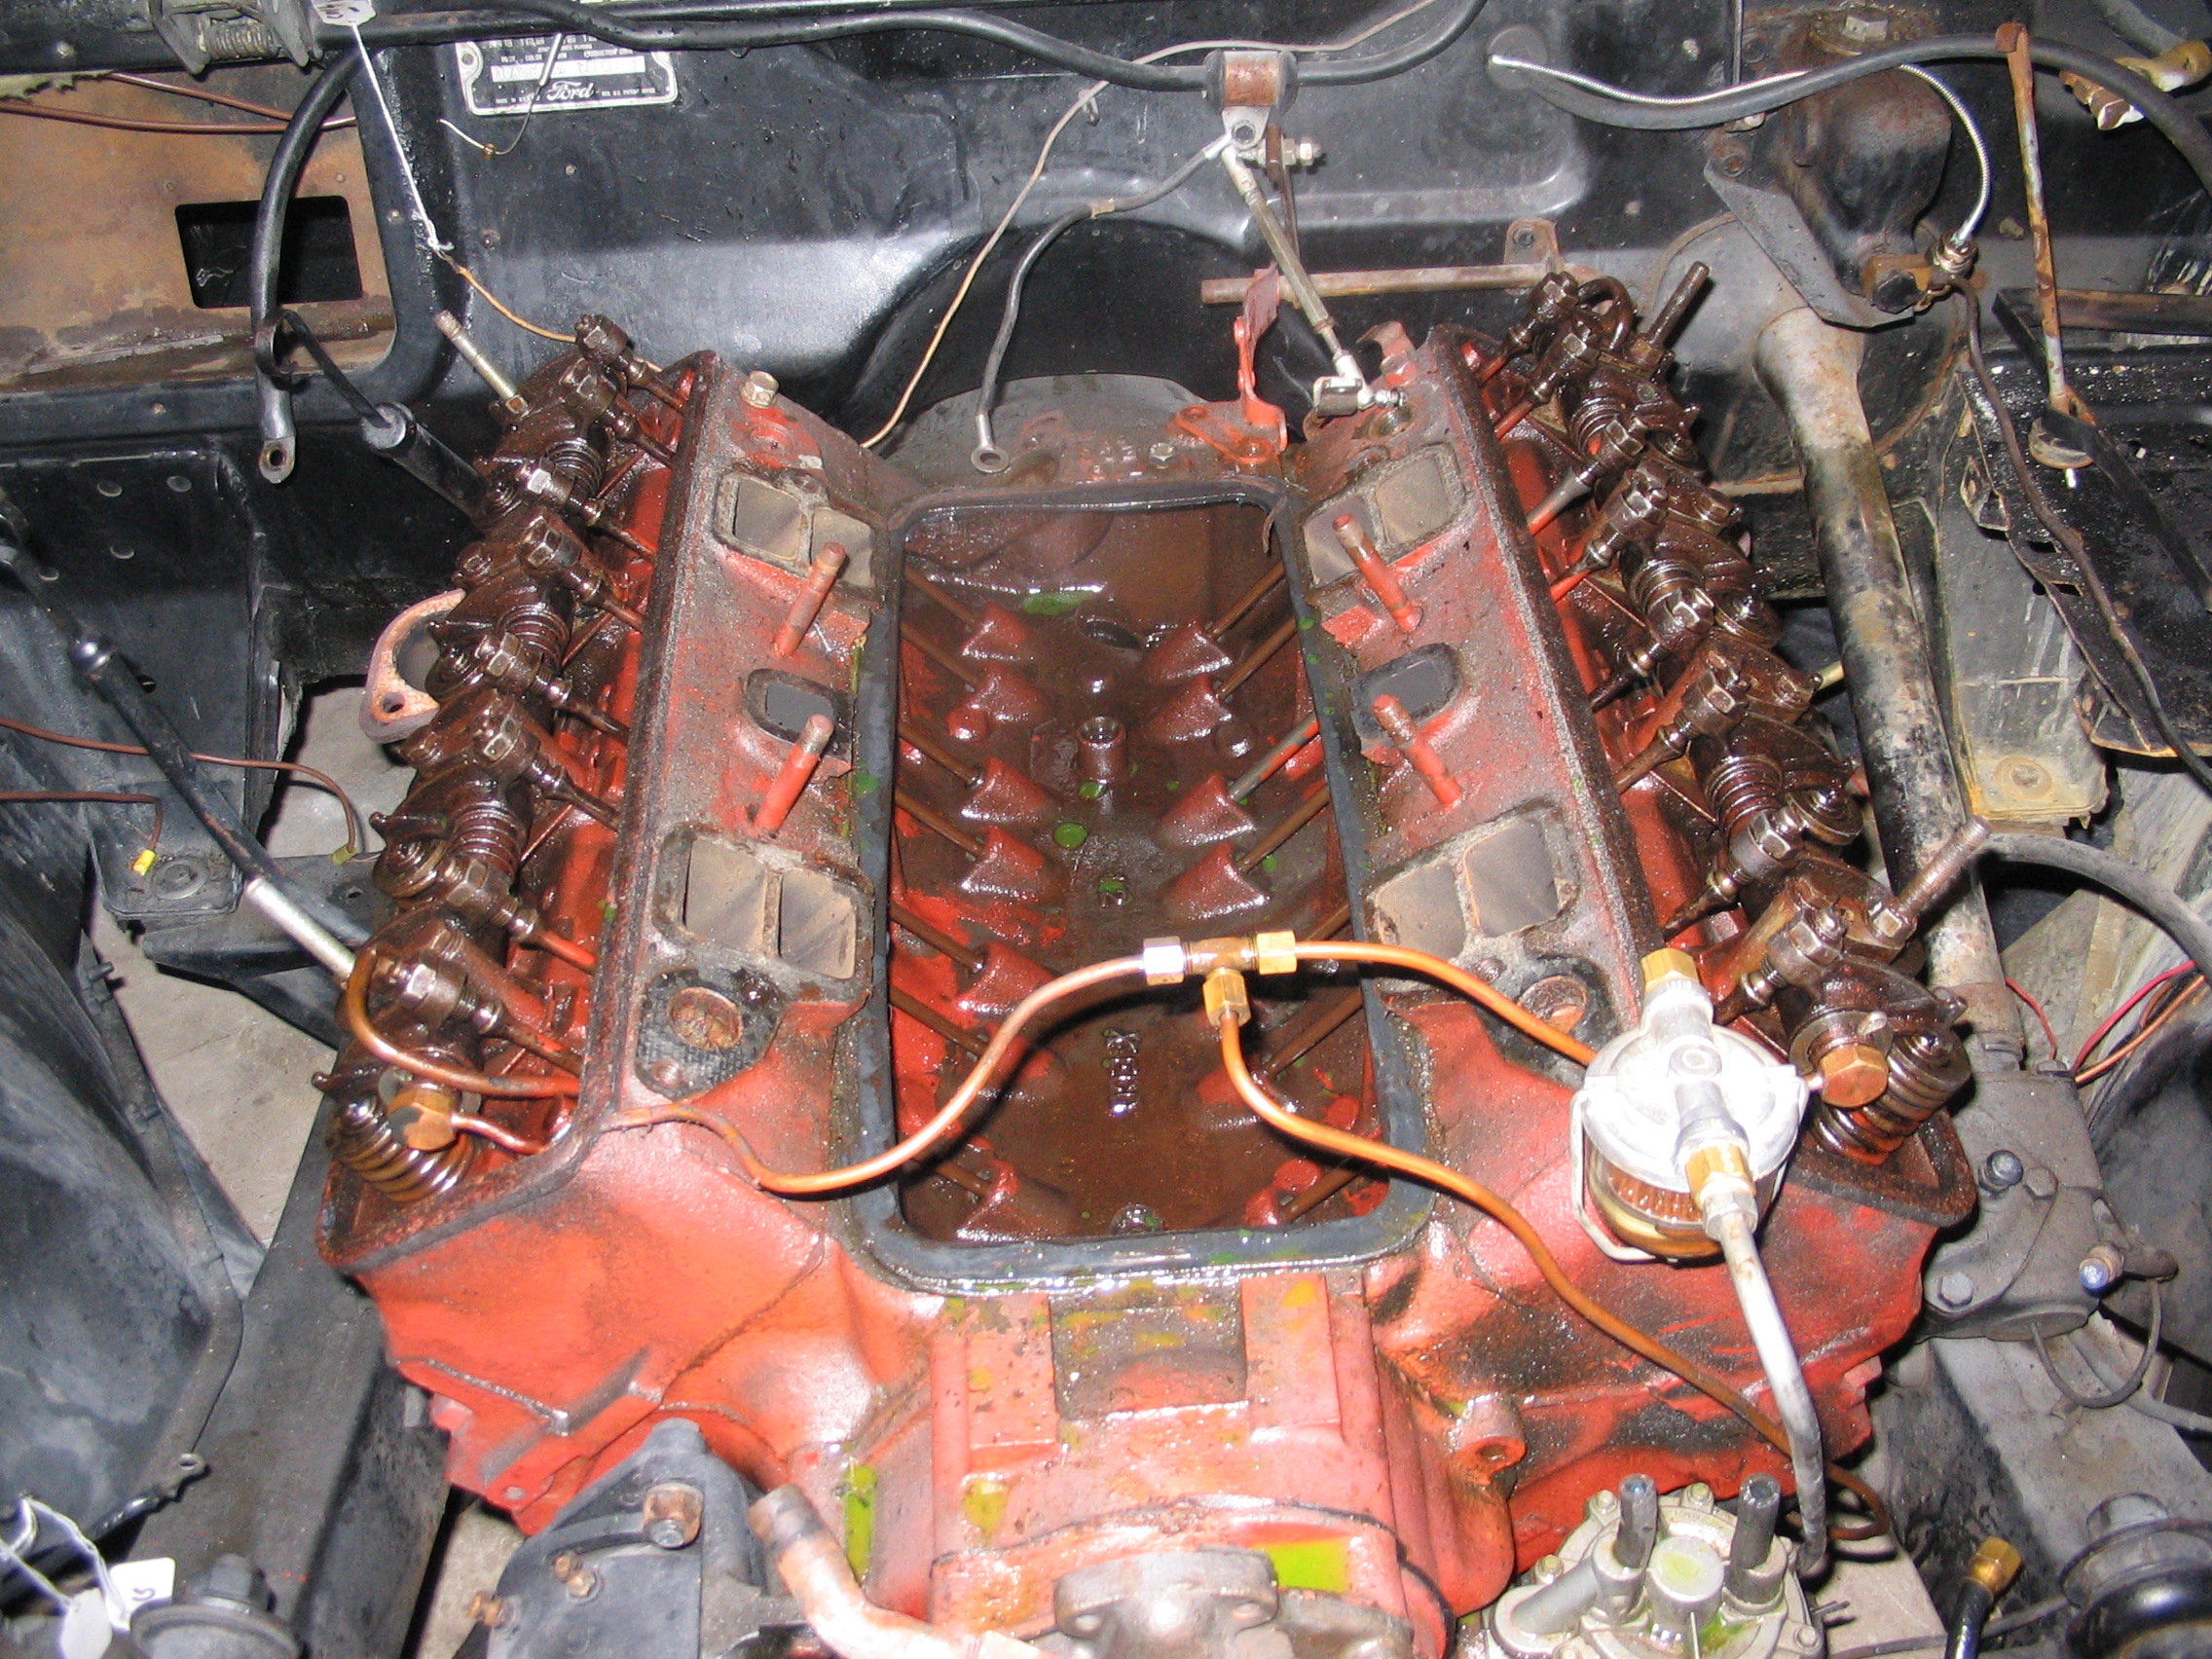
Top of engine
11 / 11
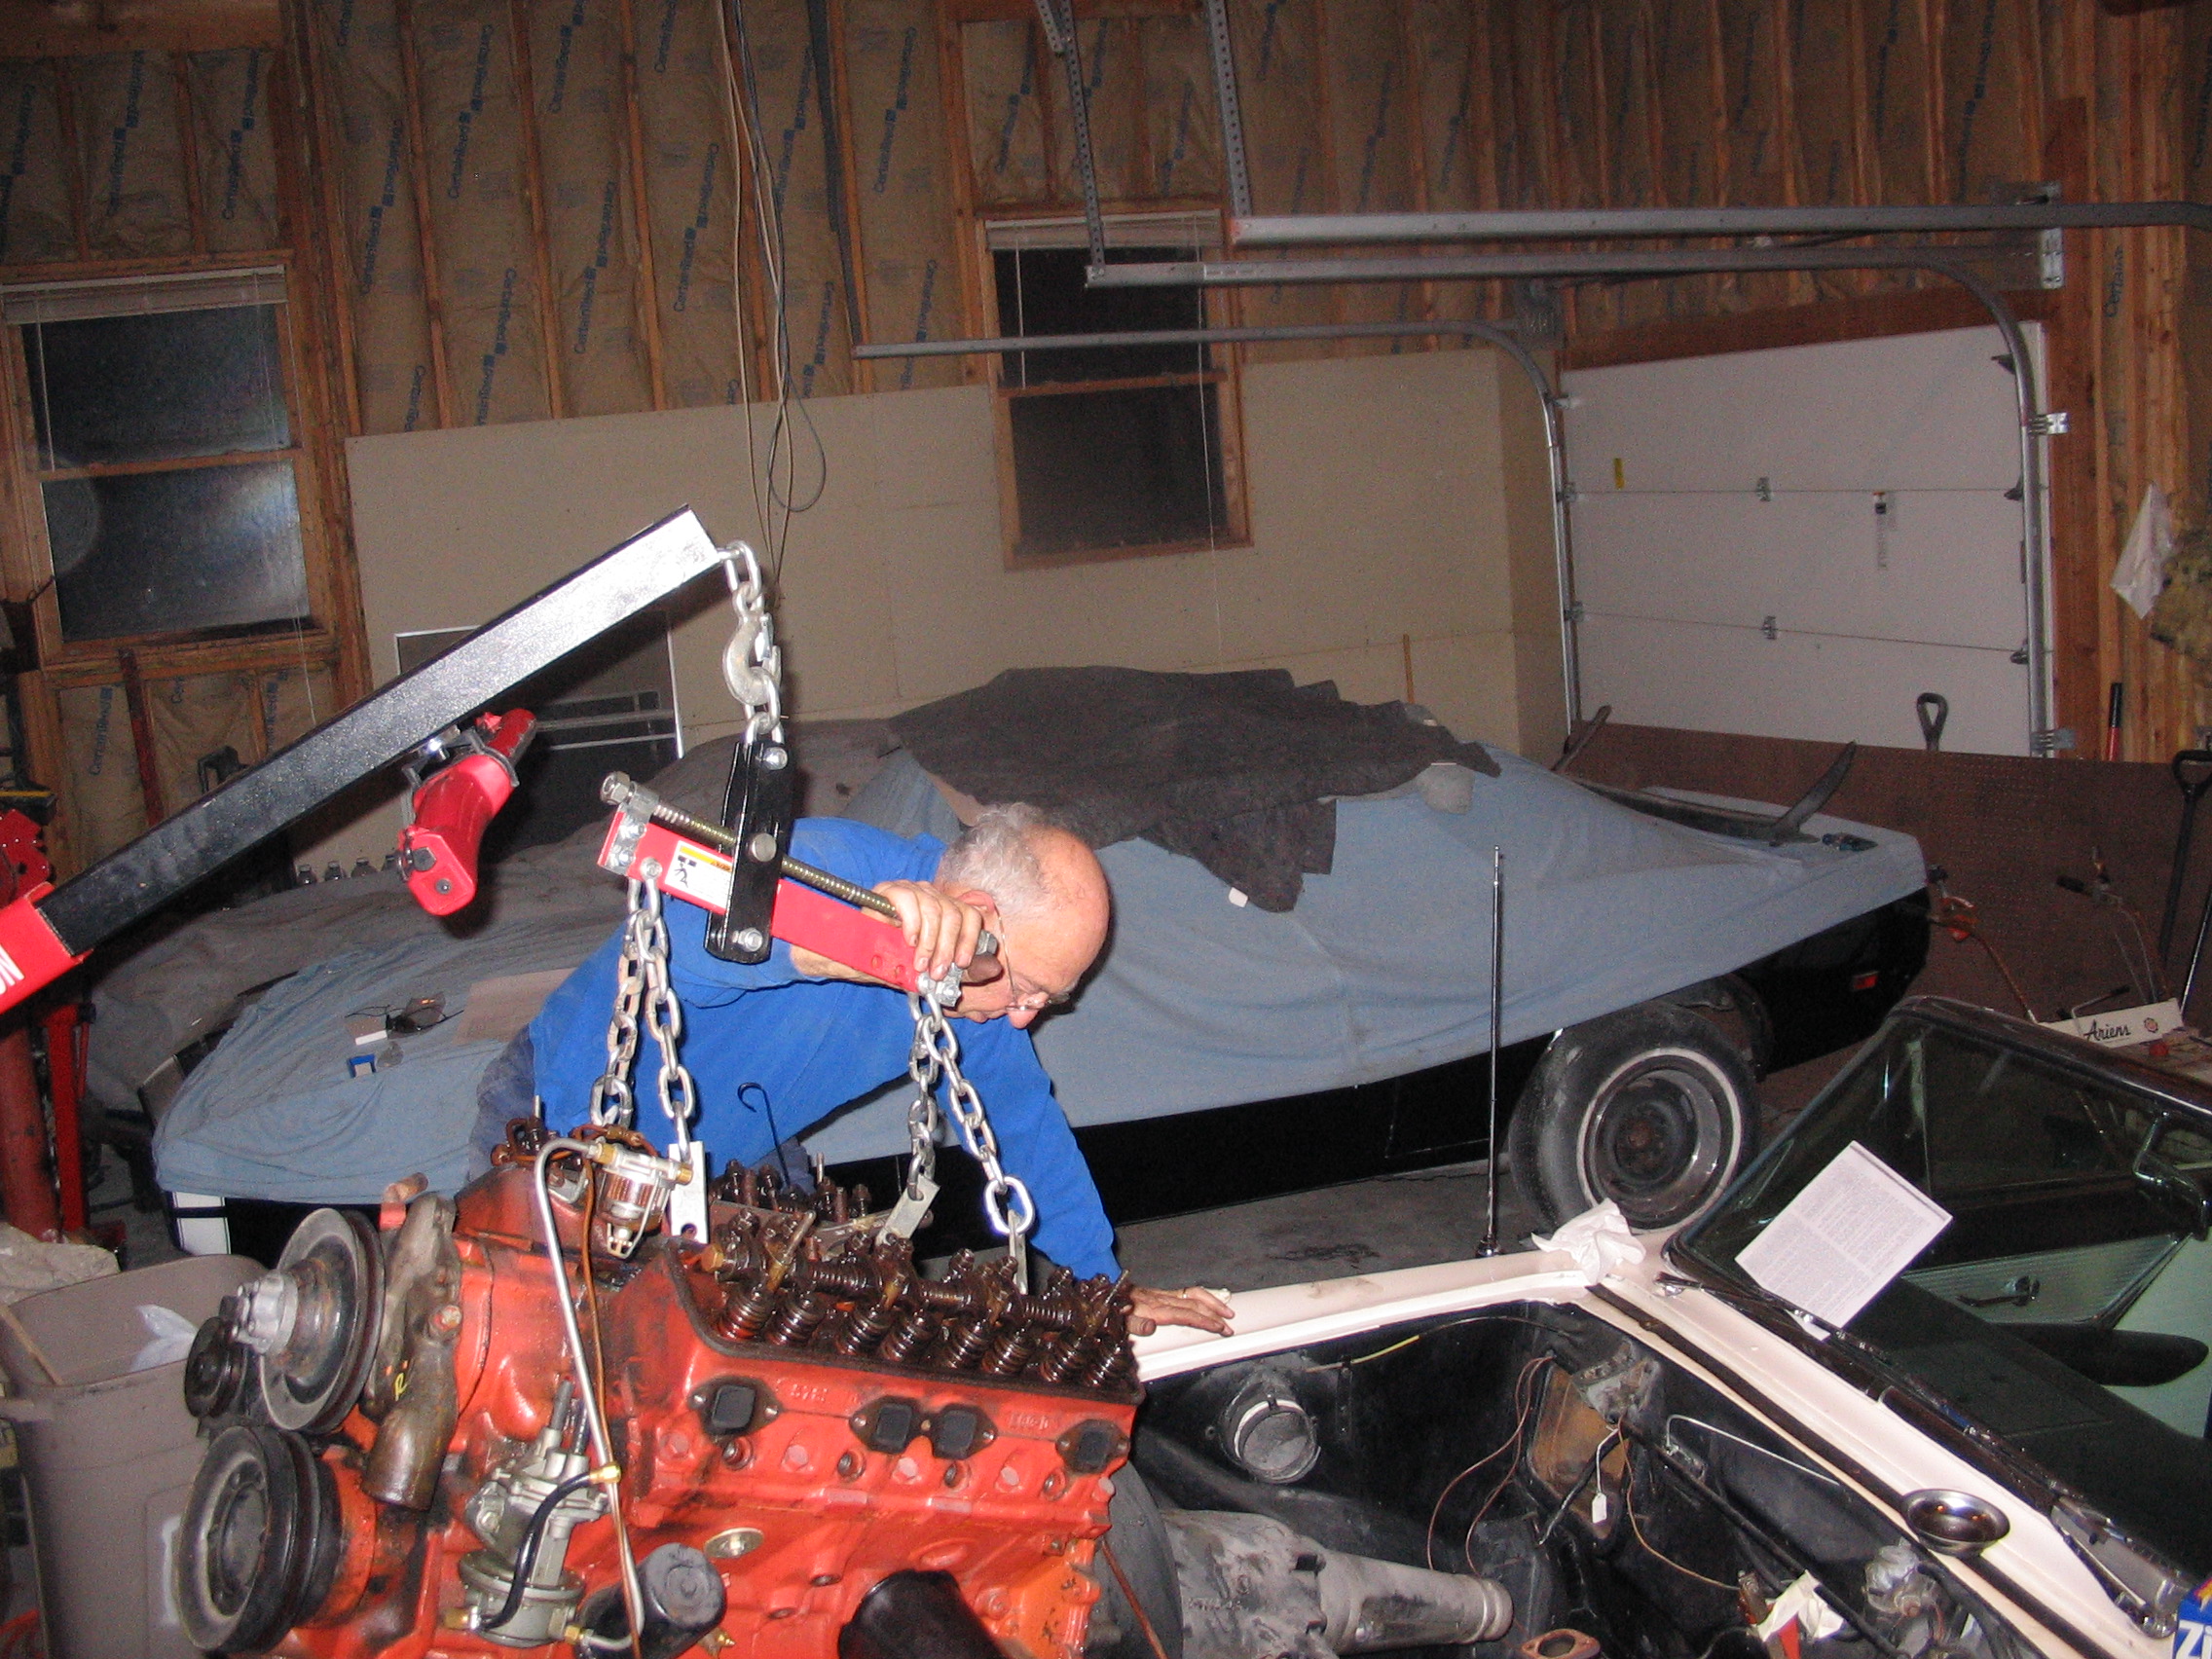
Engine removal
Engine Disassembly
12/ 21
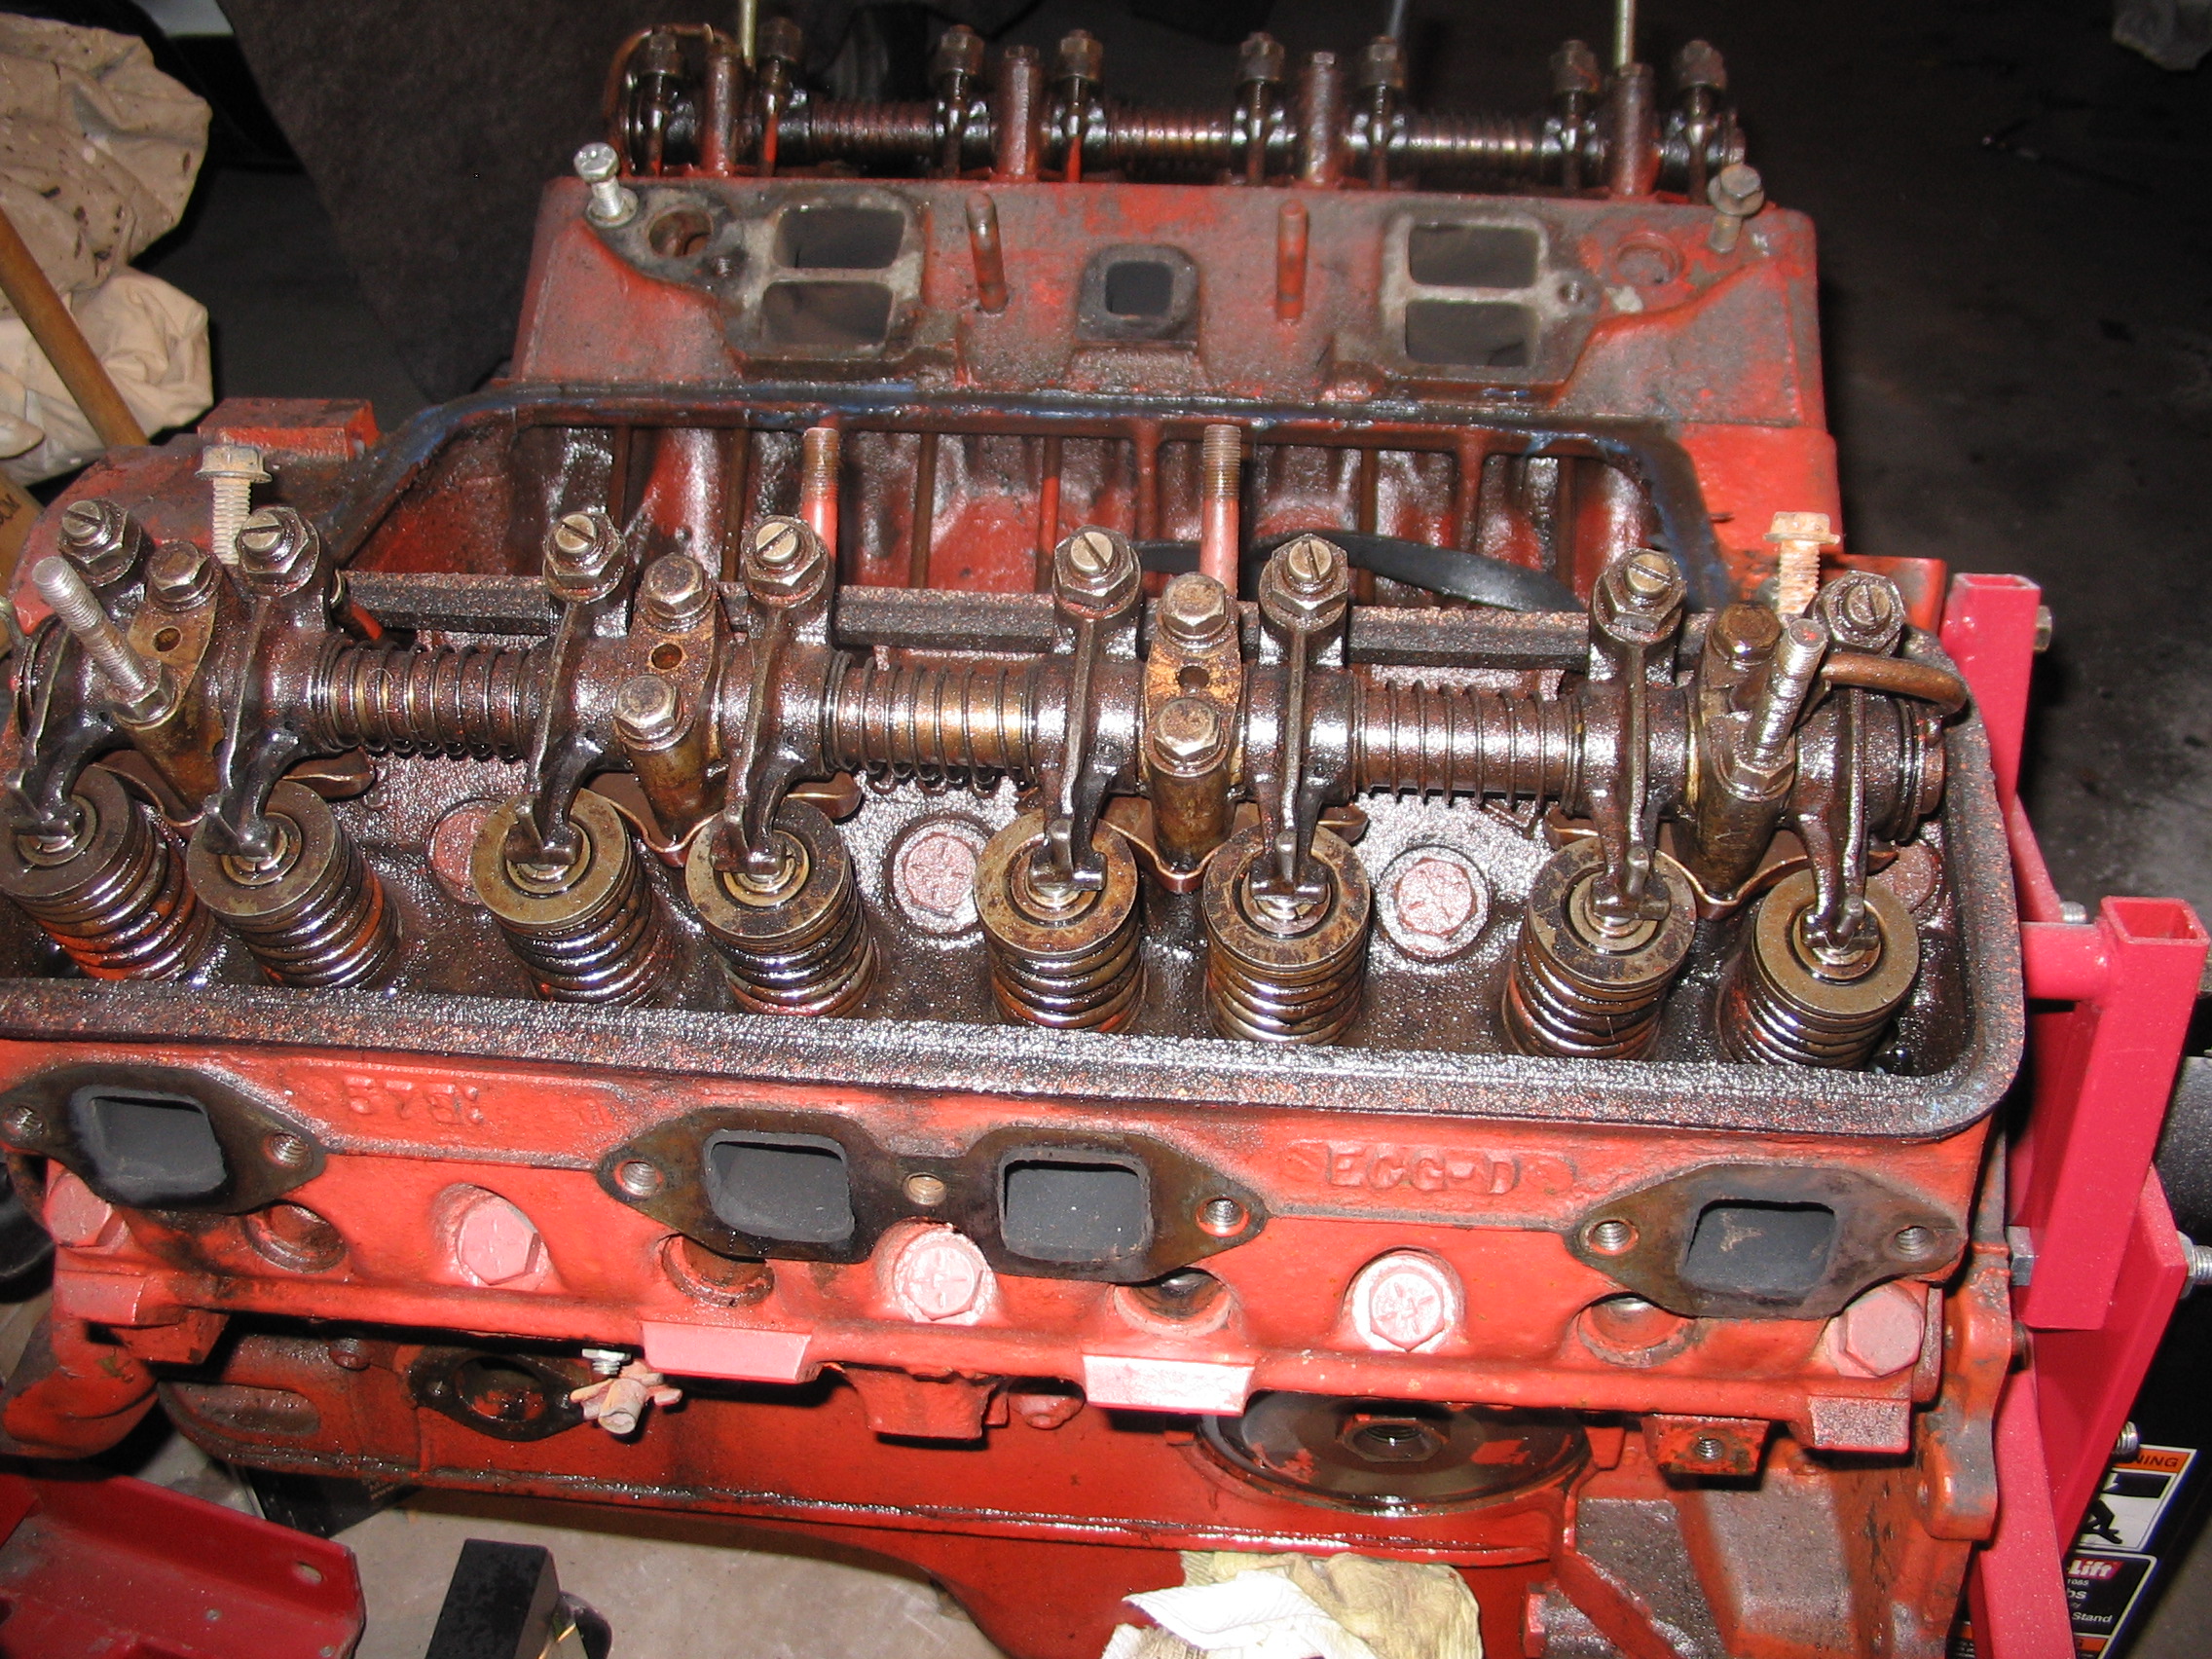
Rocker Arm
13 / 21
Rocker Arm Removal
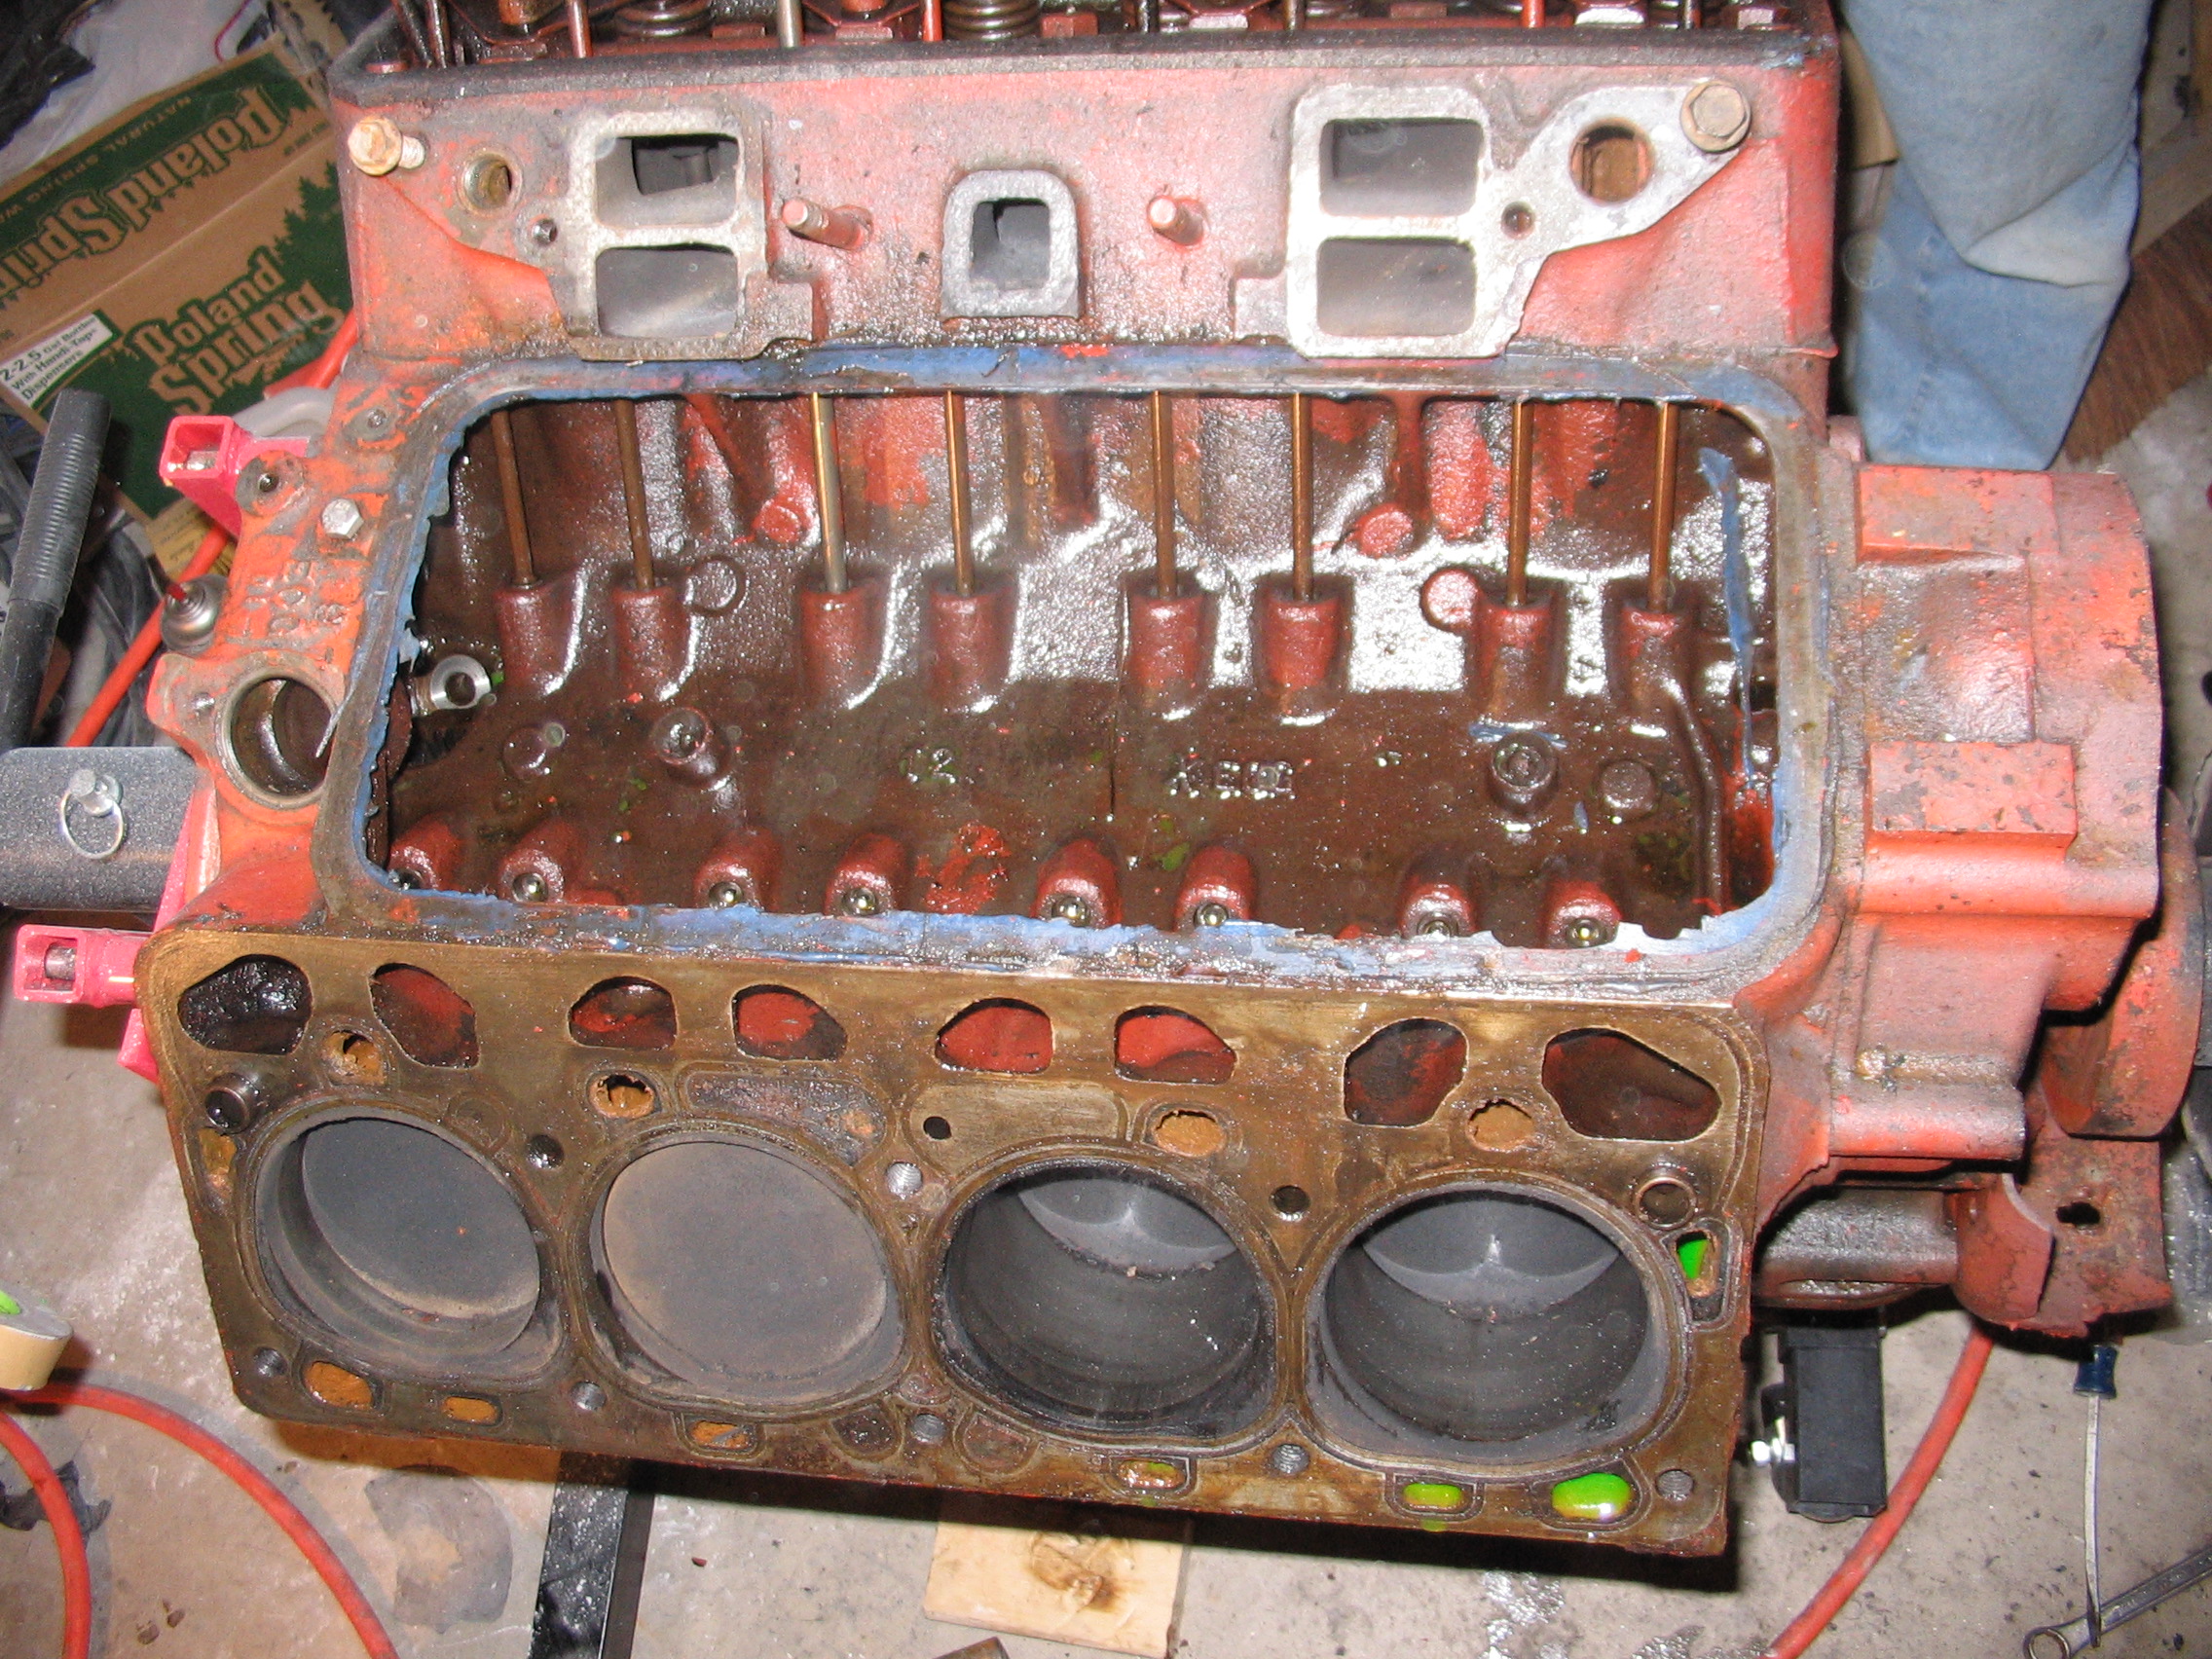
14 / 21
Head Removed
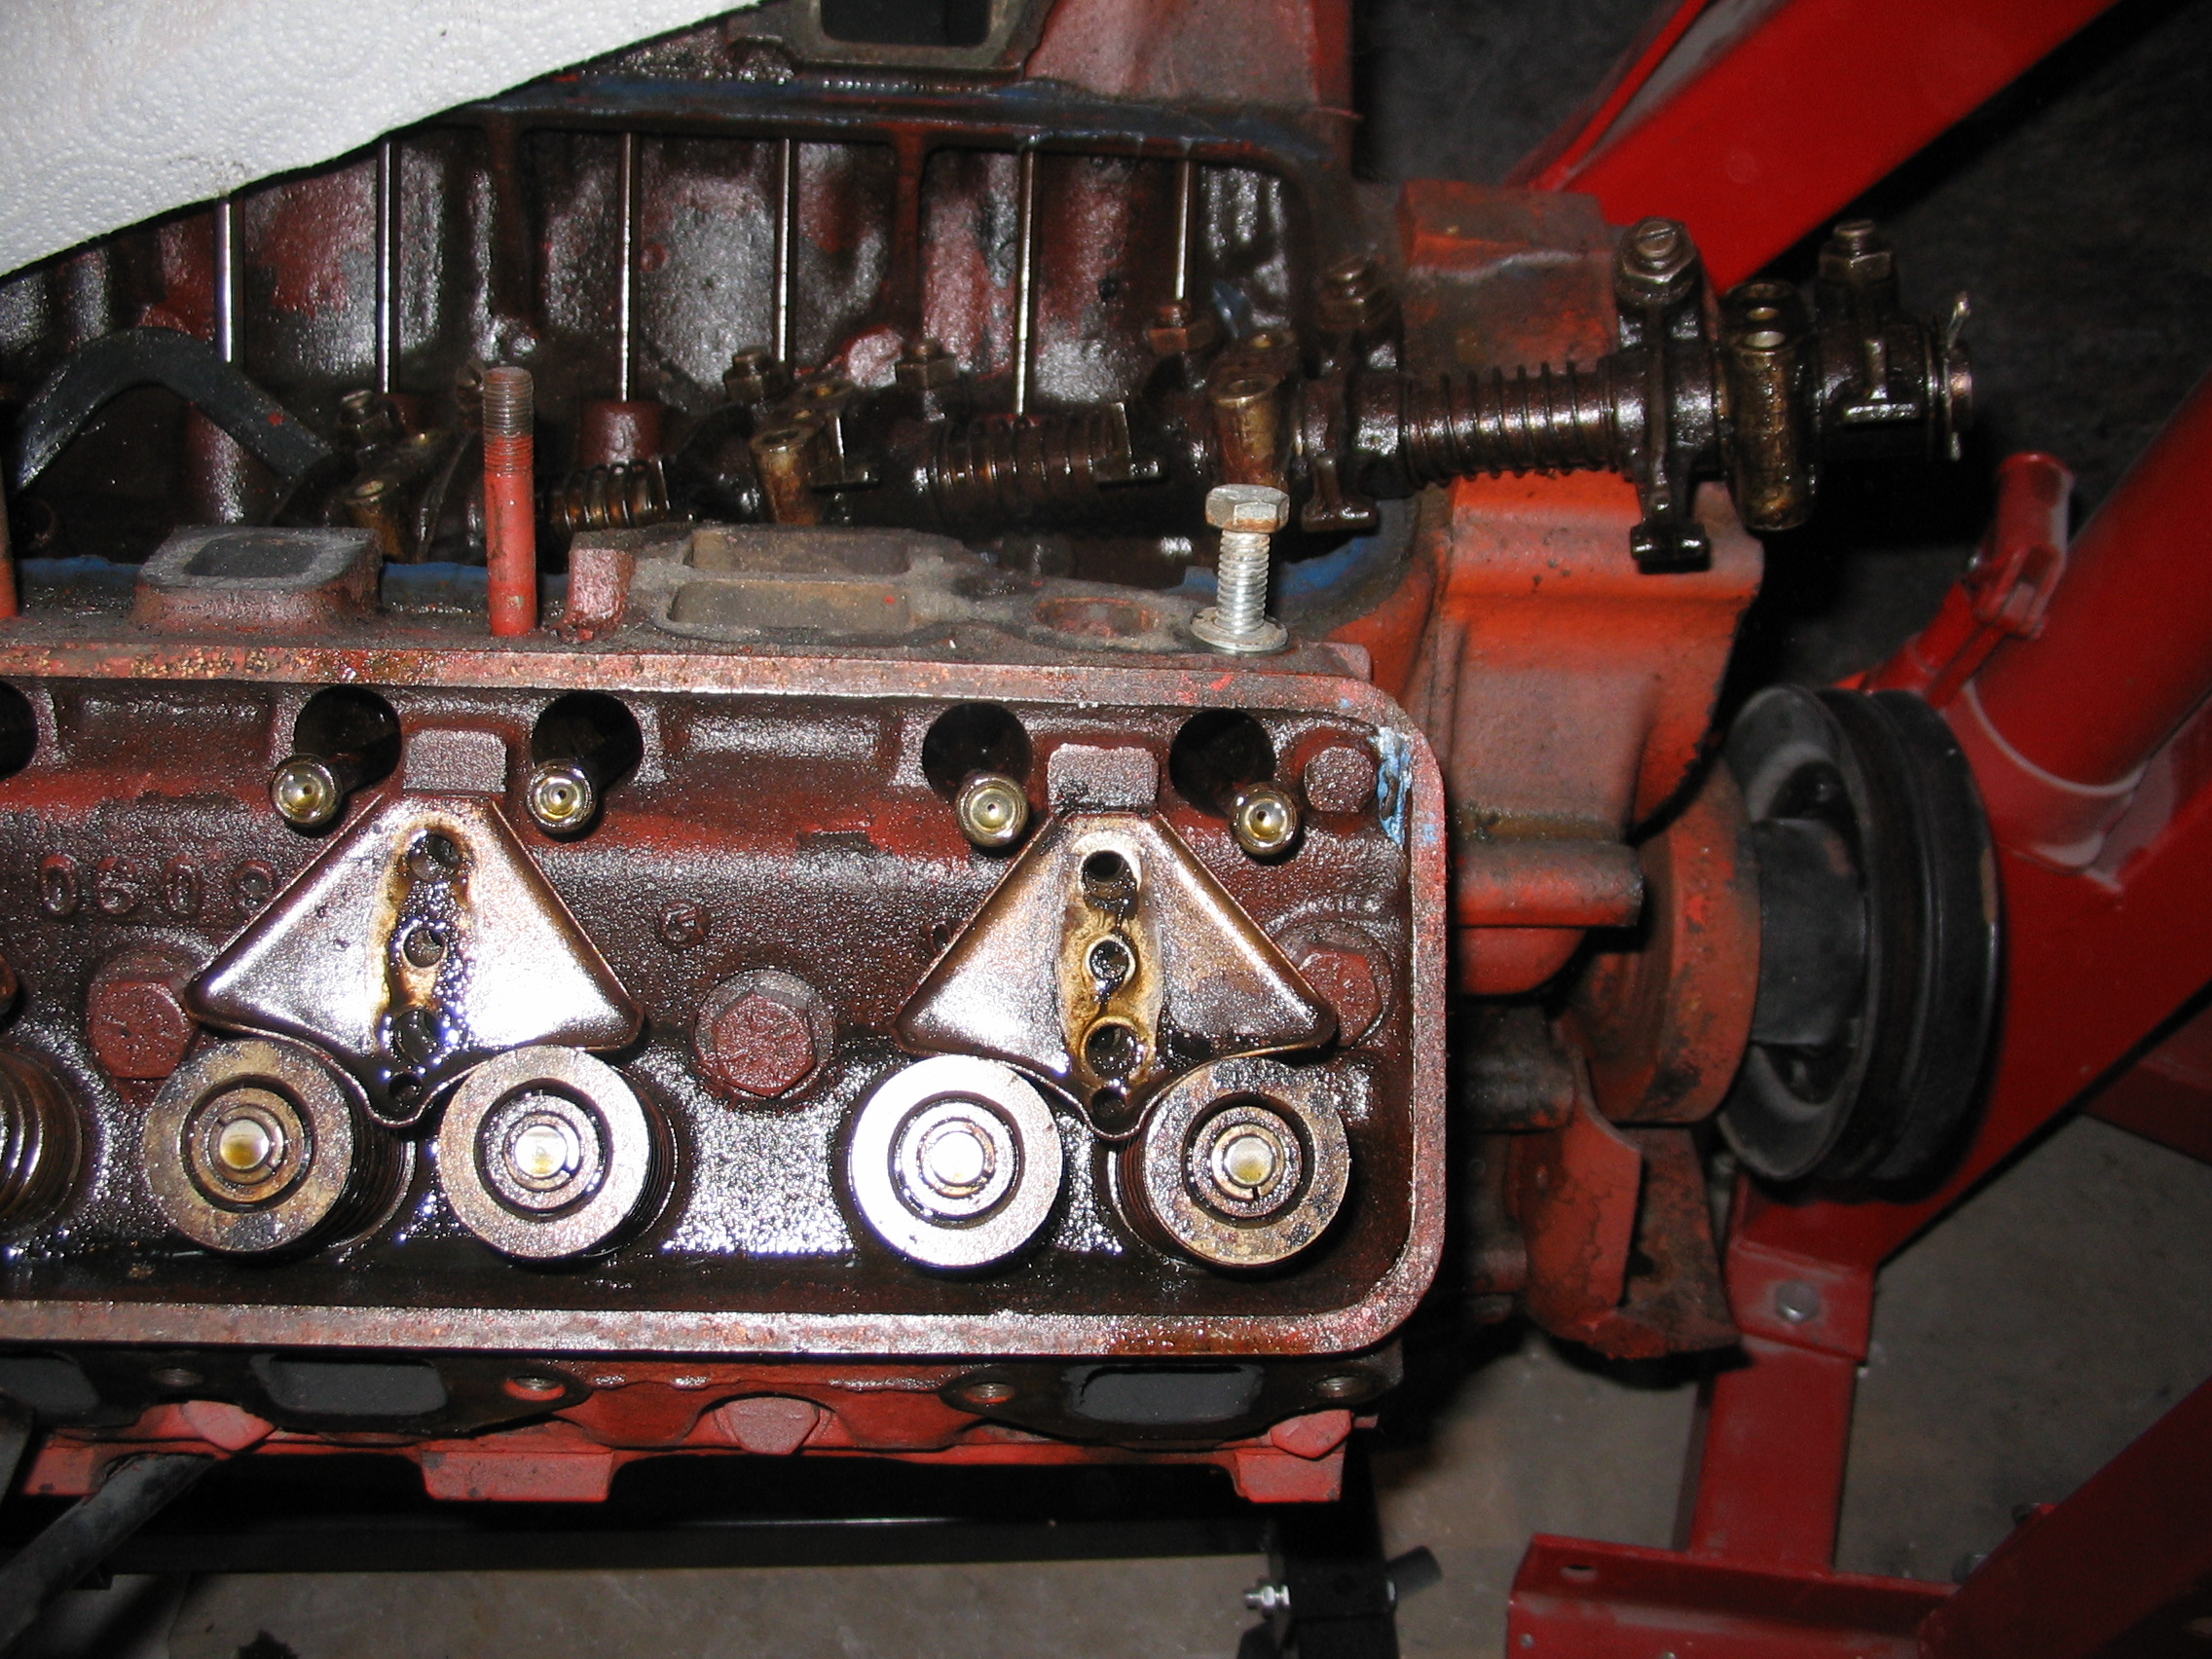
15 / 21
Water Pump
16 / 21
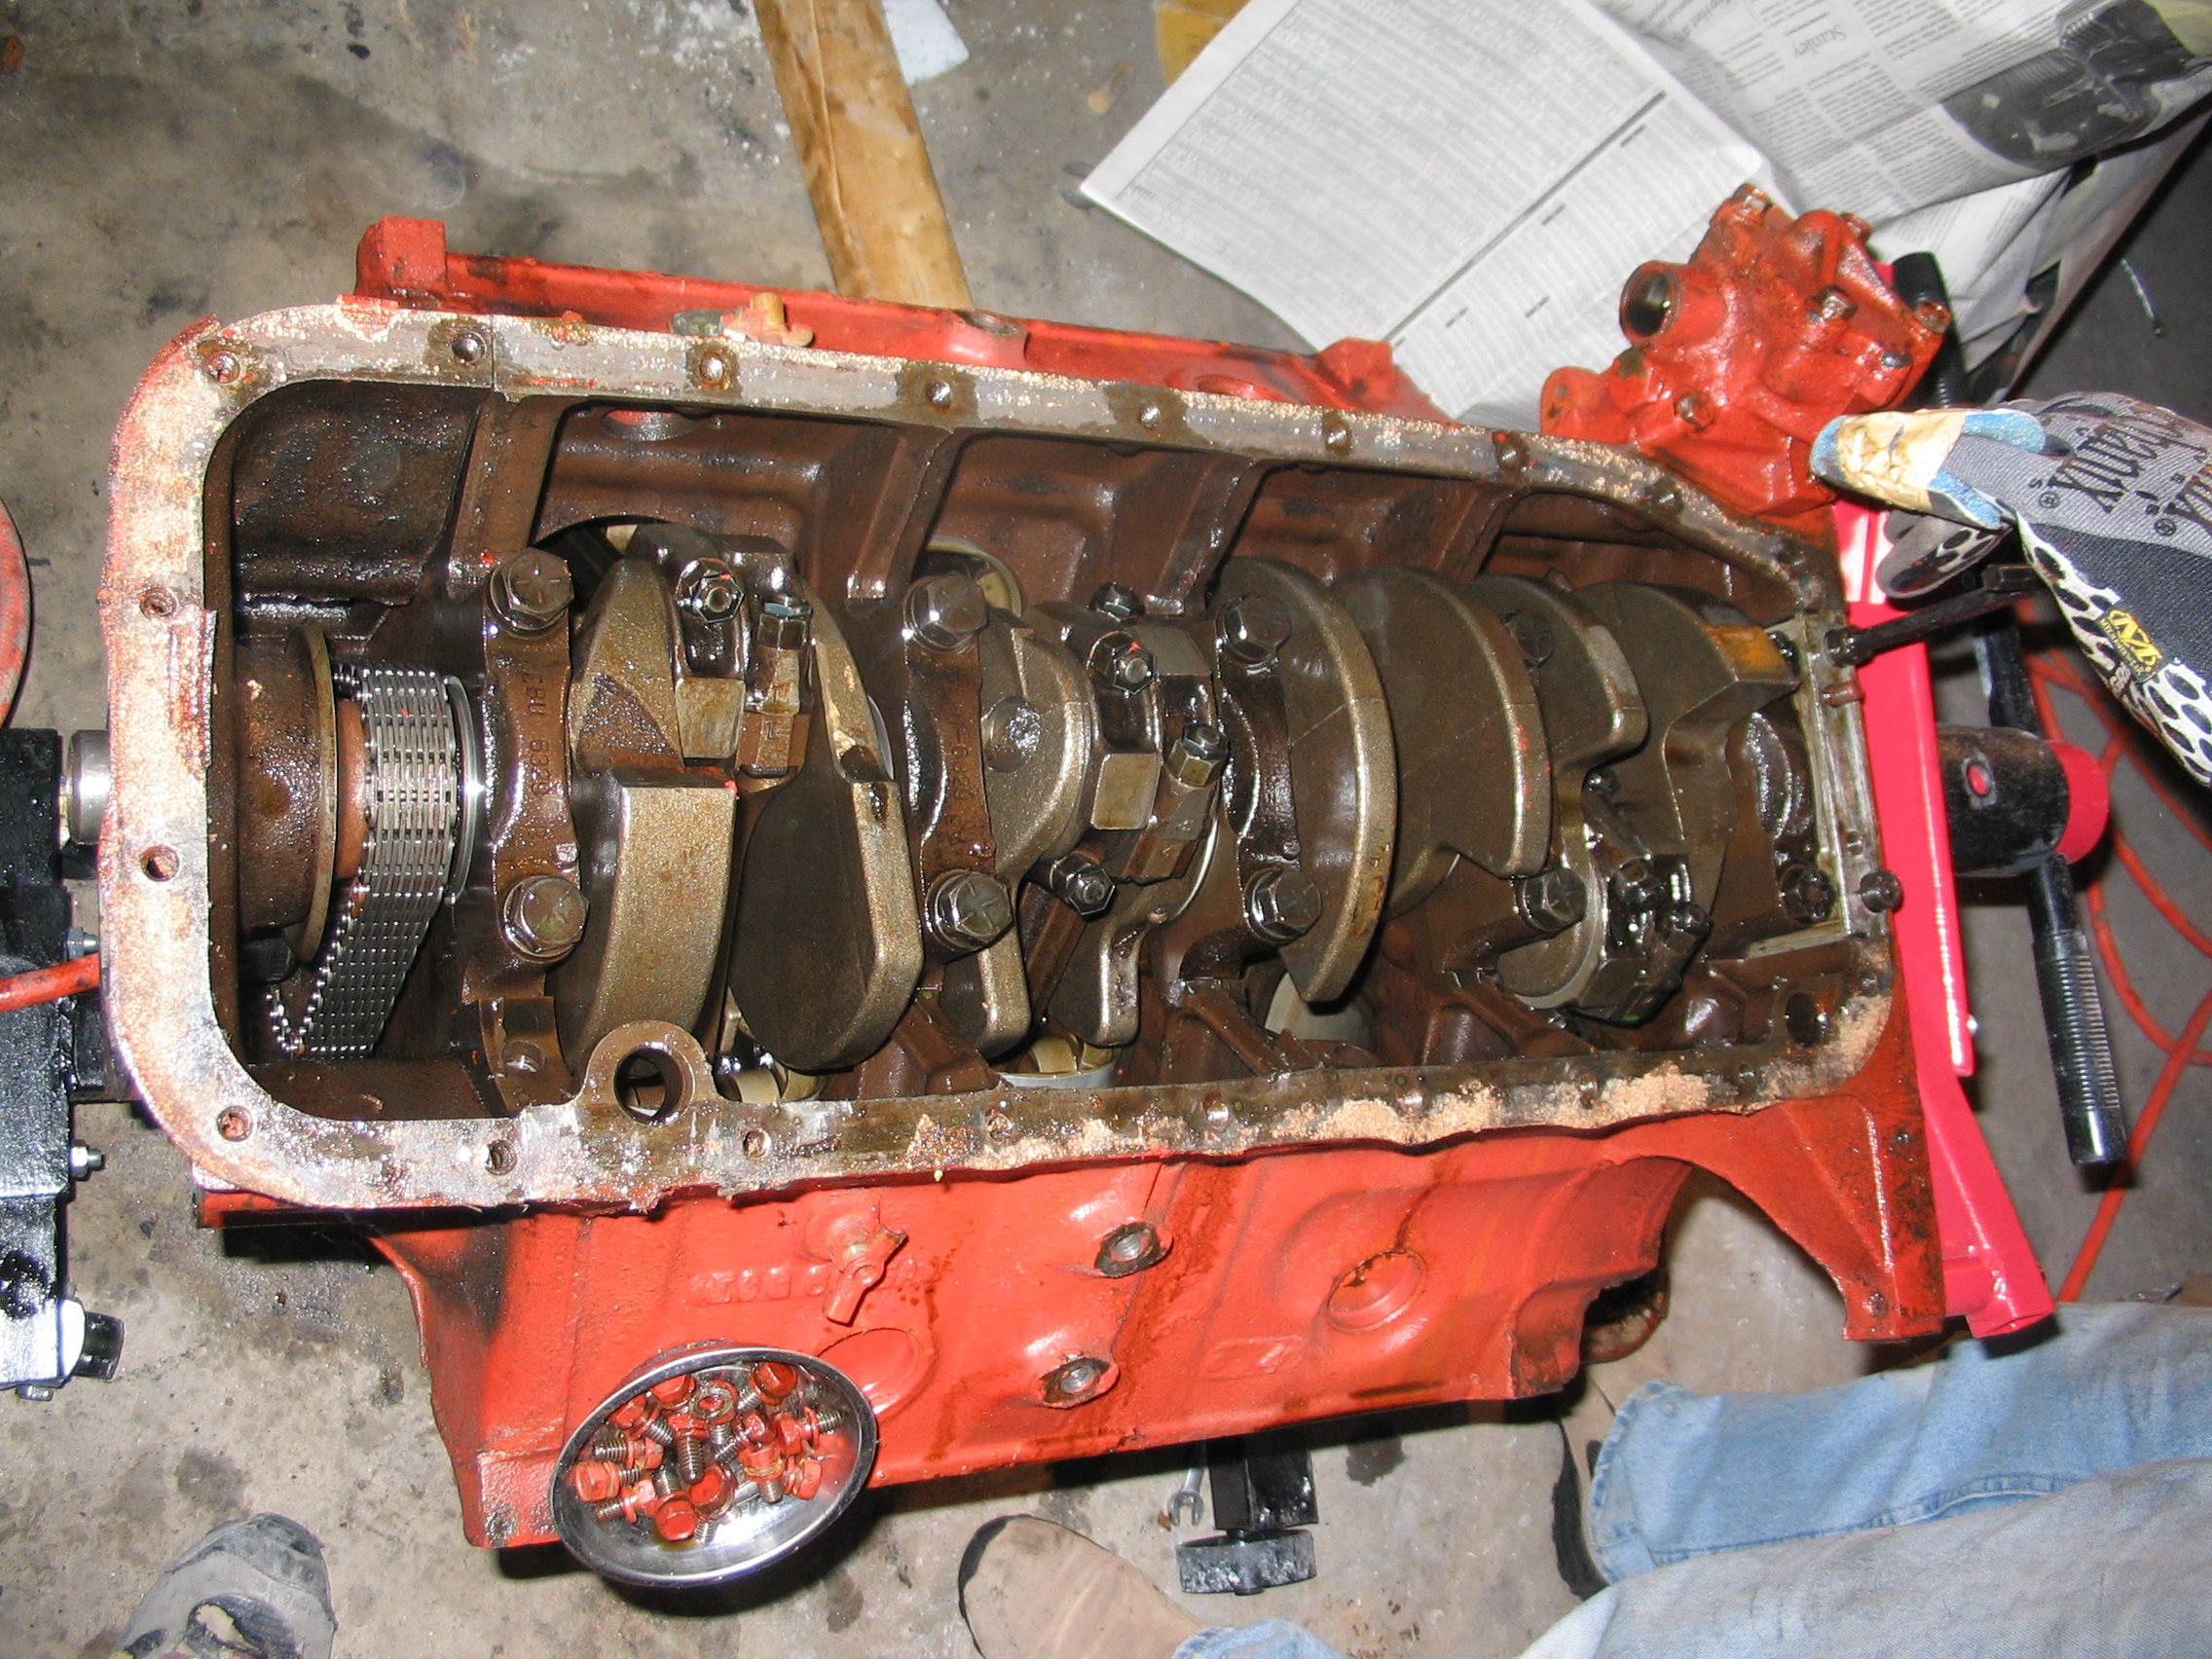
Bottom End
17 / 21
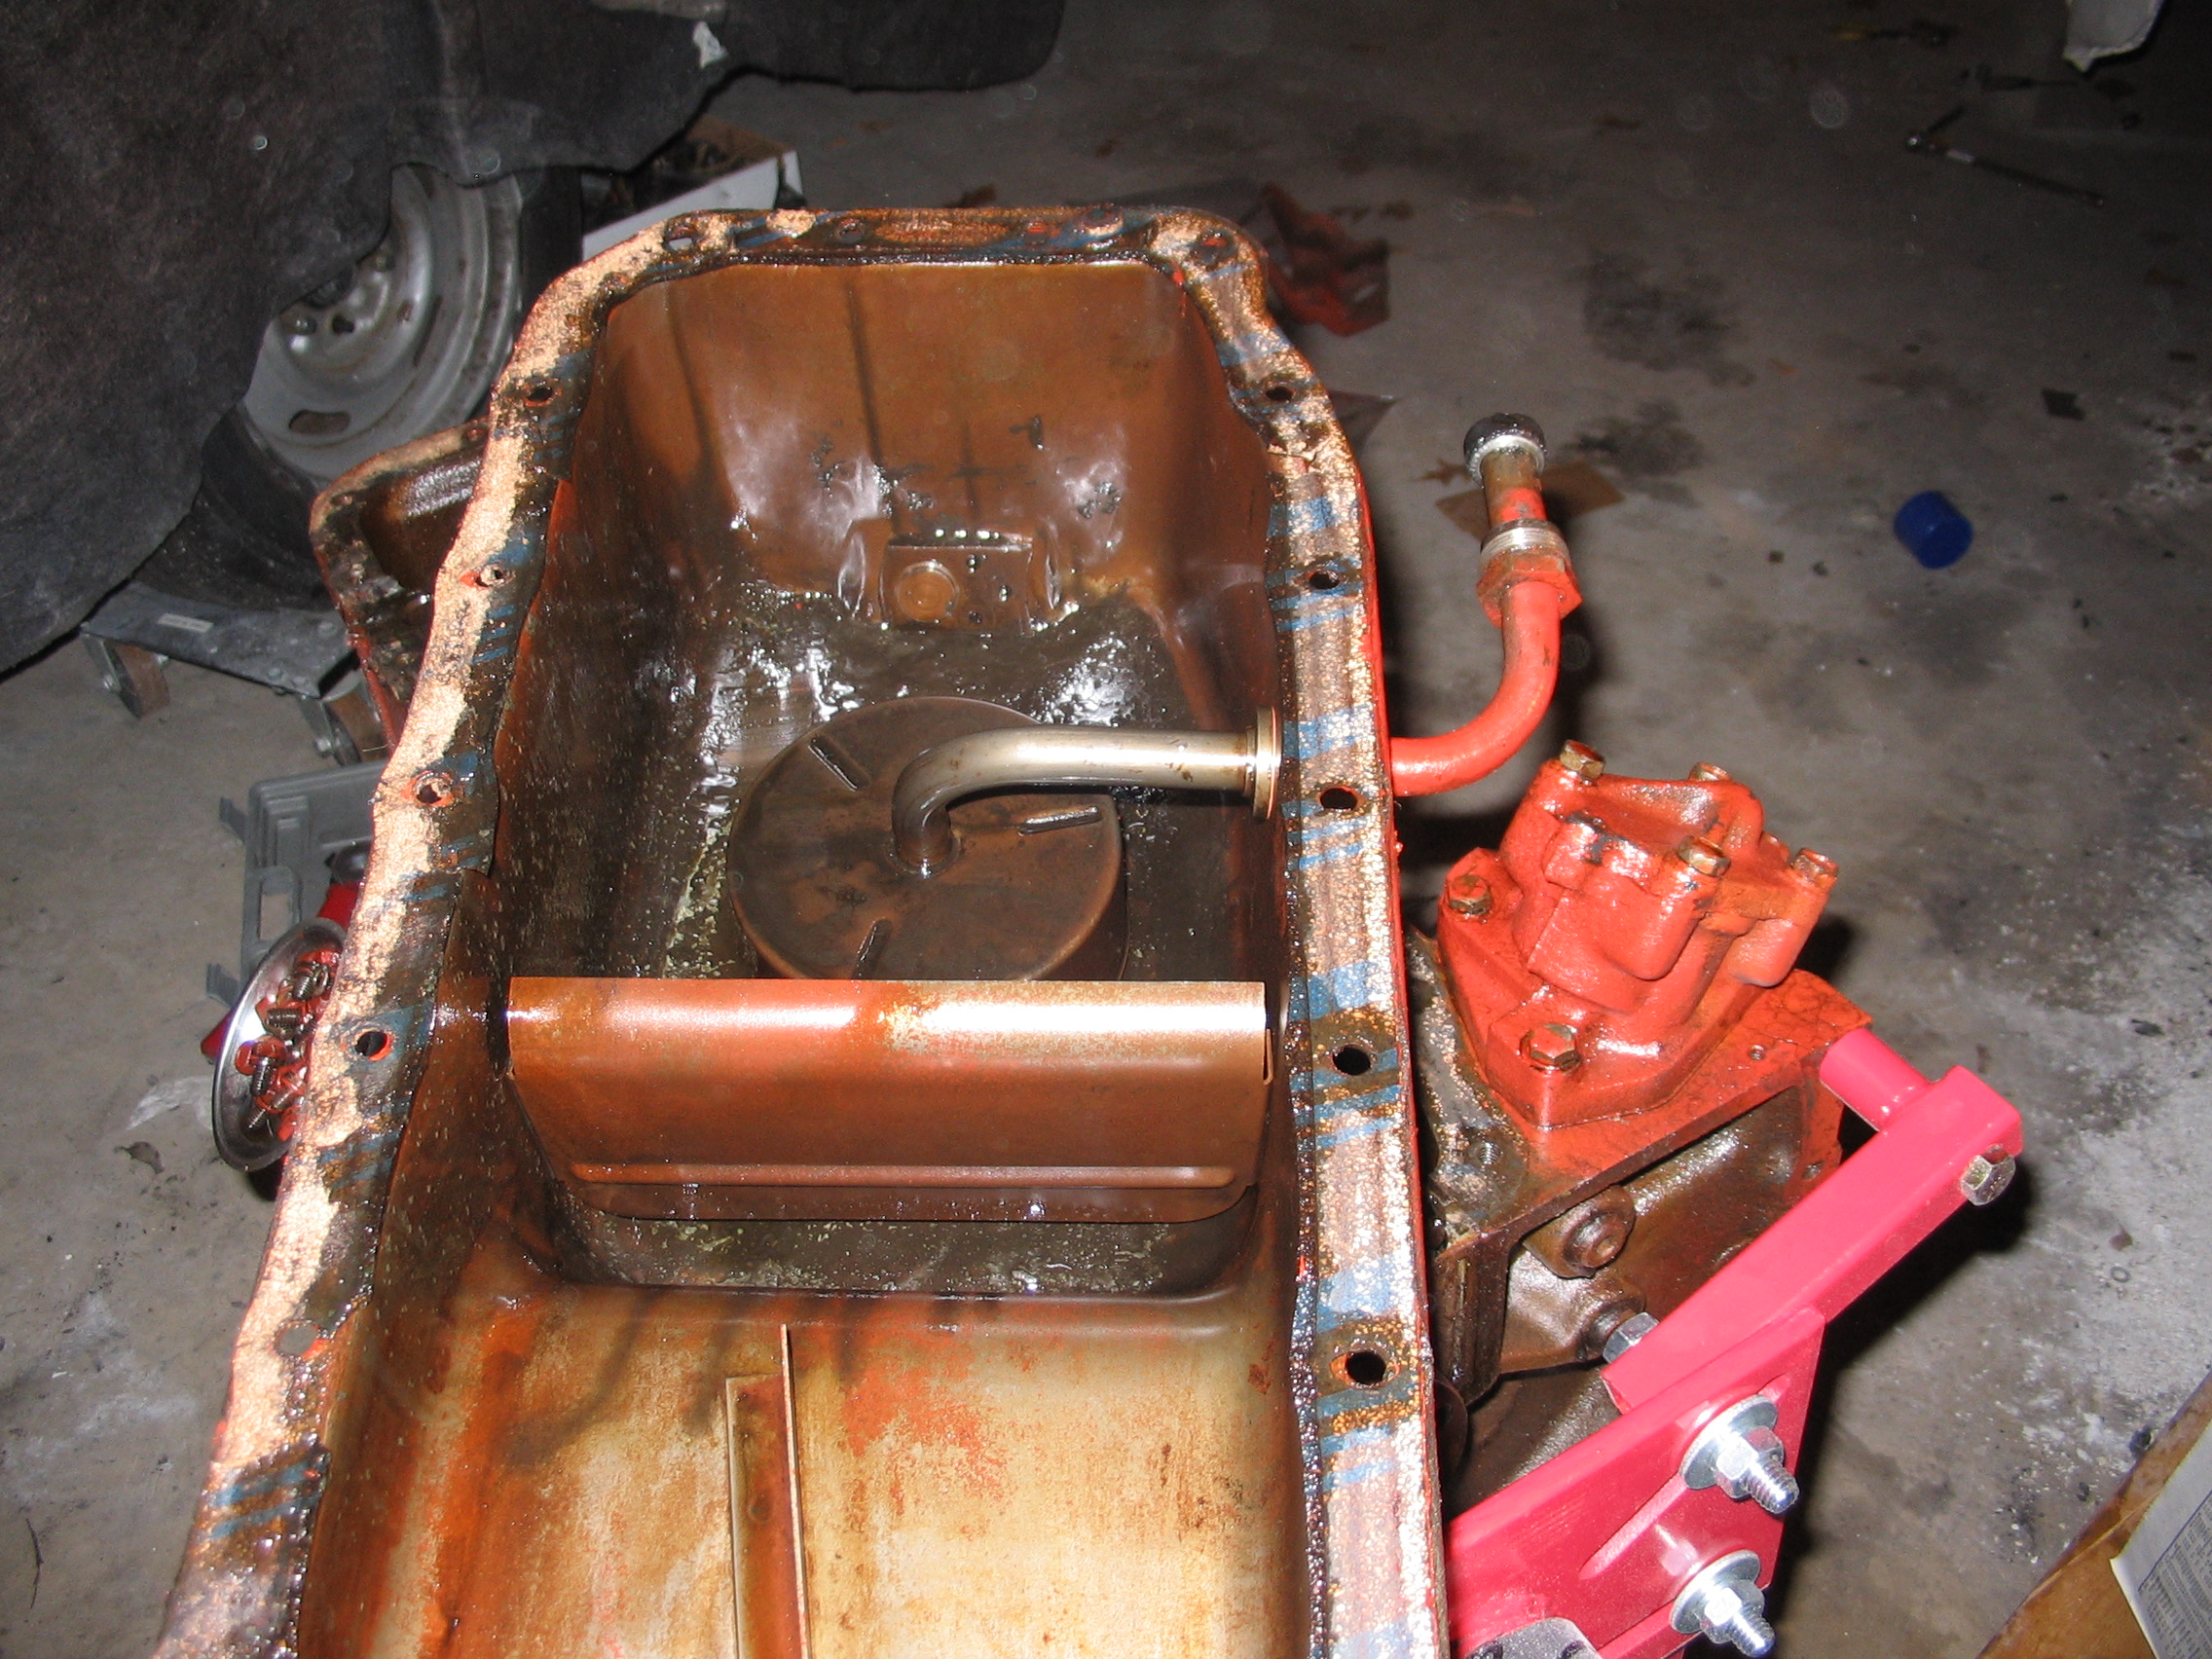
Oil Pan
18 / 21
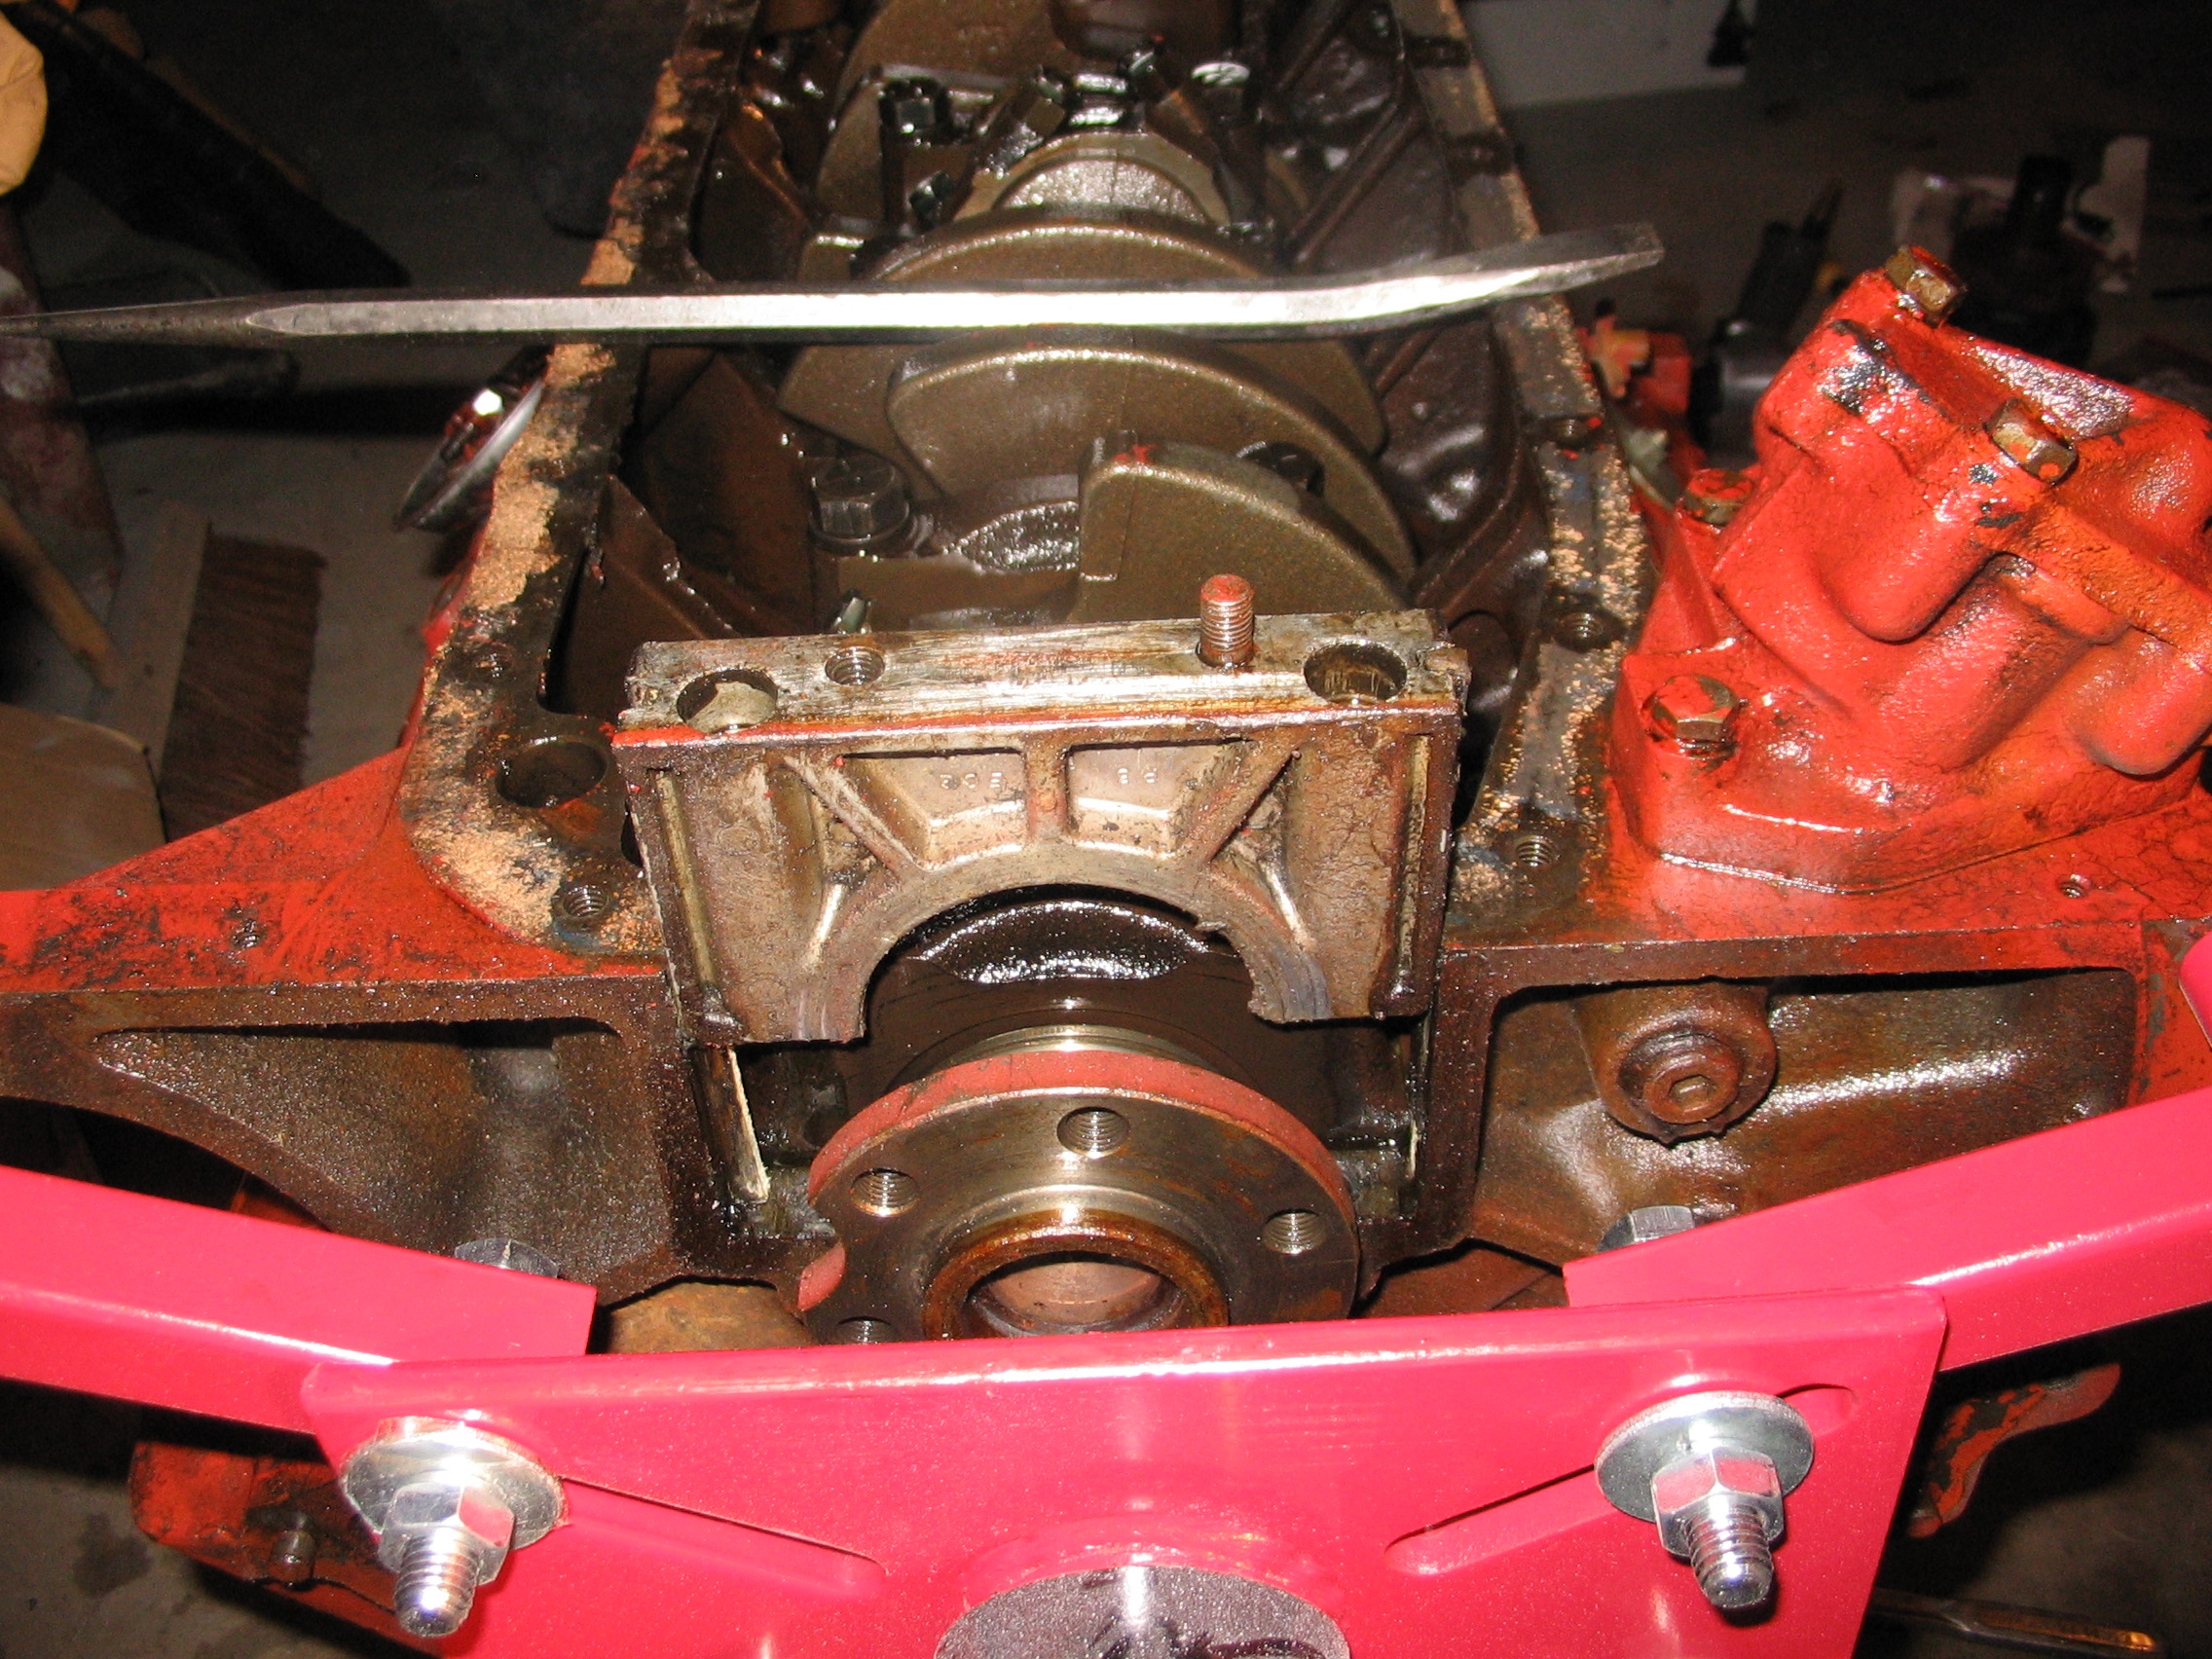
Rear Seal
19 / 21
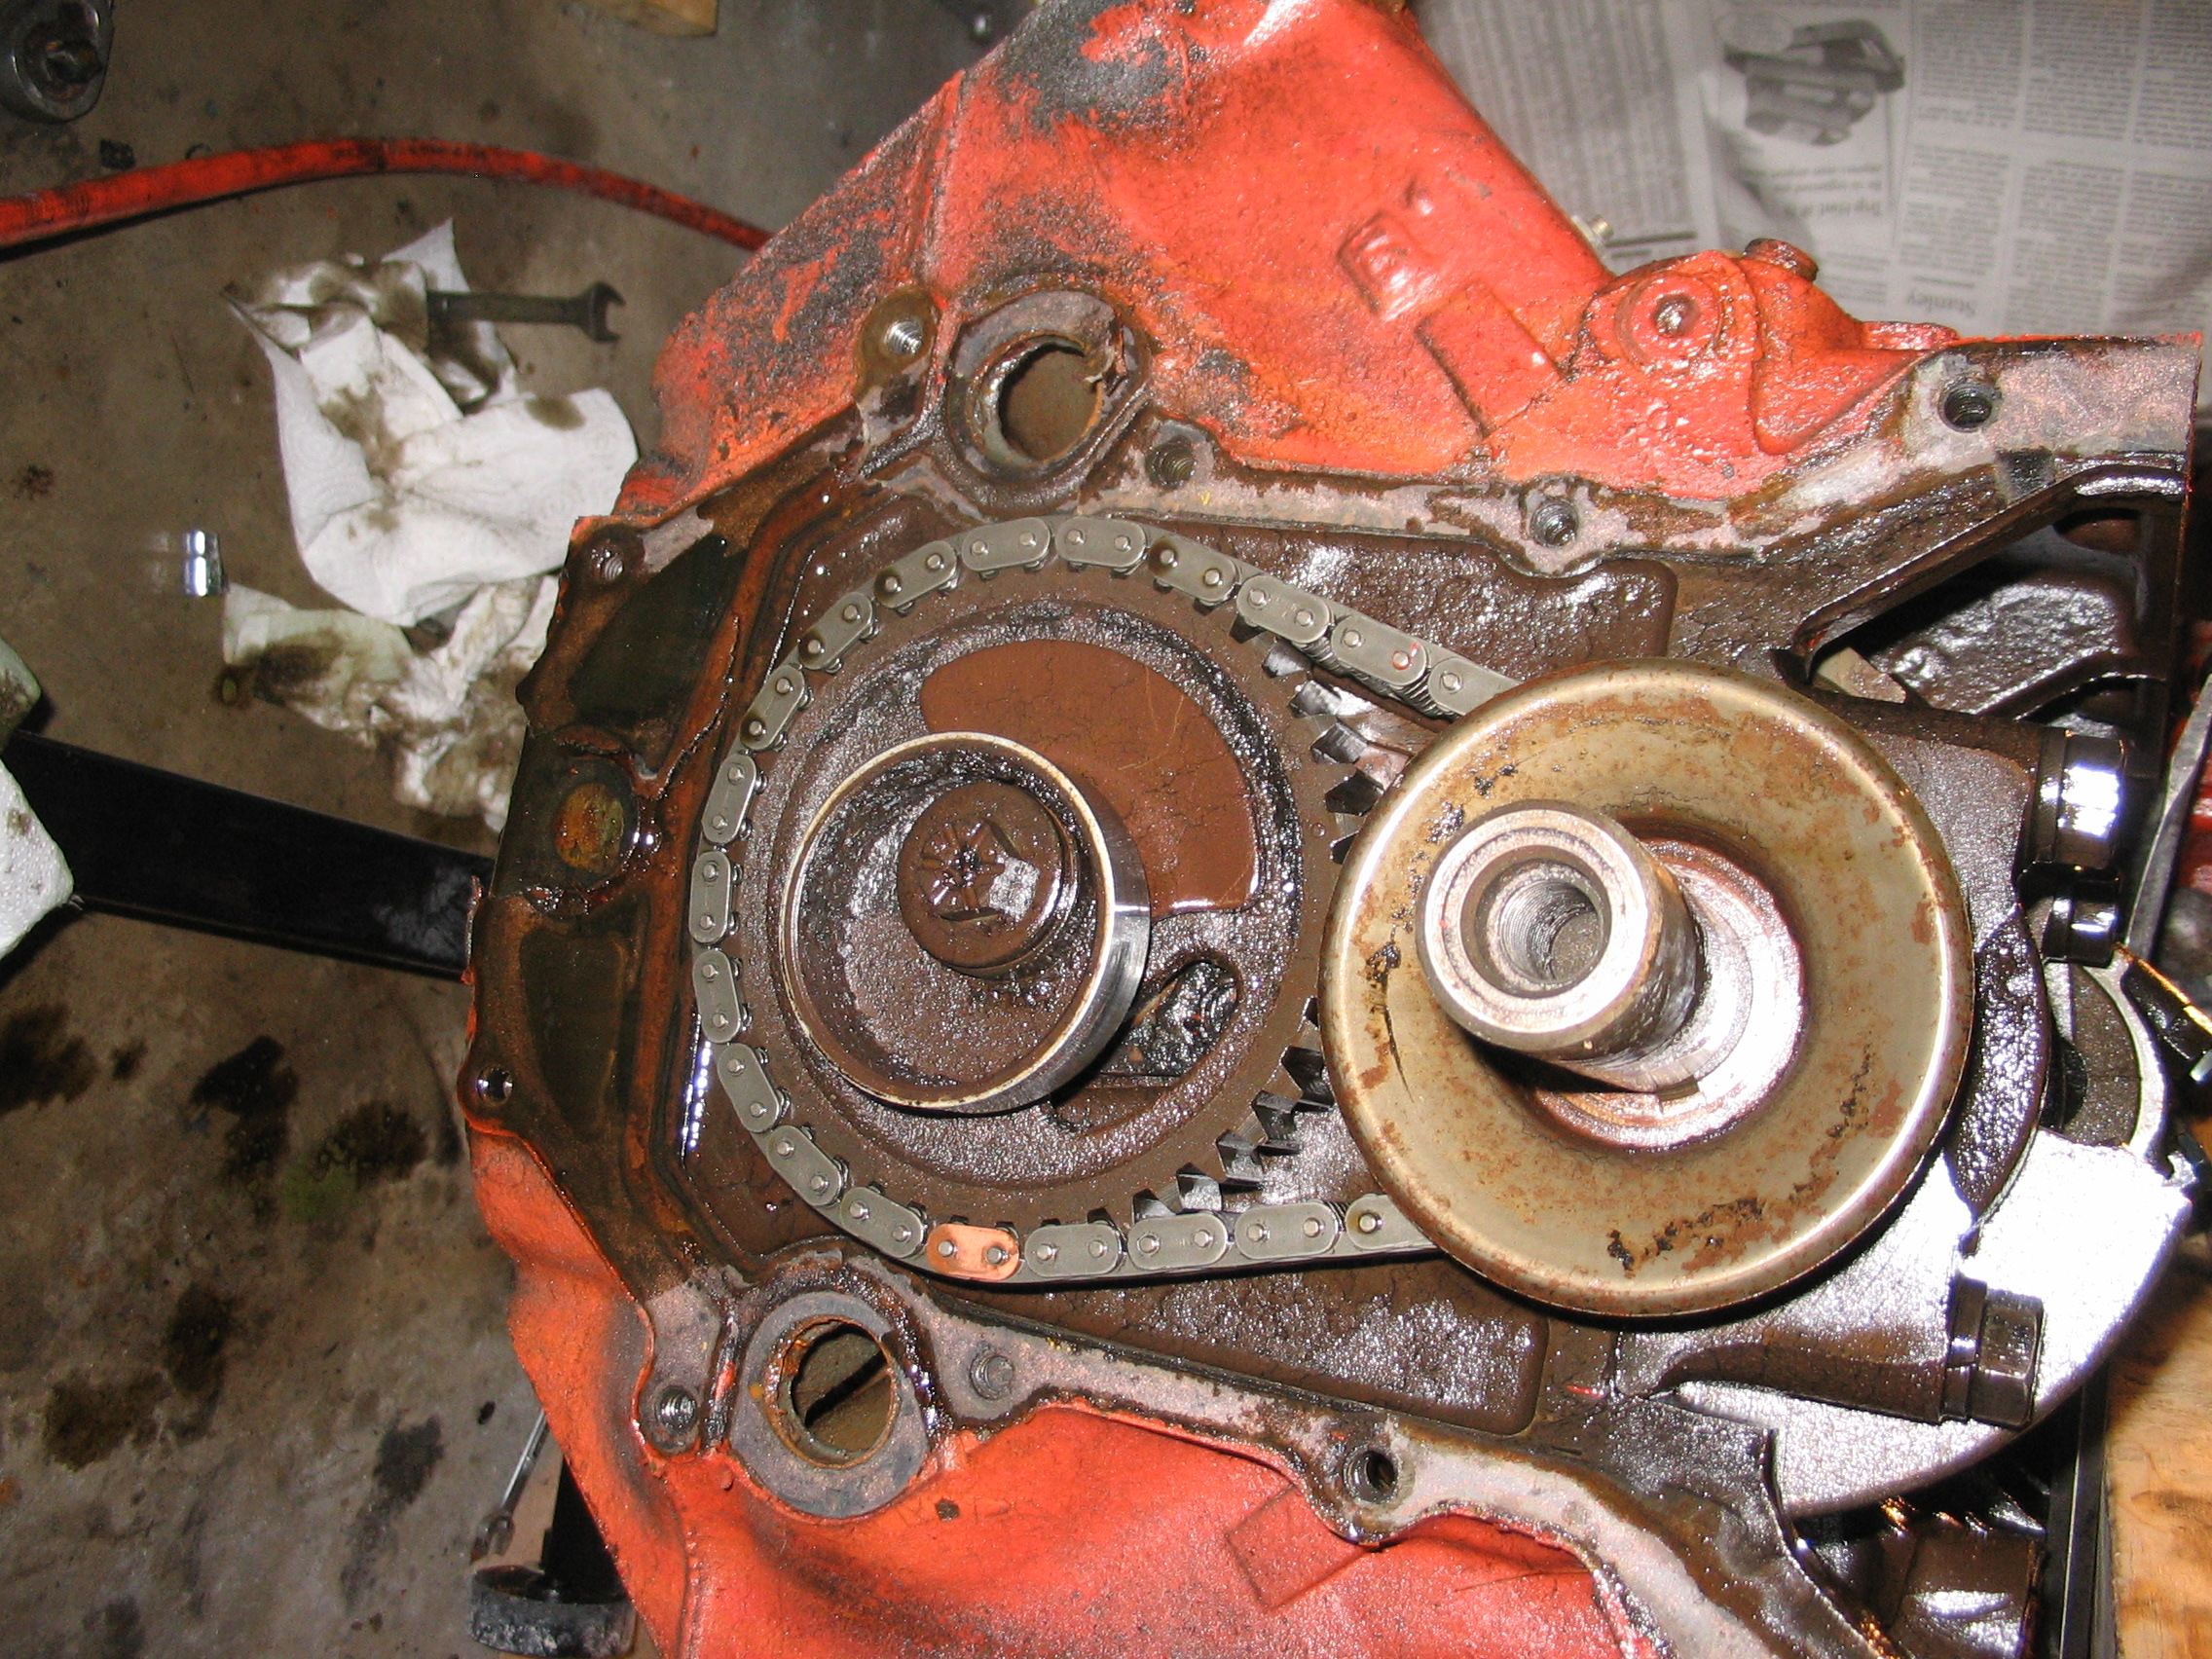
Timing Chain
20 / 21
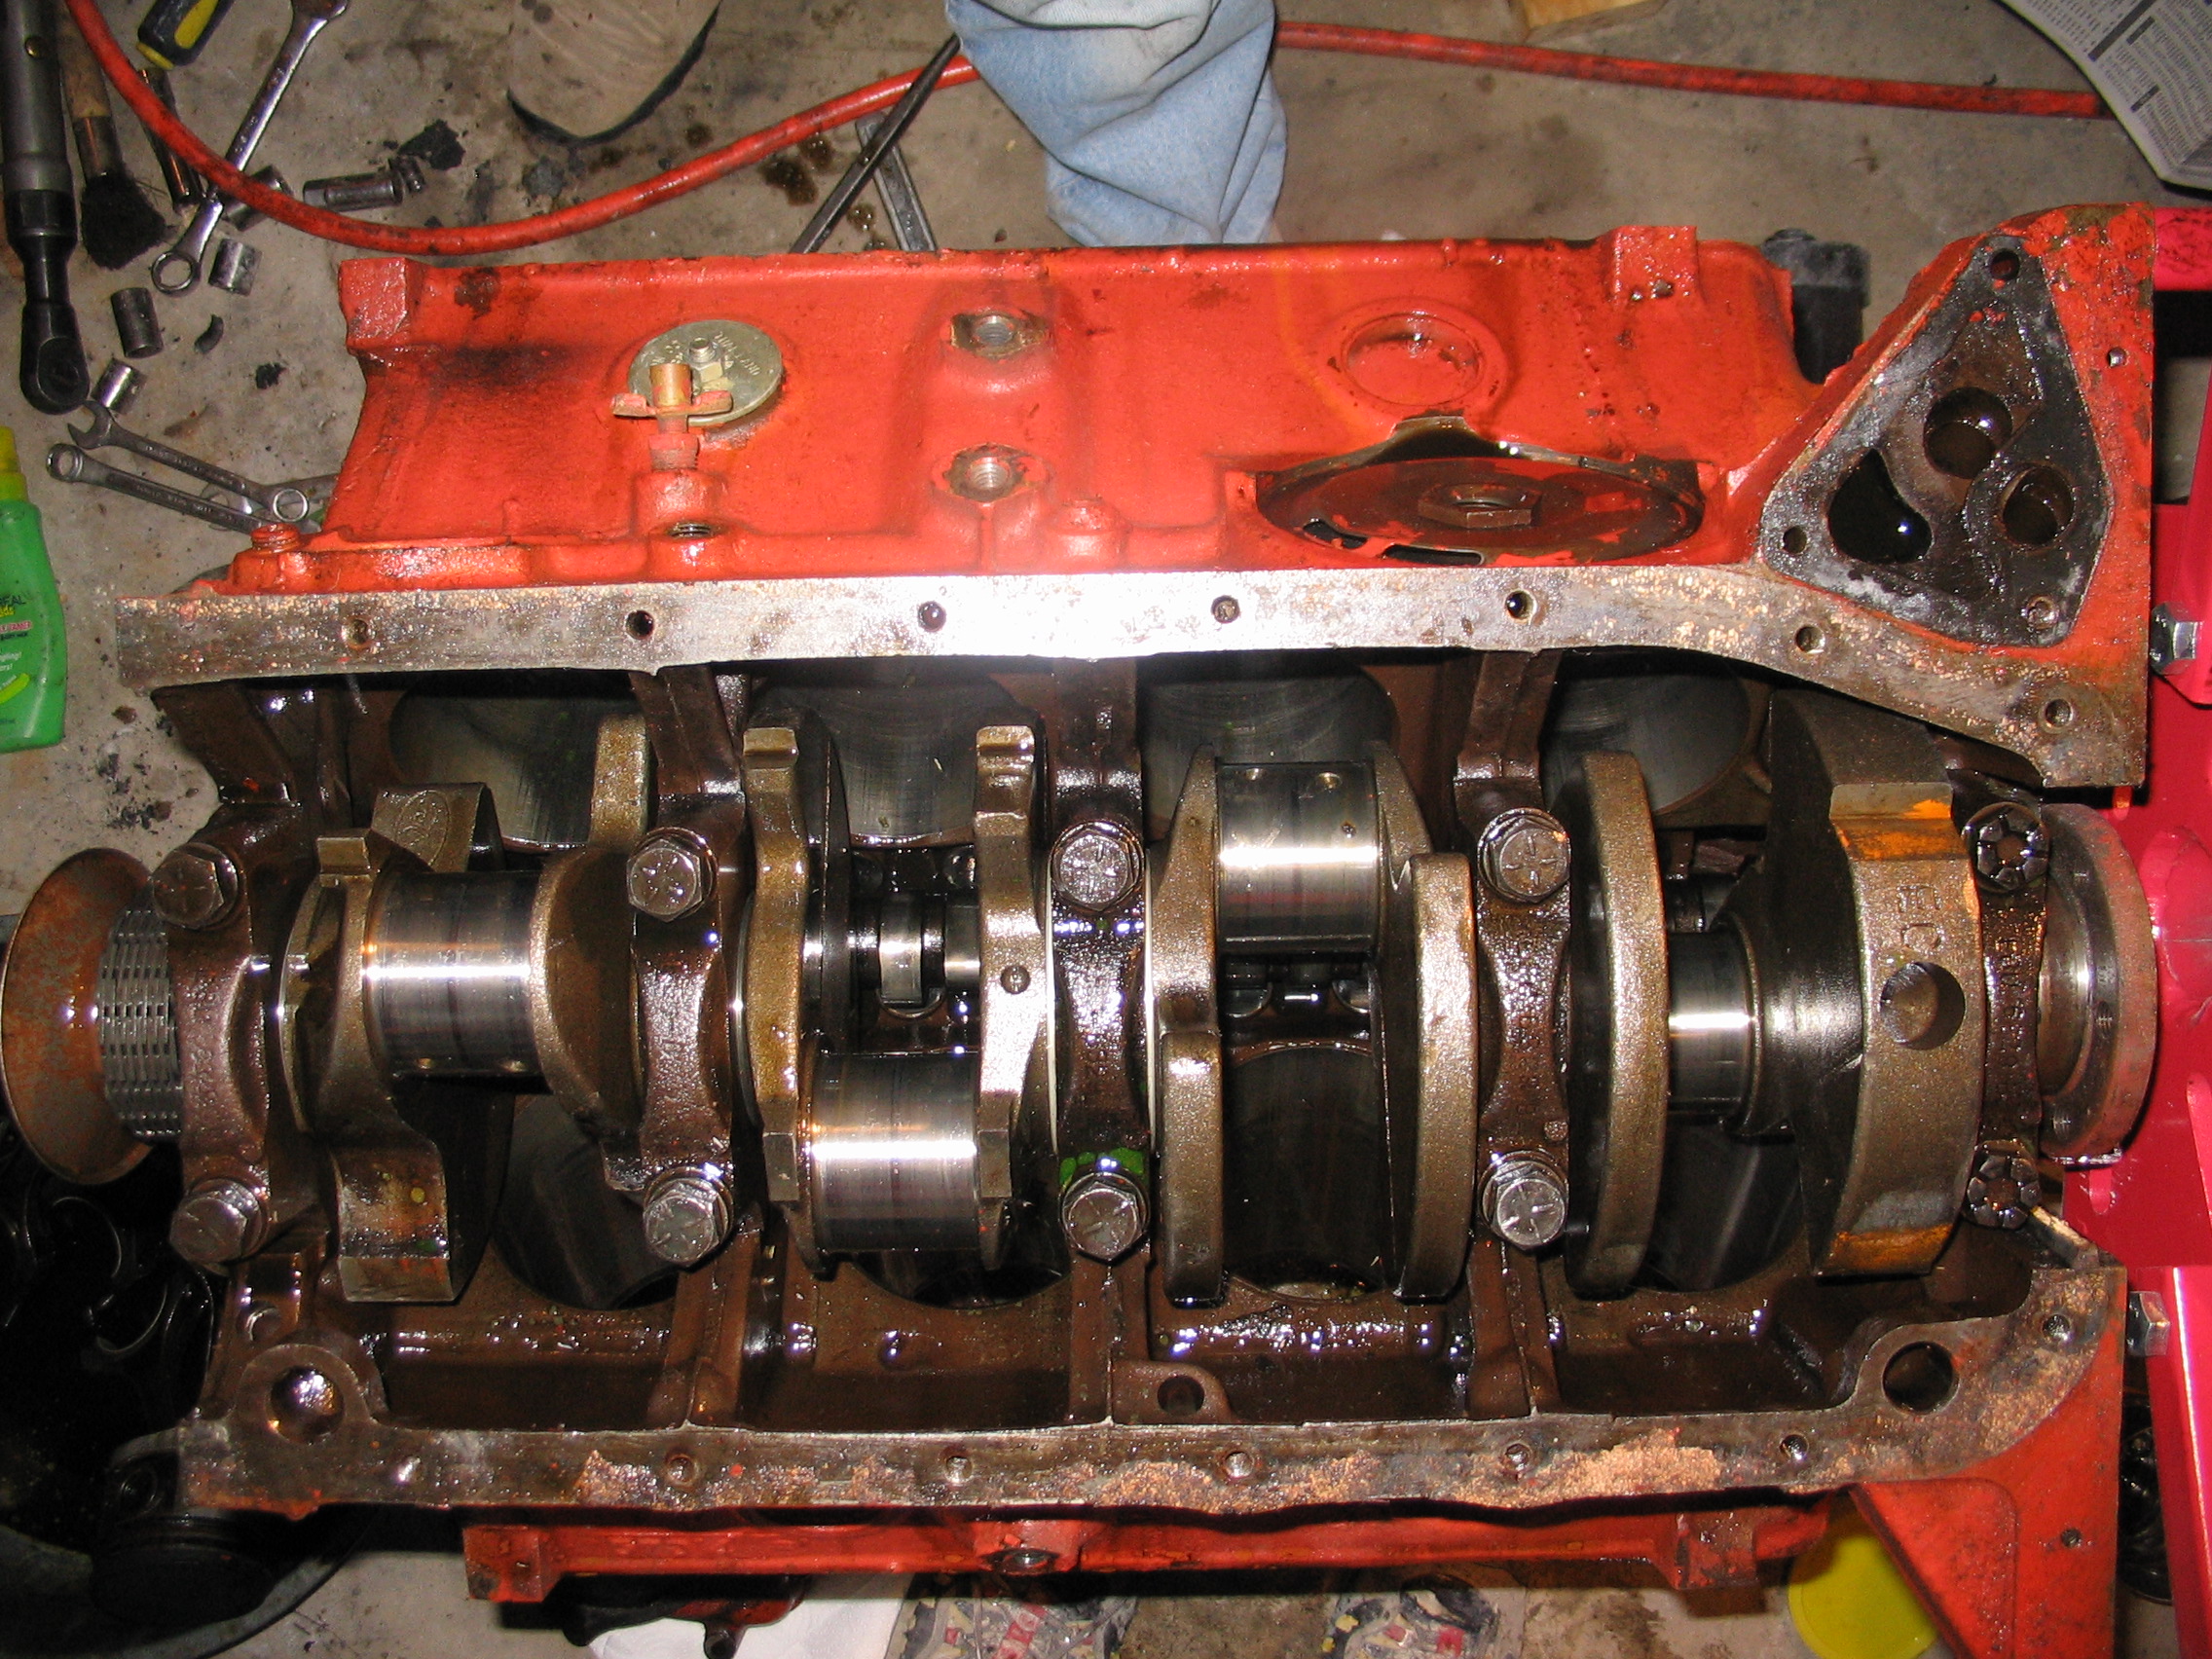
Crankshaft
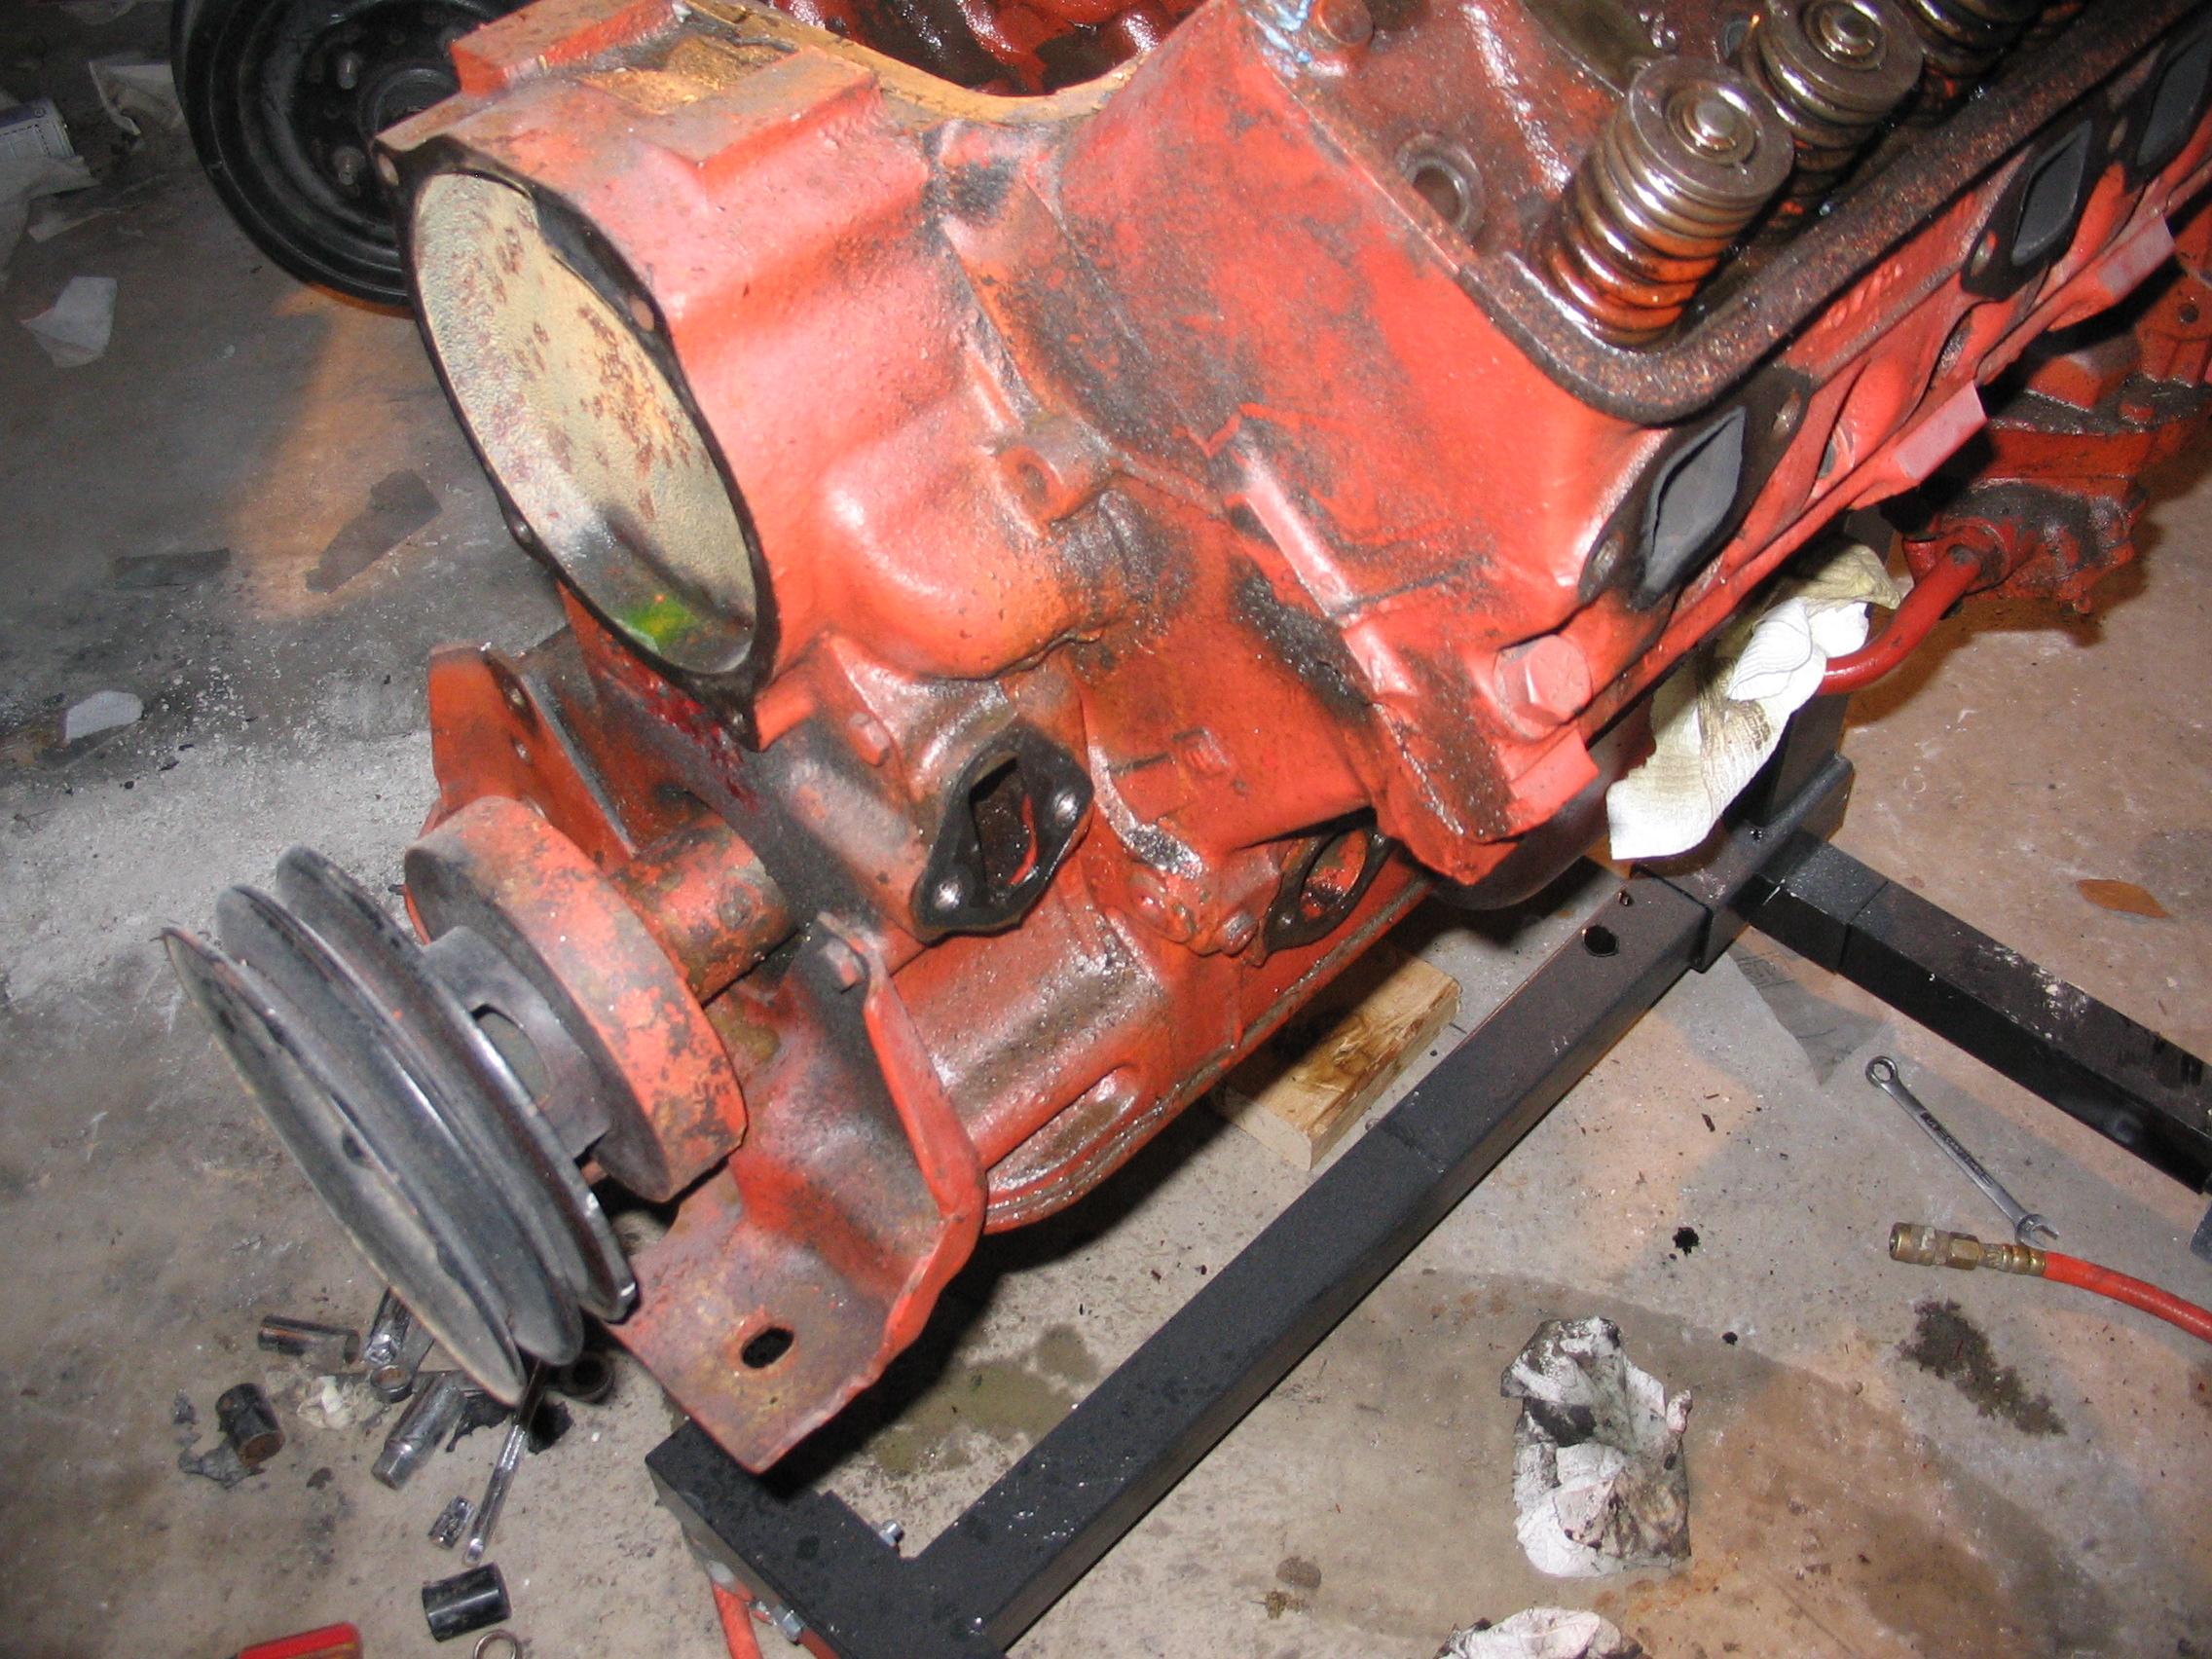
21 / 21
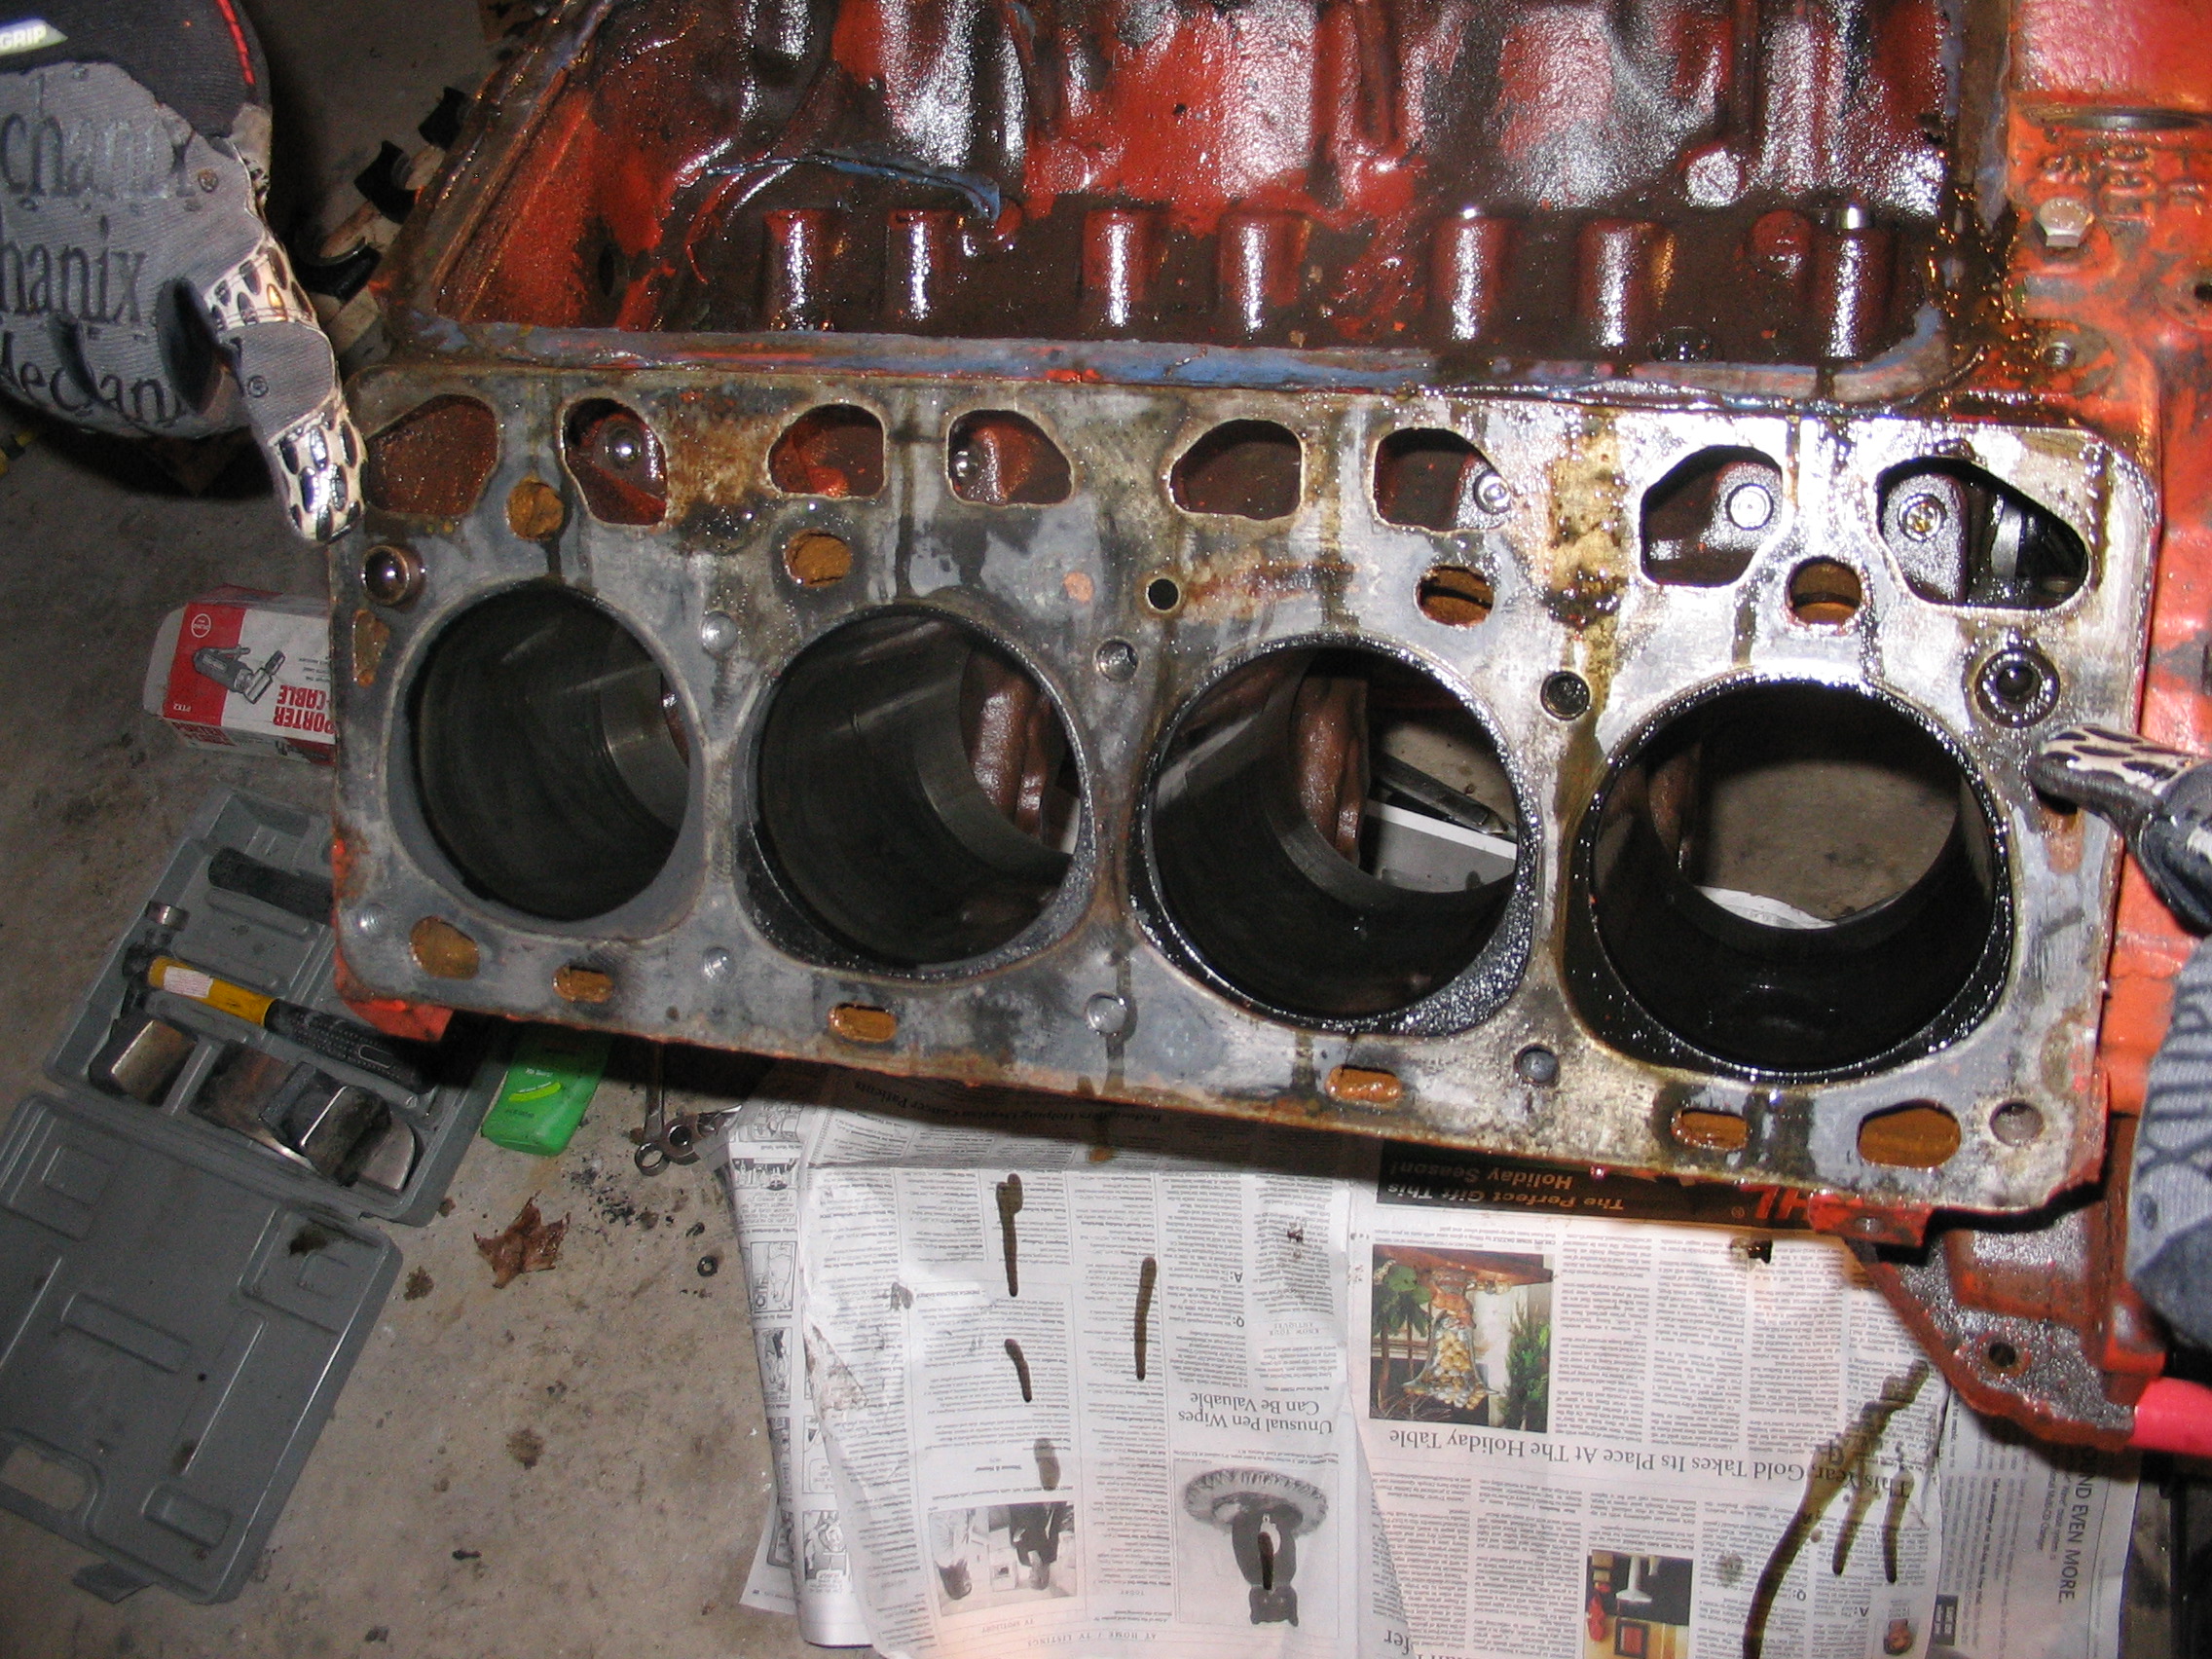
Block
Engine Assembly
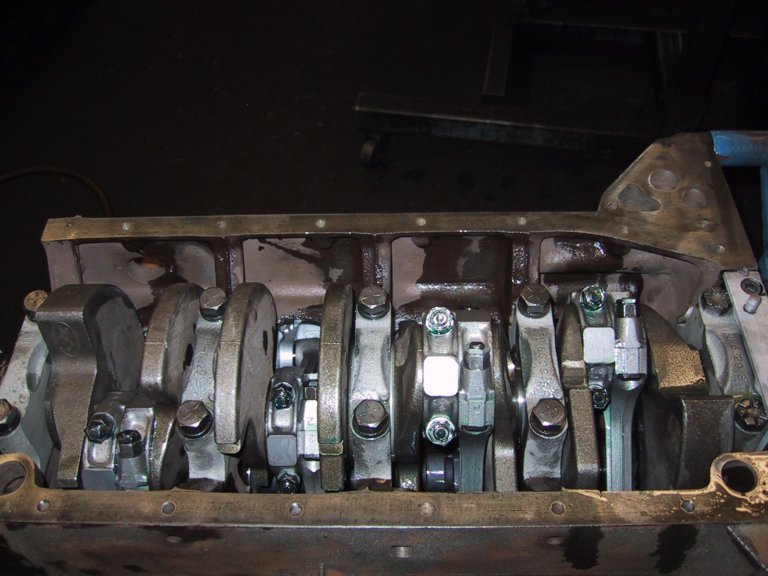
22/ 28
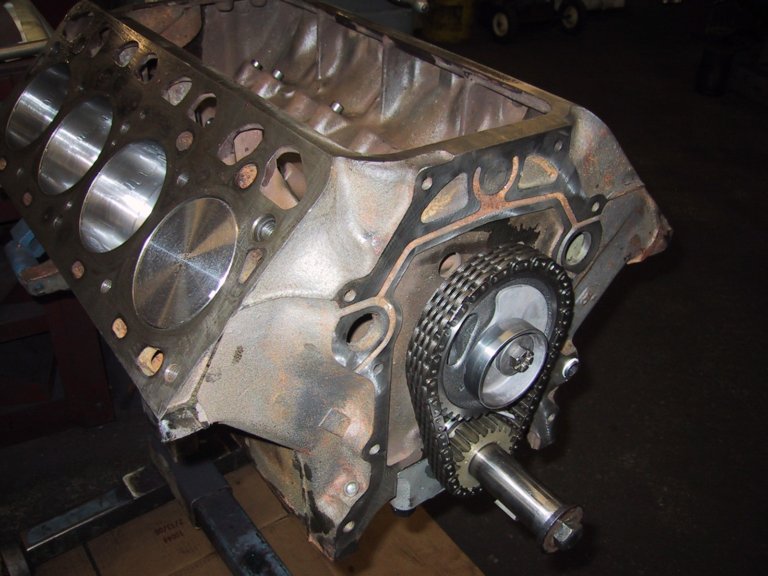
Block
23 / 28
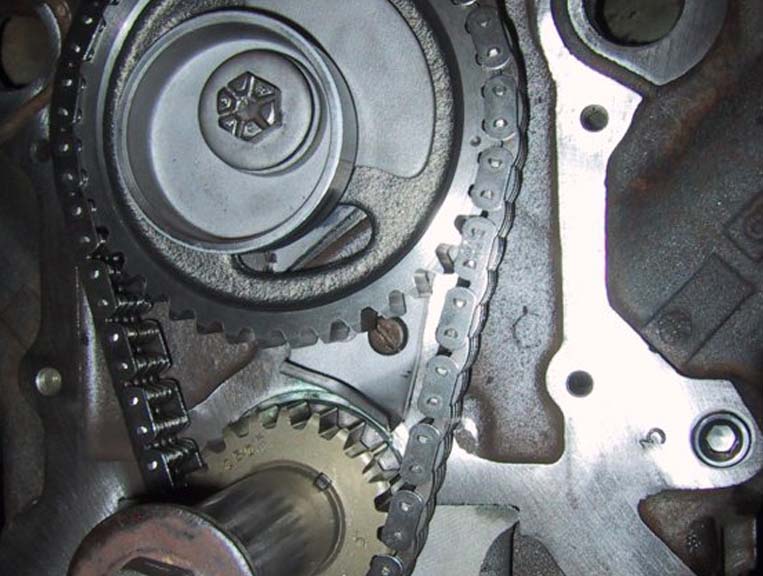
Timing Chain
24 / 28
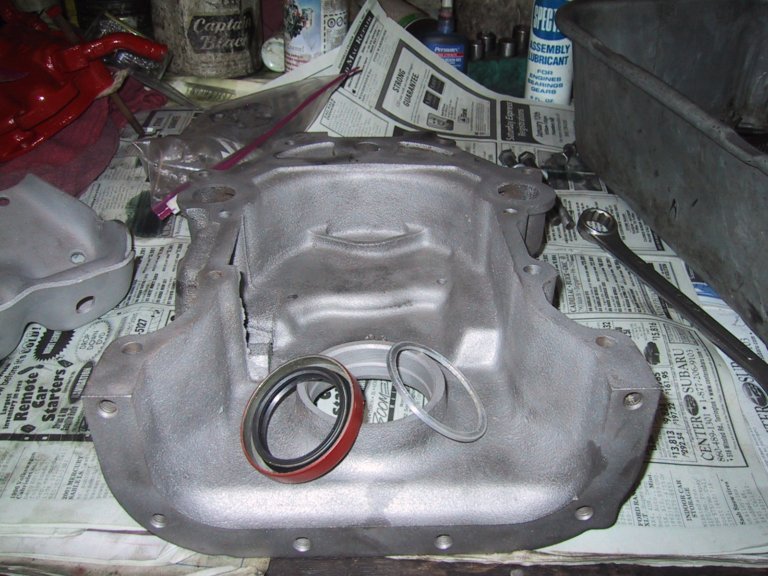
Front Cover
25 / 28
Crankshaft
26 / 28
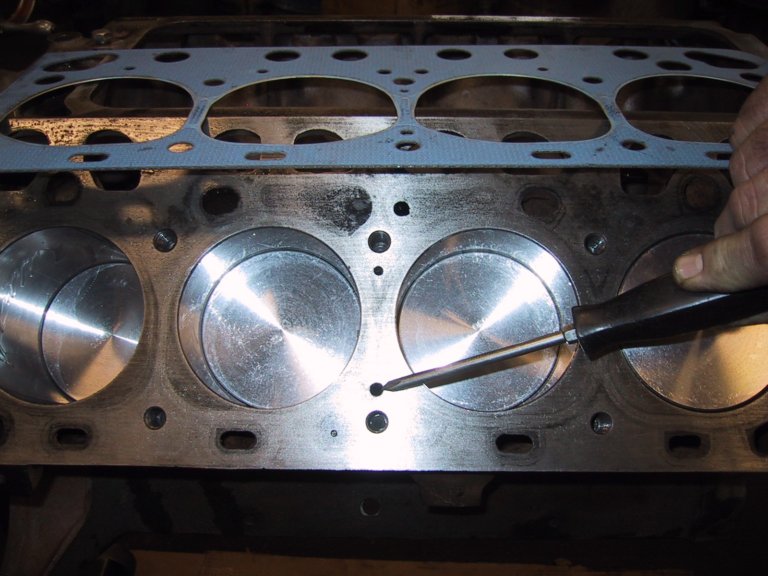
Deck
27 / 28
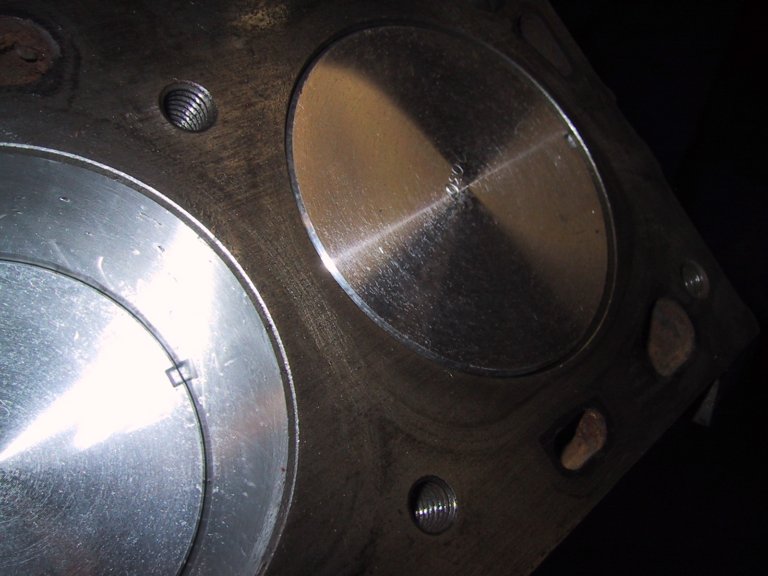
Pistons
28 / 28
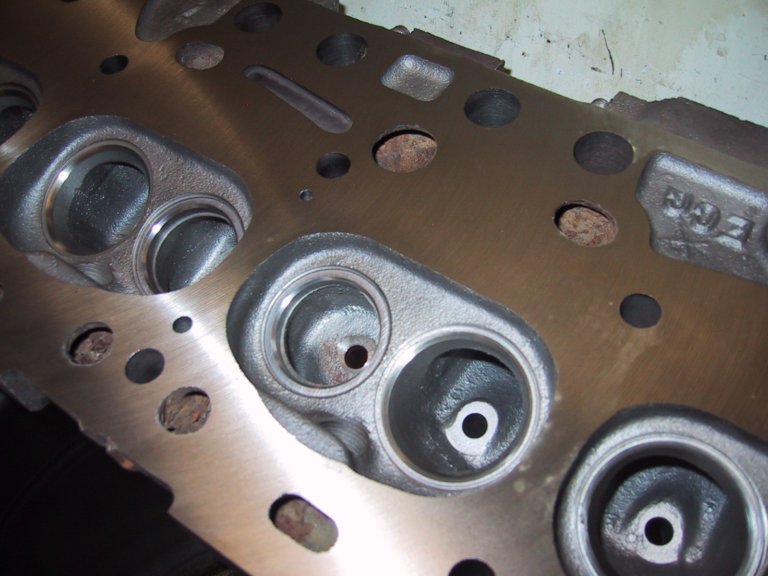
Head
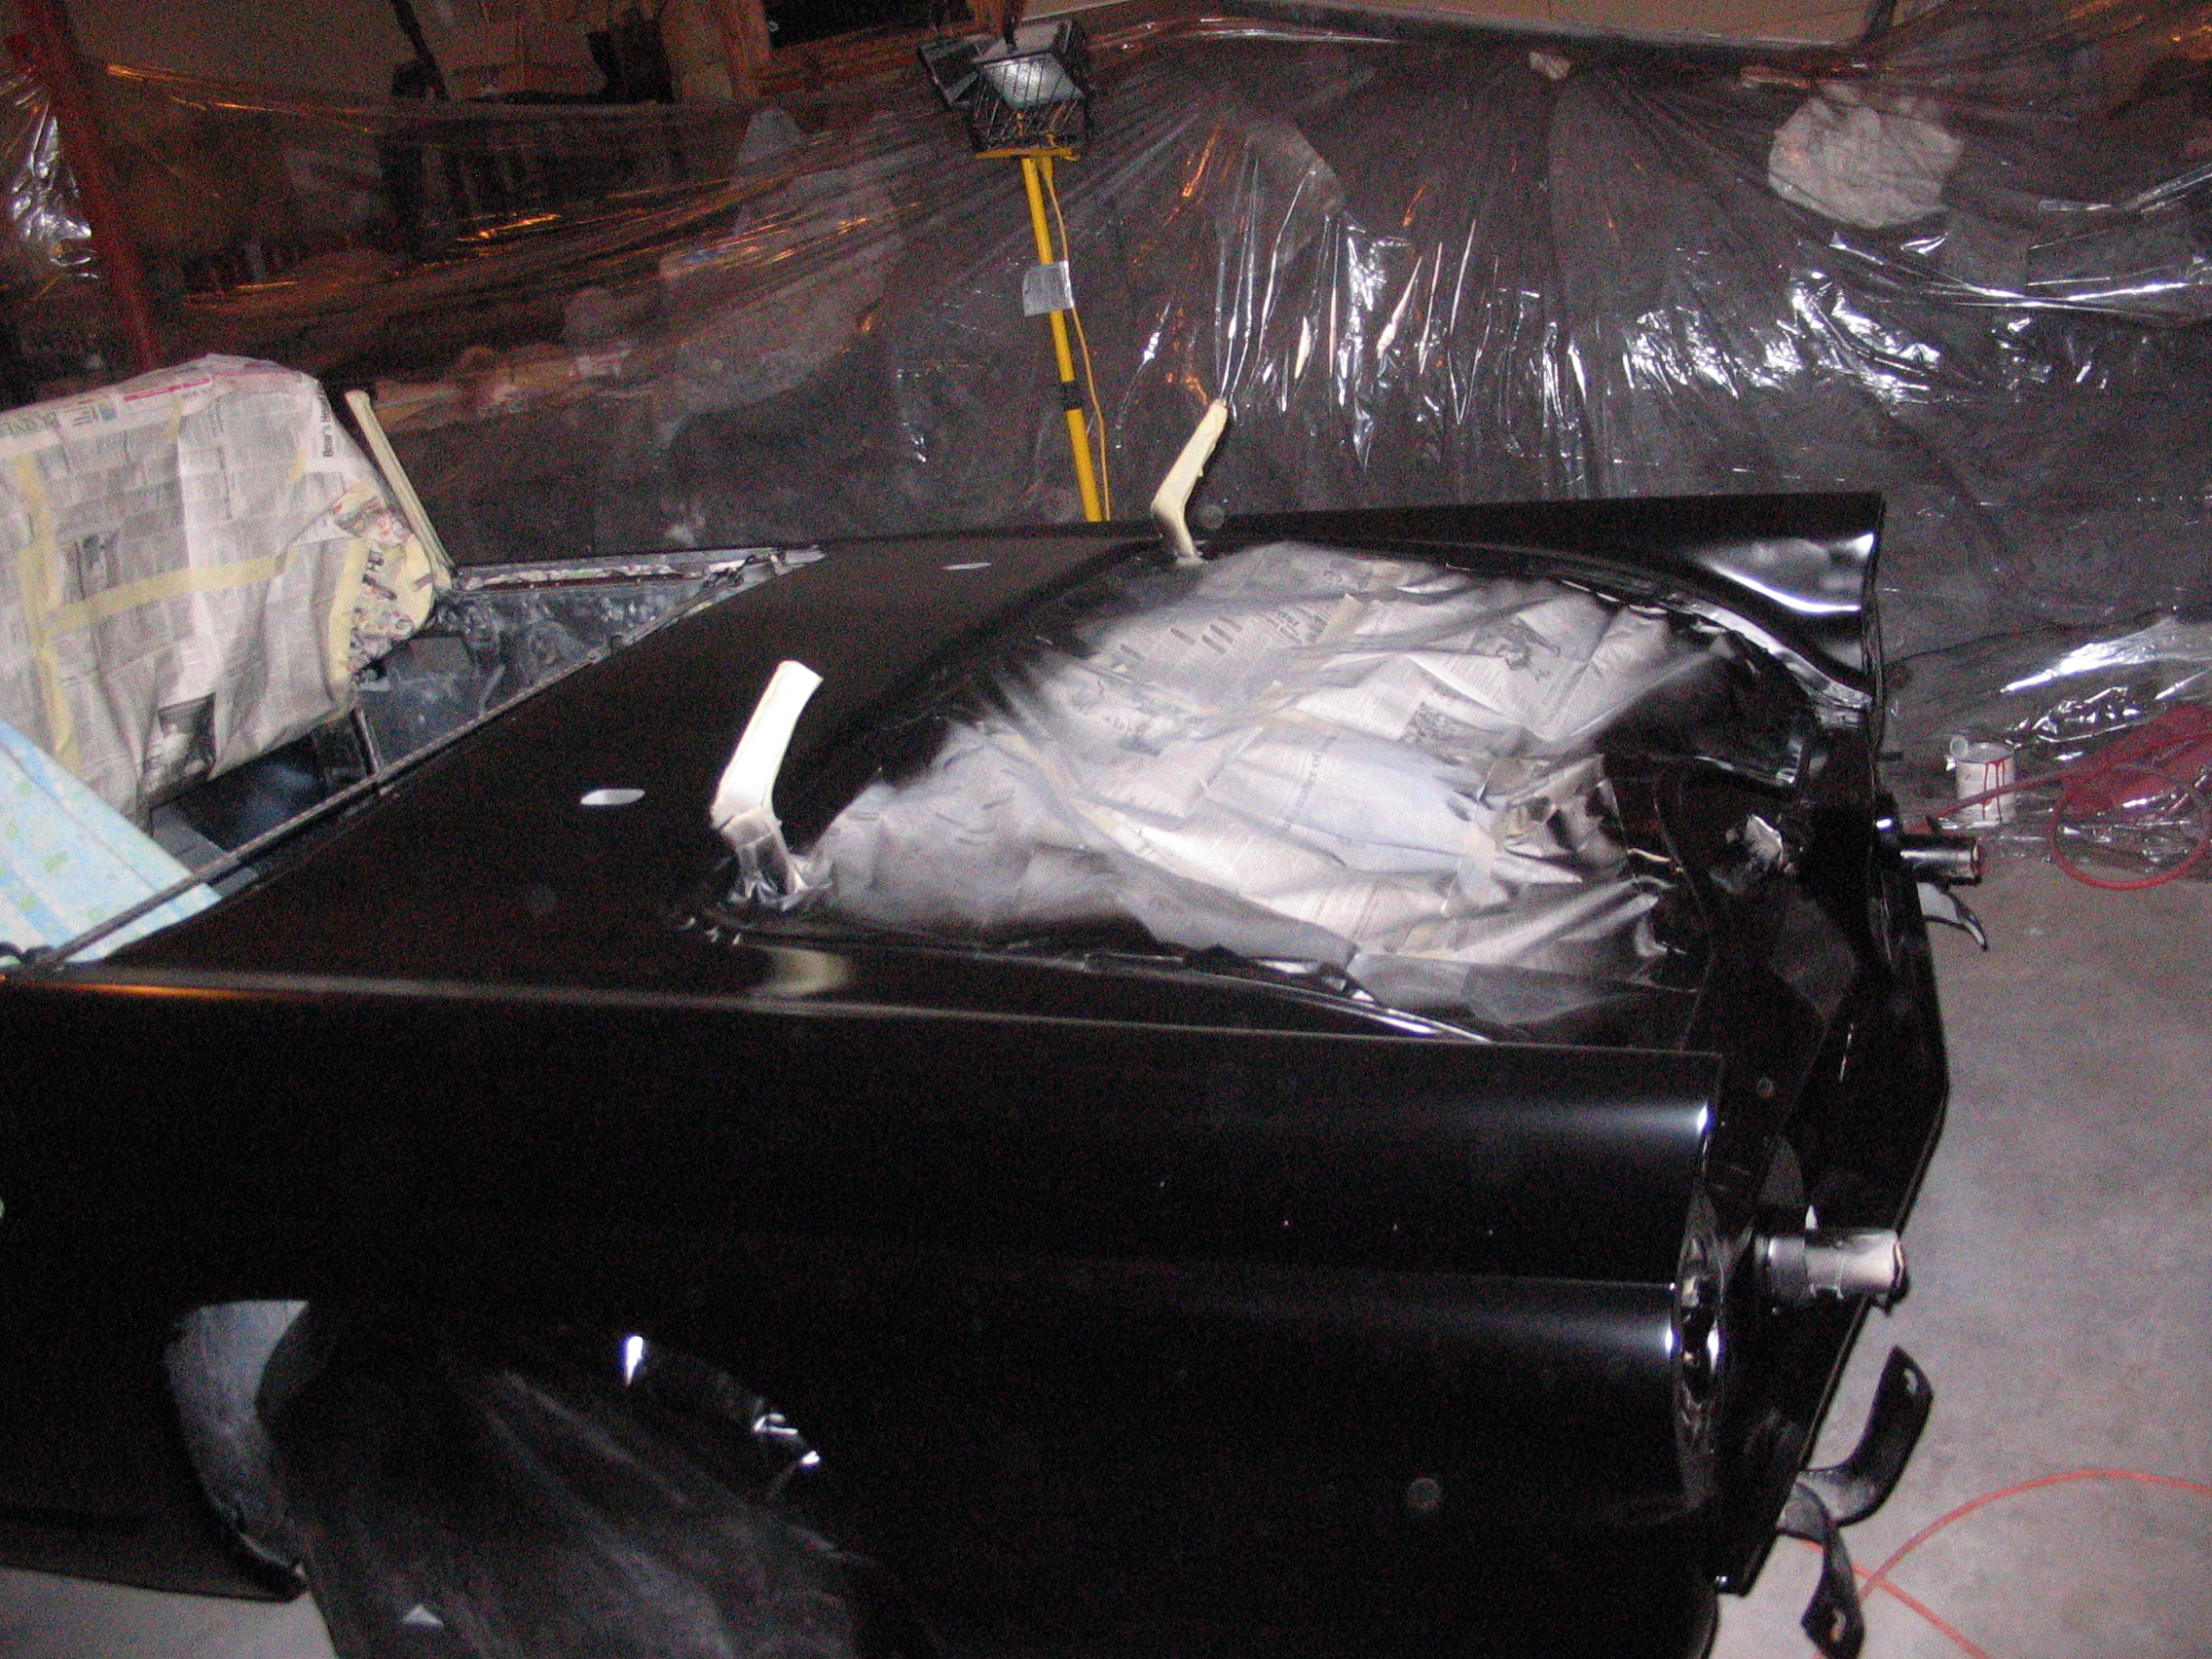
Engine Bay Paint
29/ 35
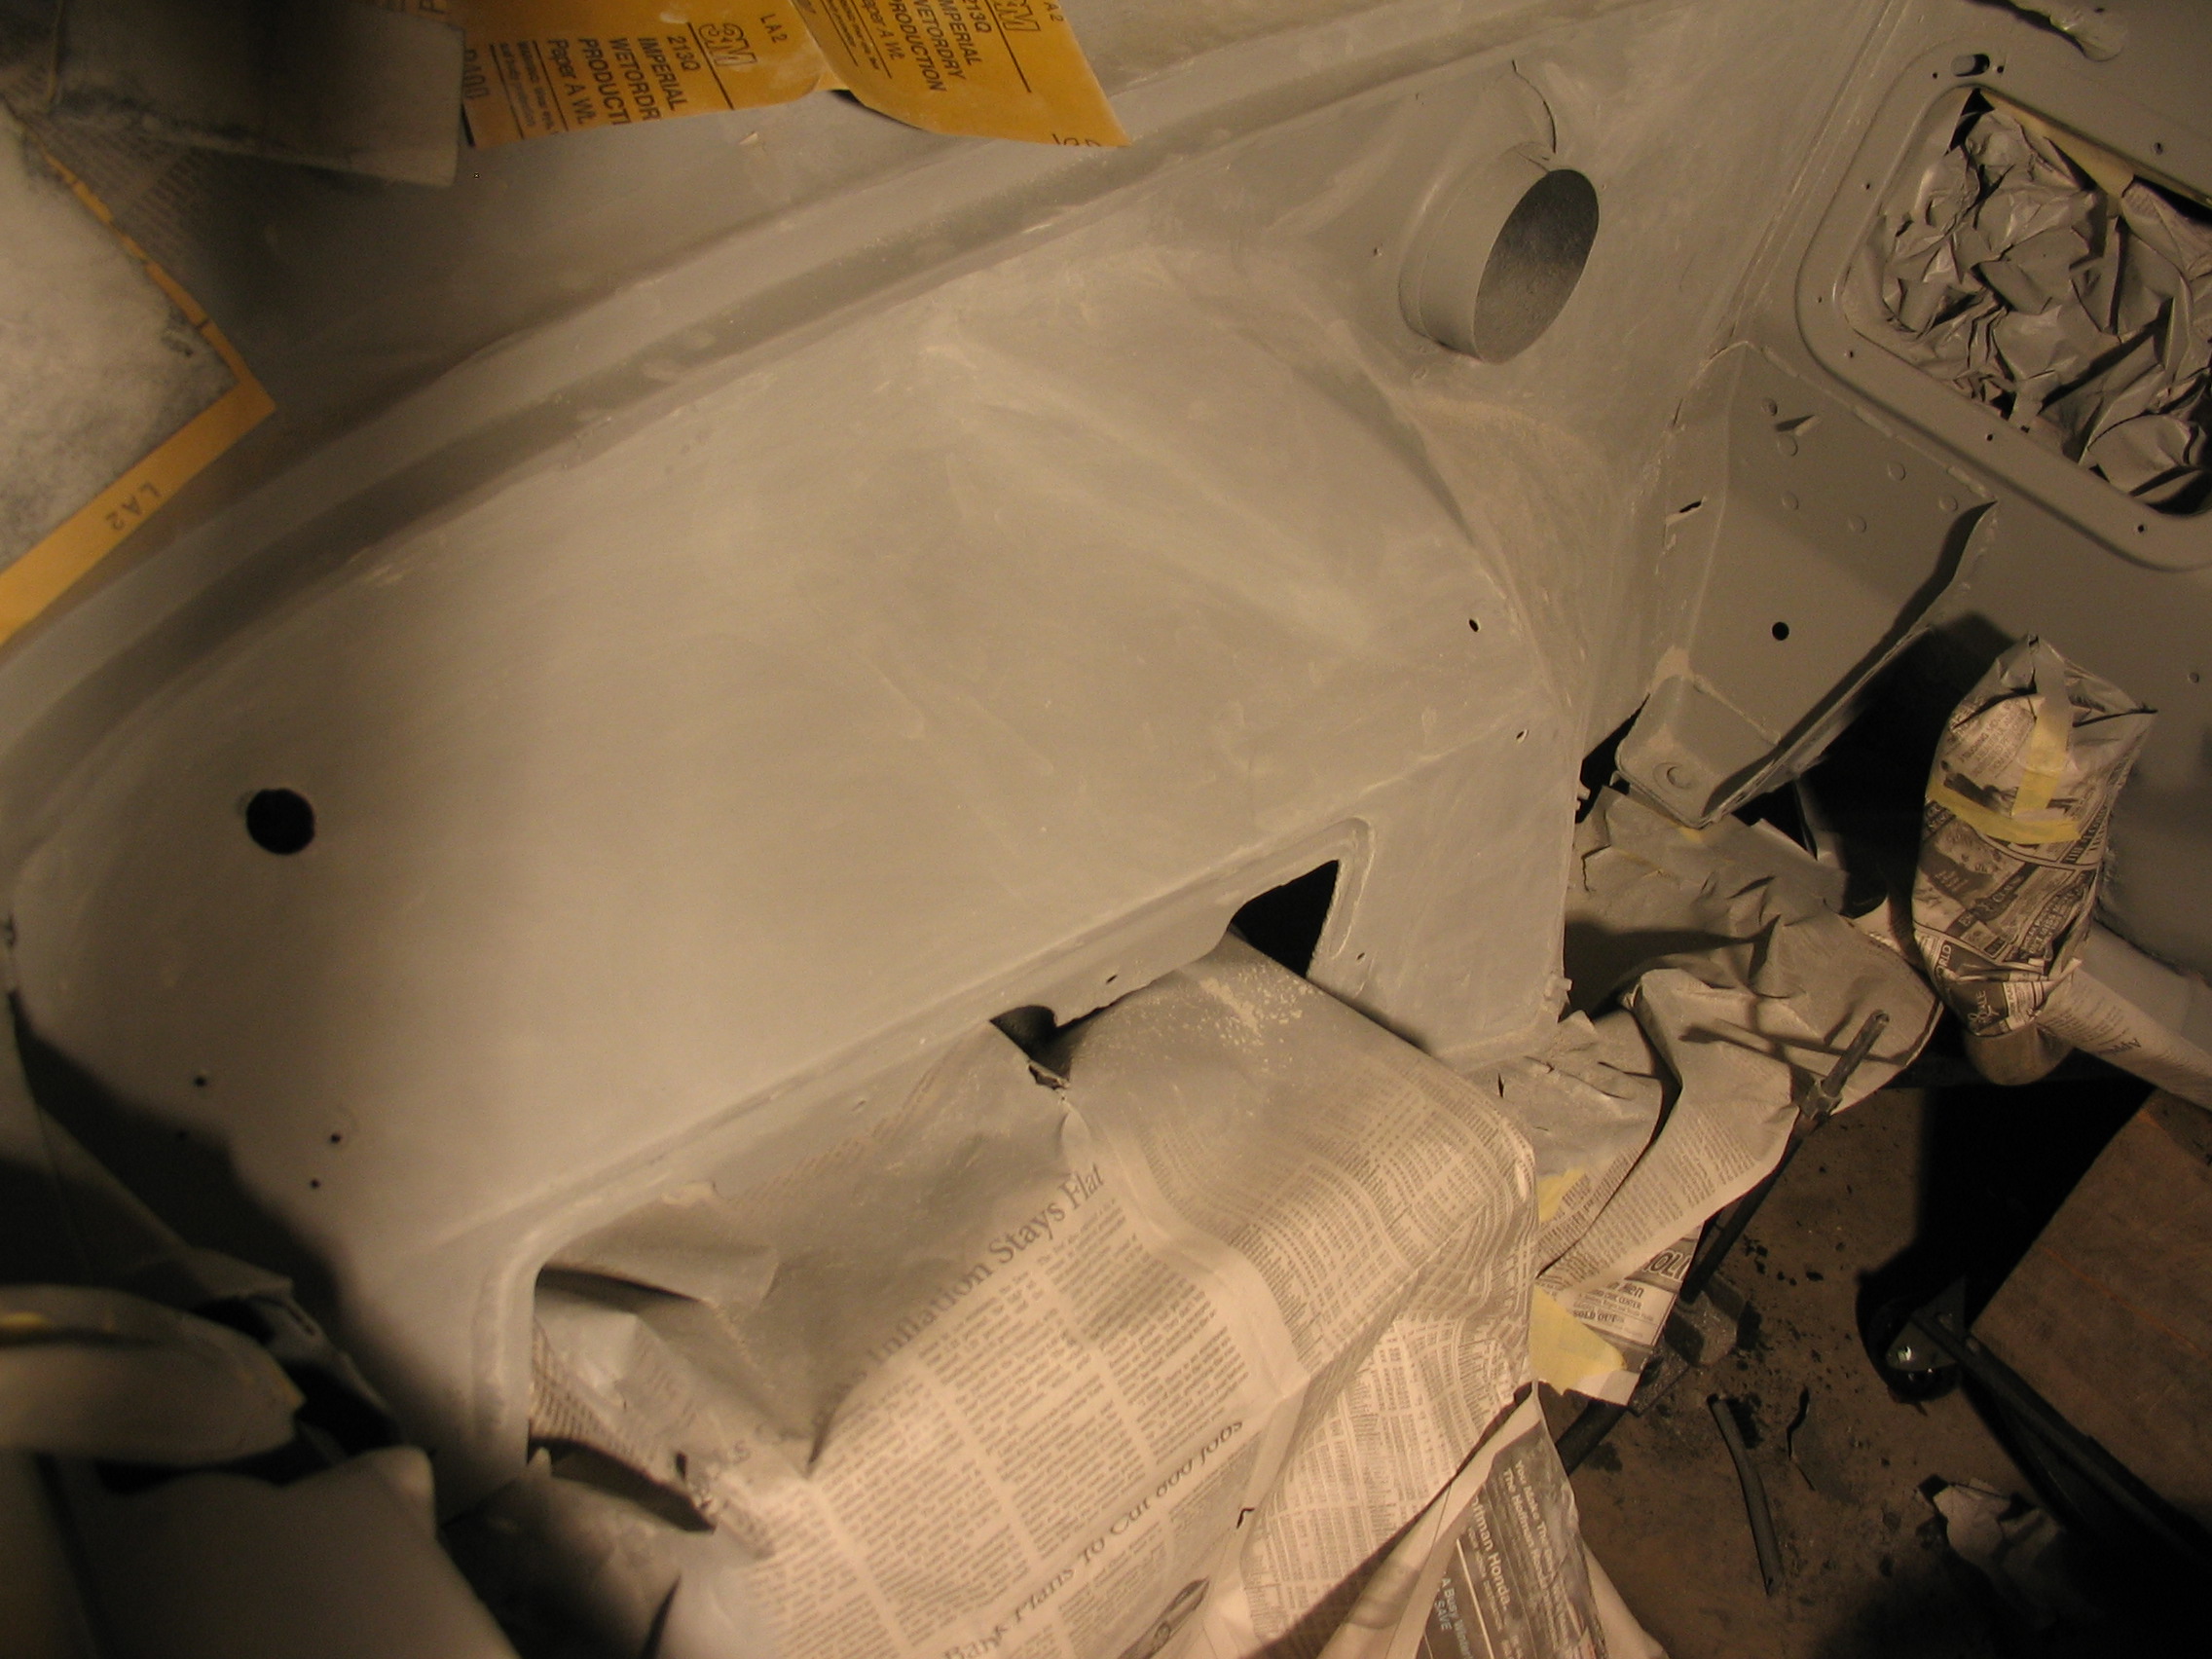
Heater Area
30 / 35
Right Inner
31/ 35
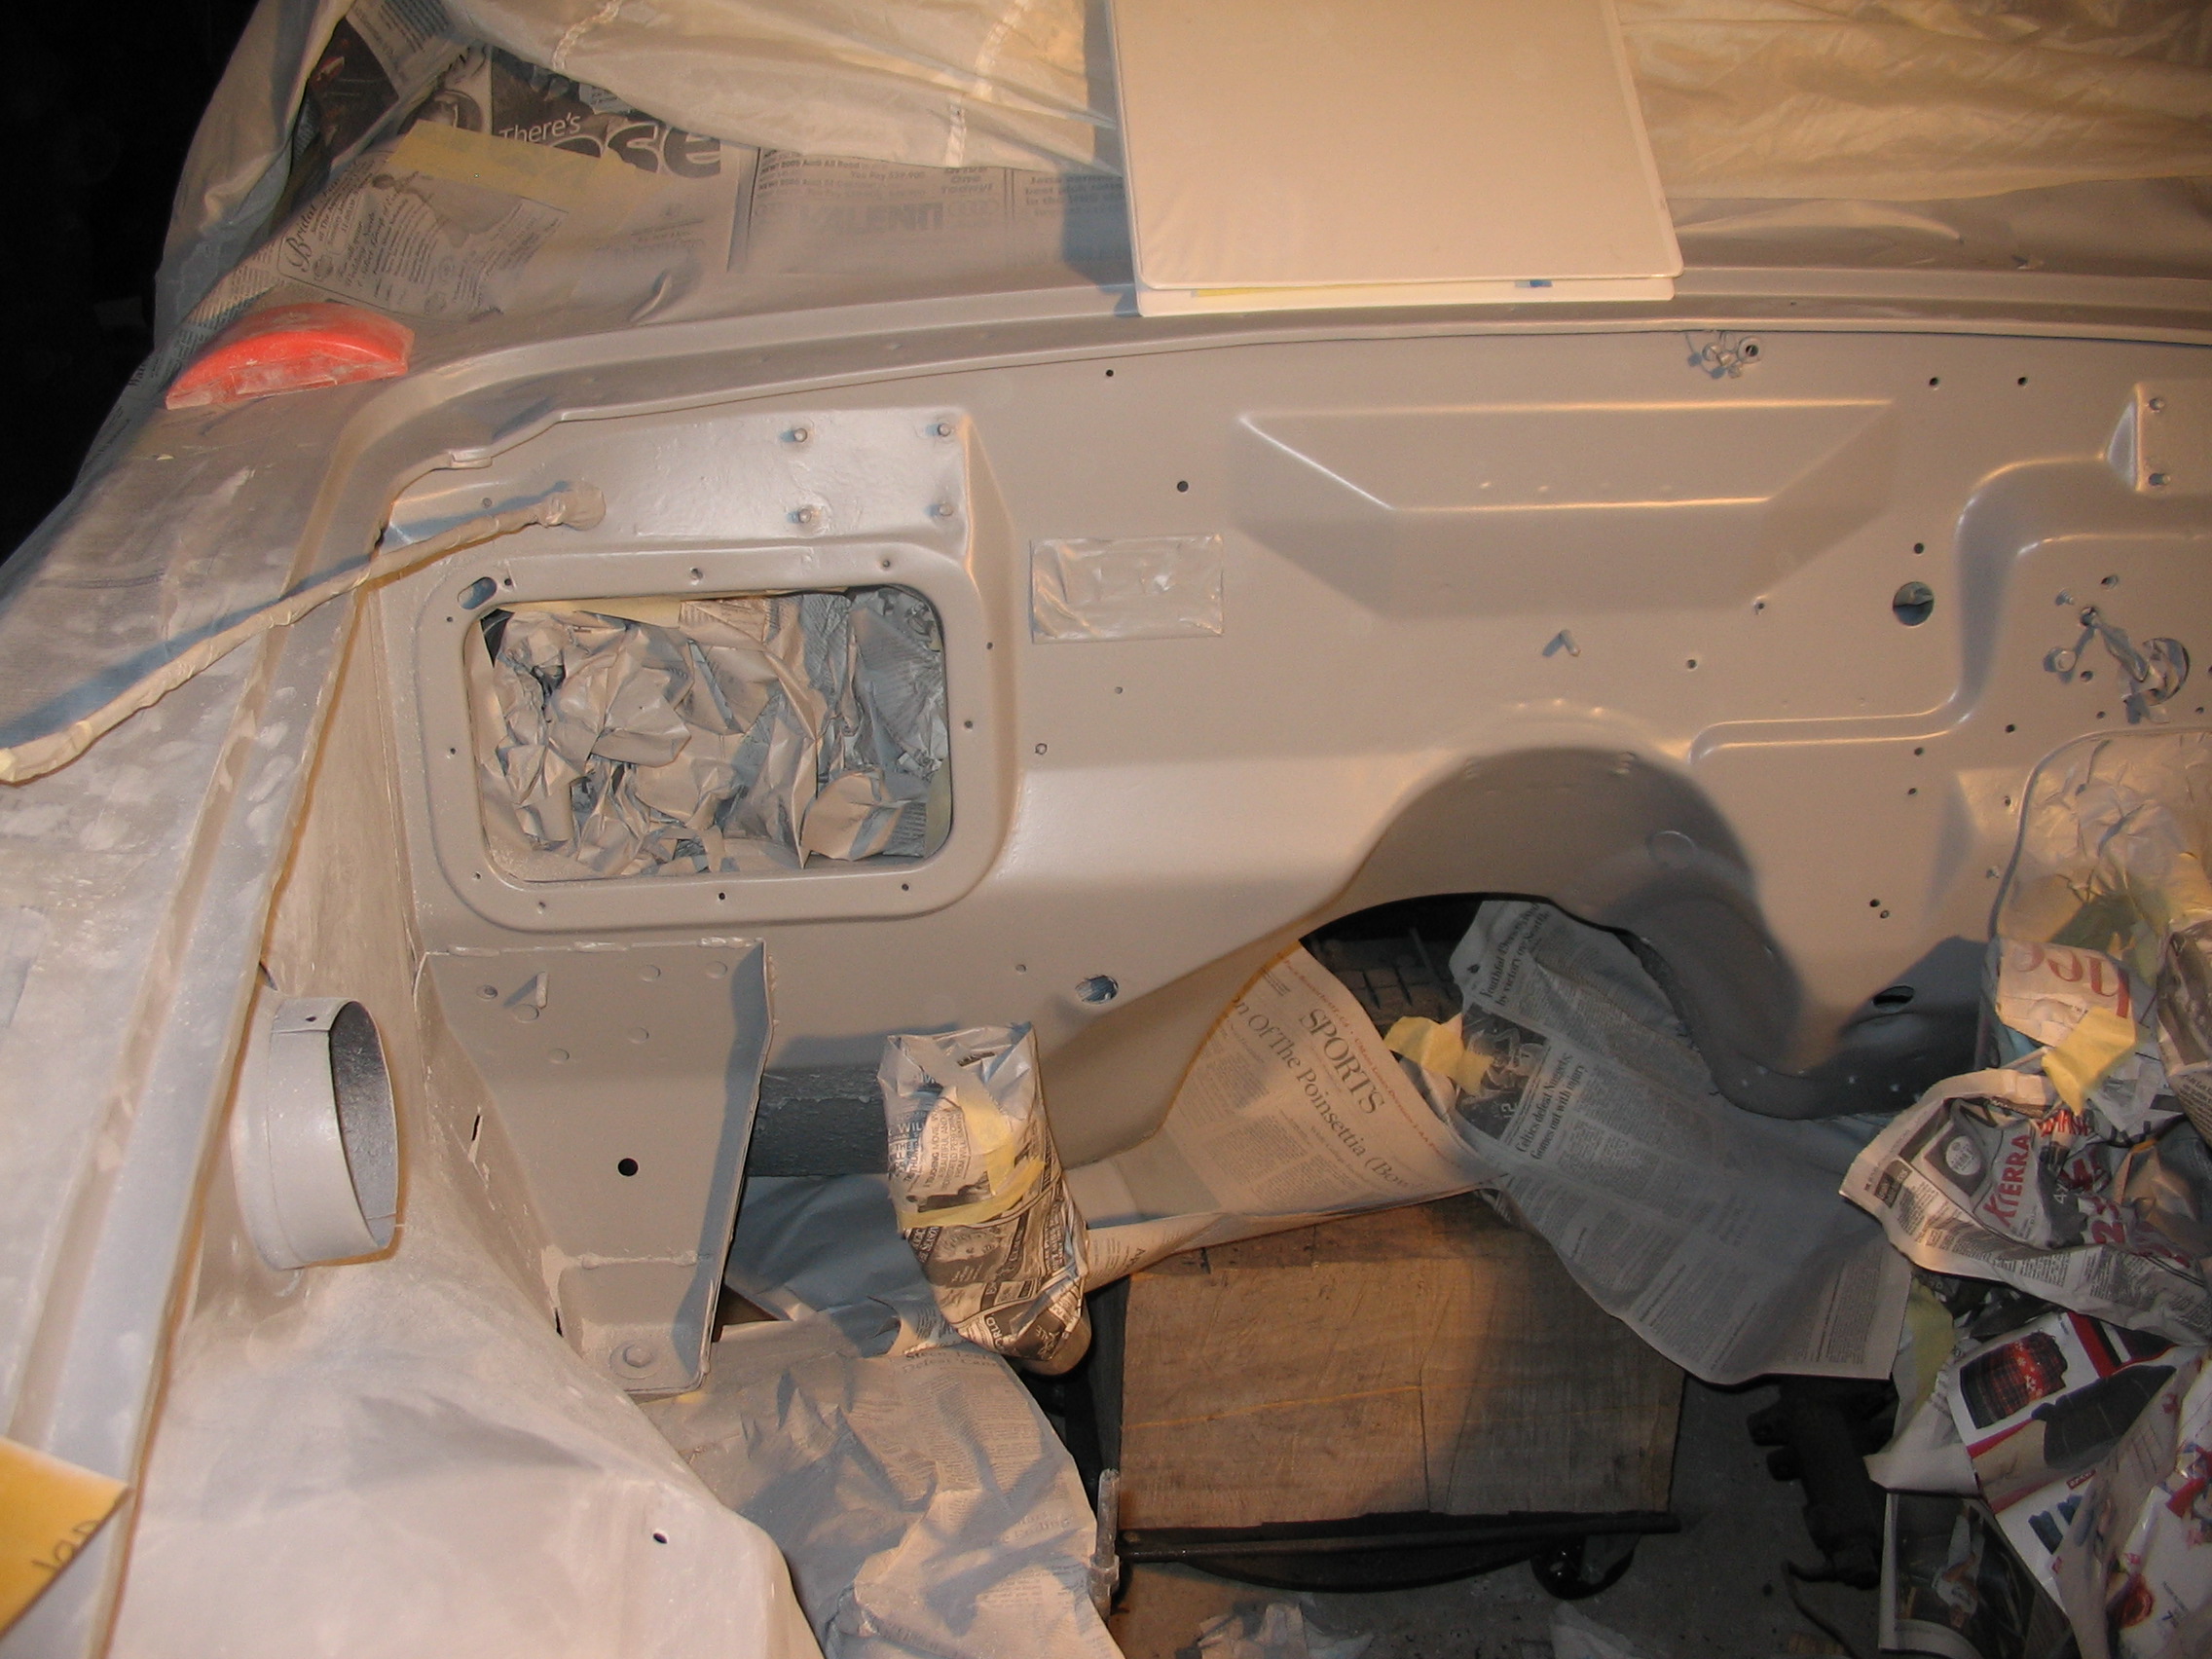
Battery Area
32 / 35
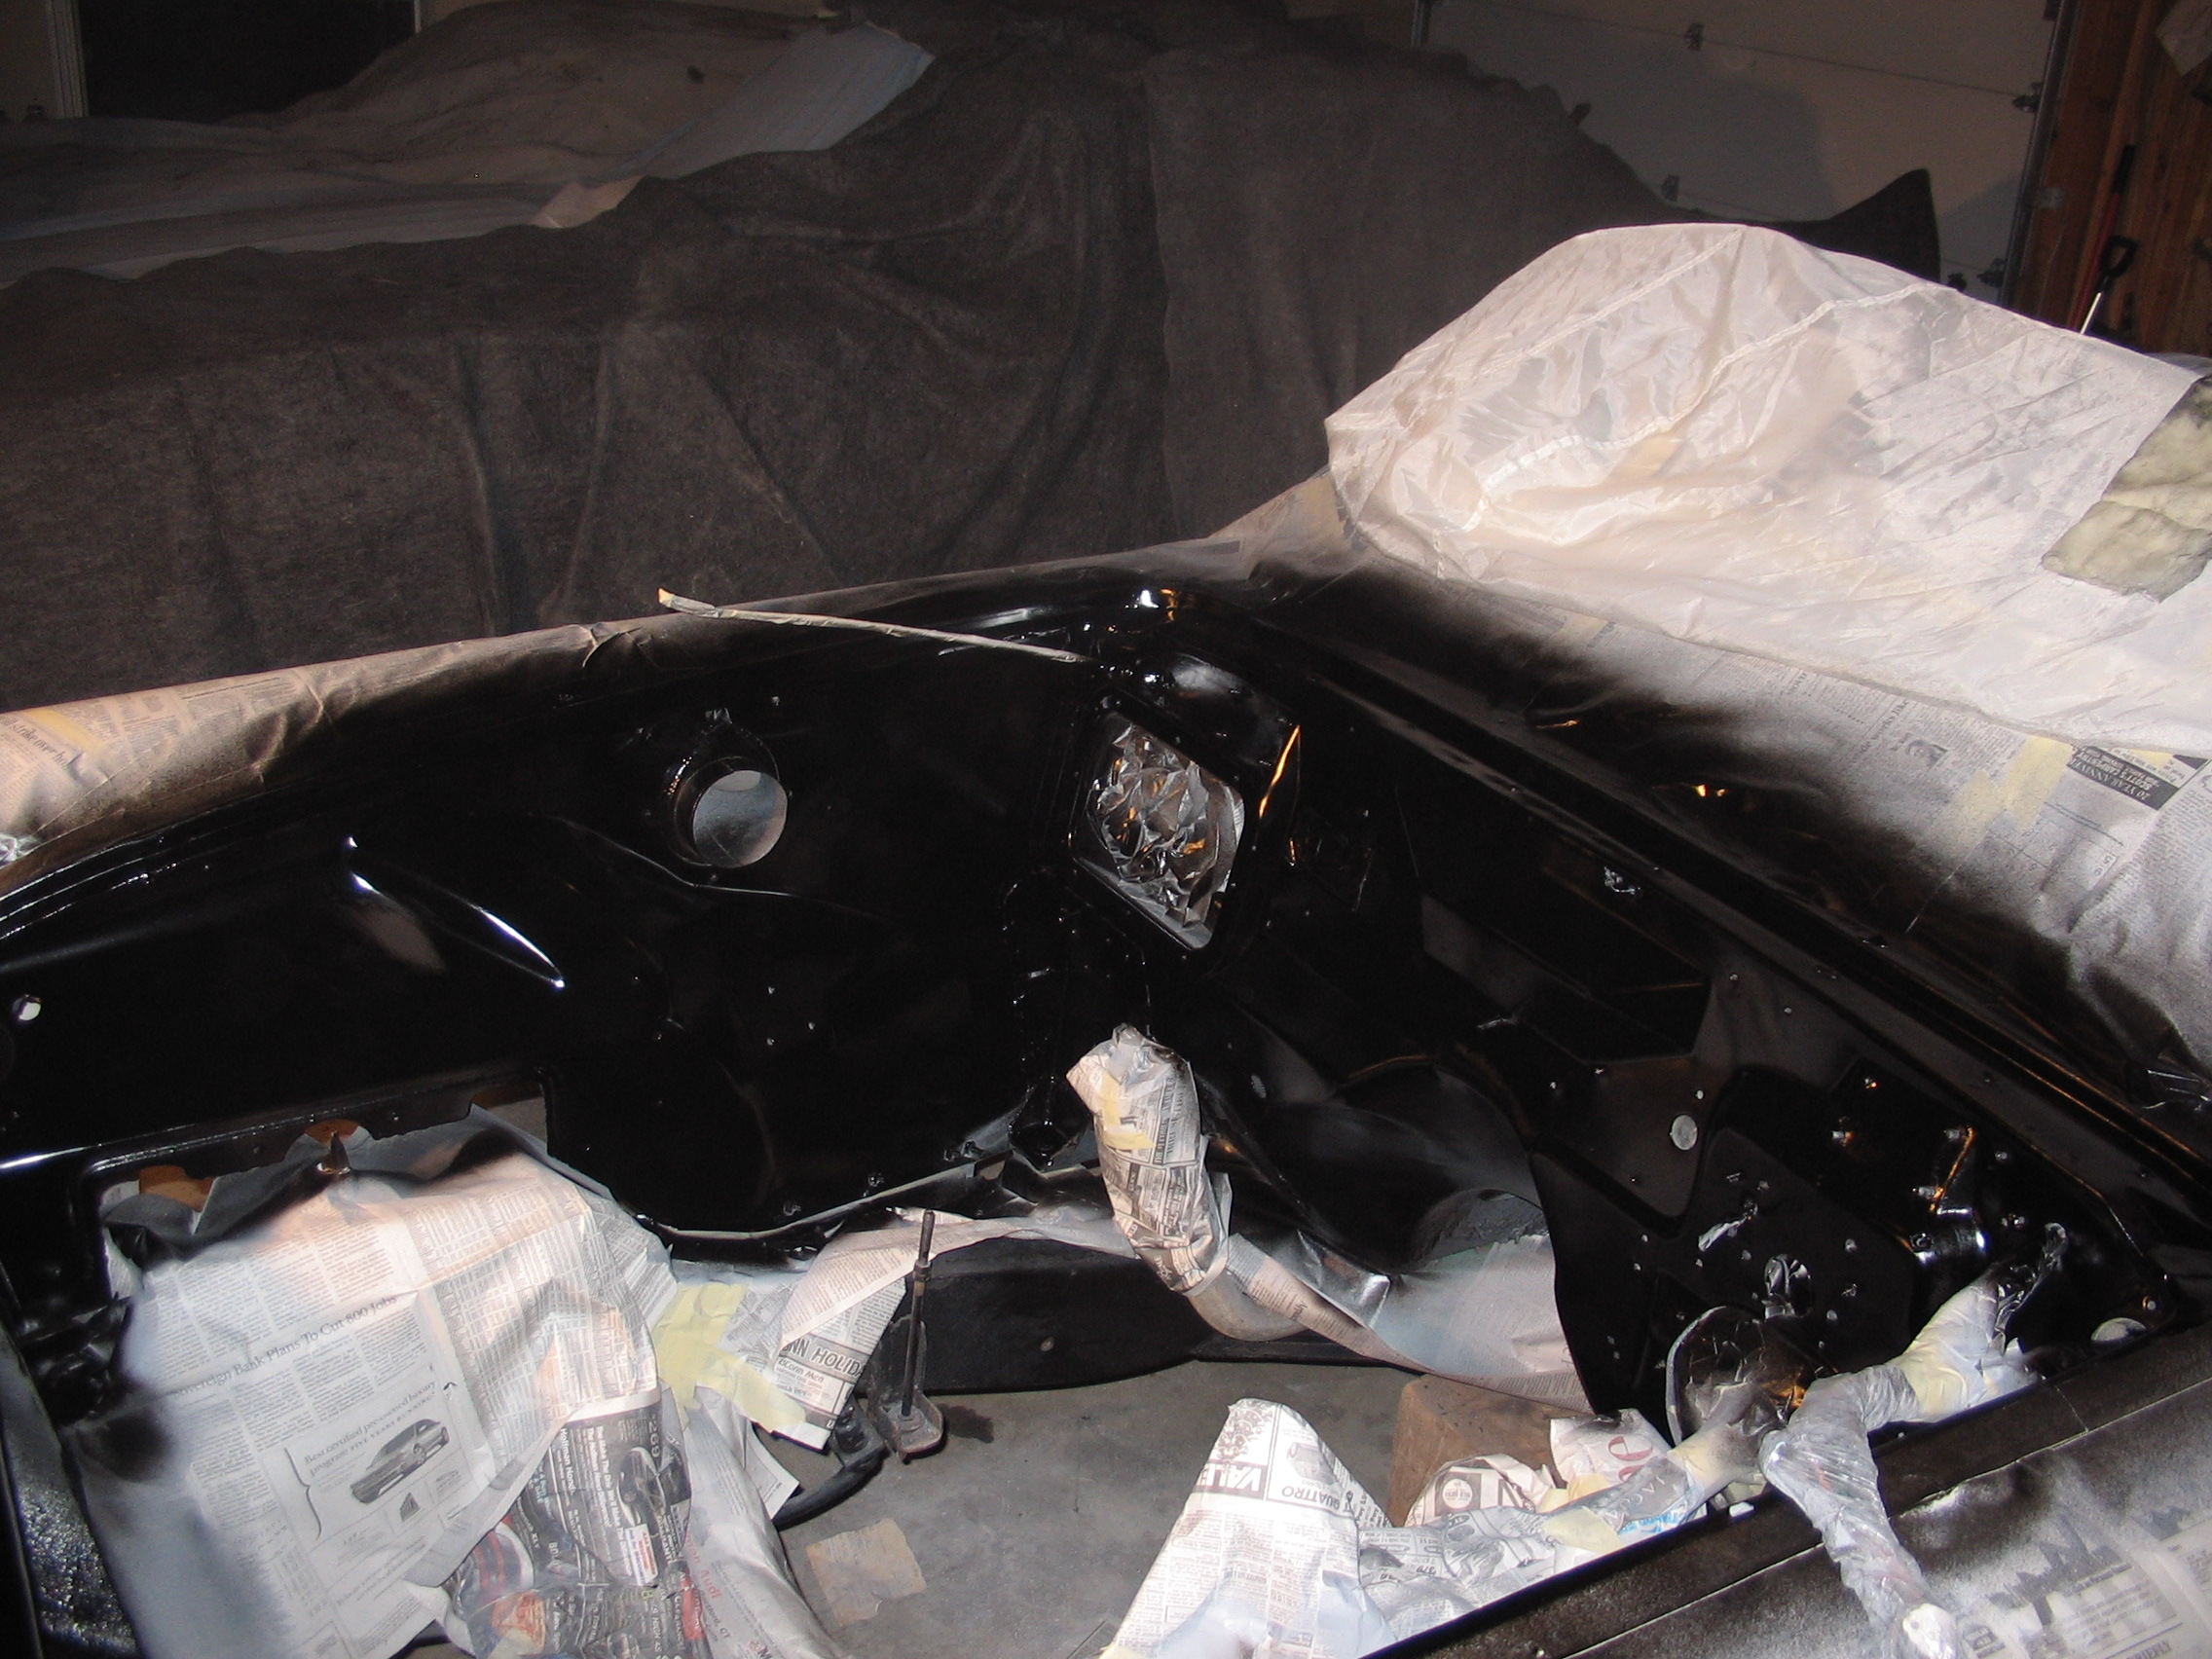
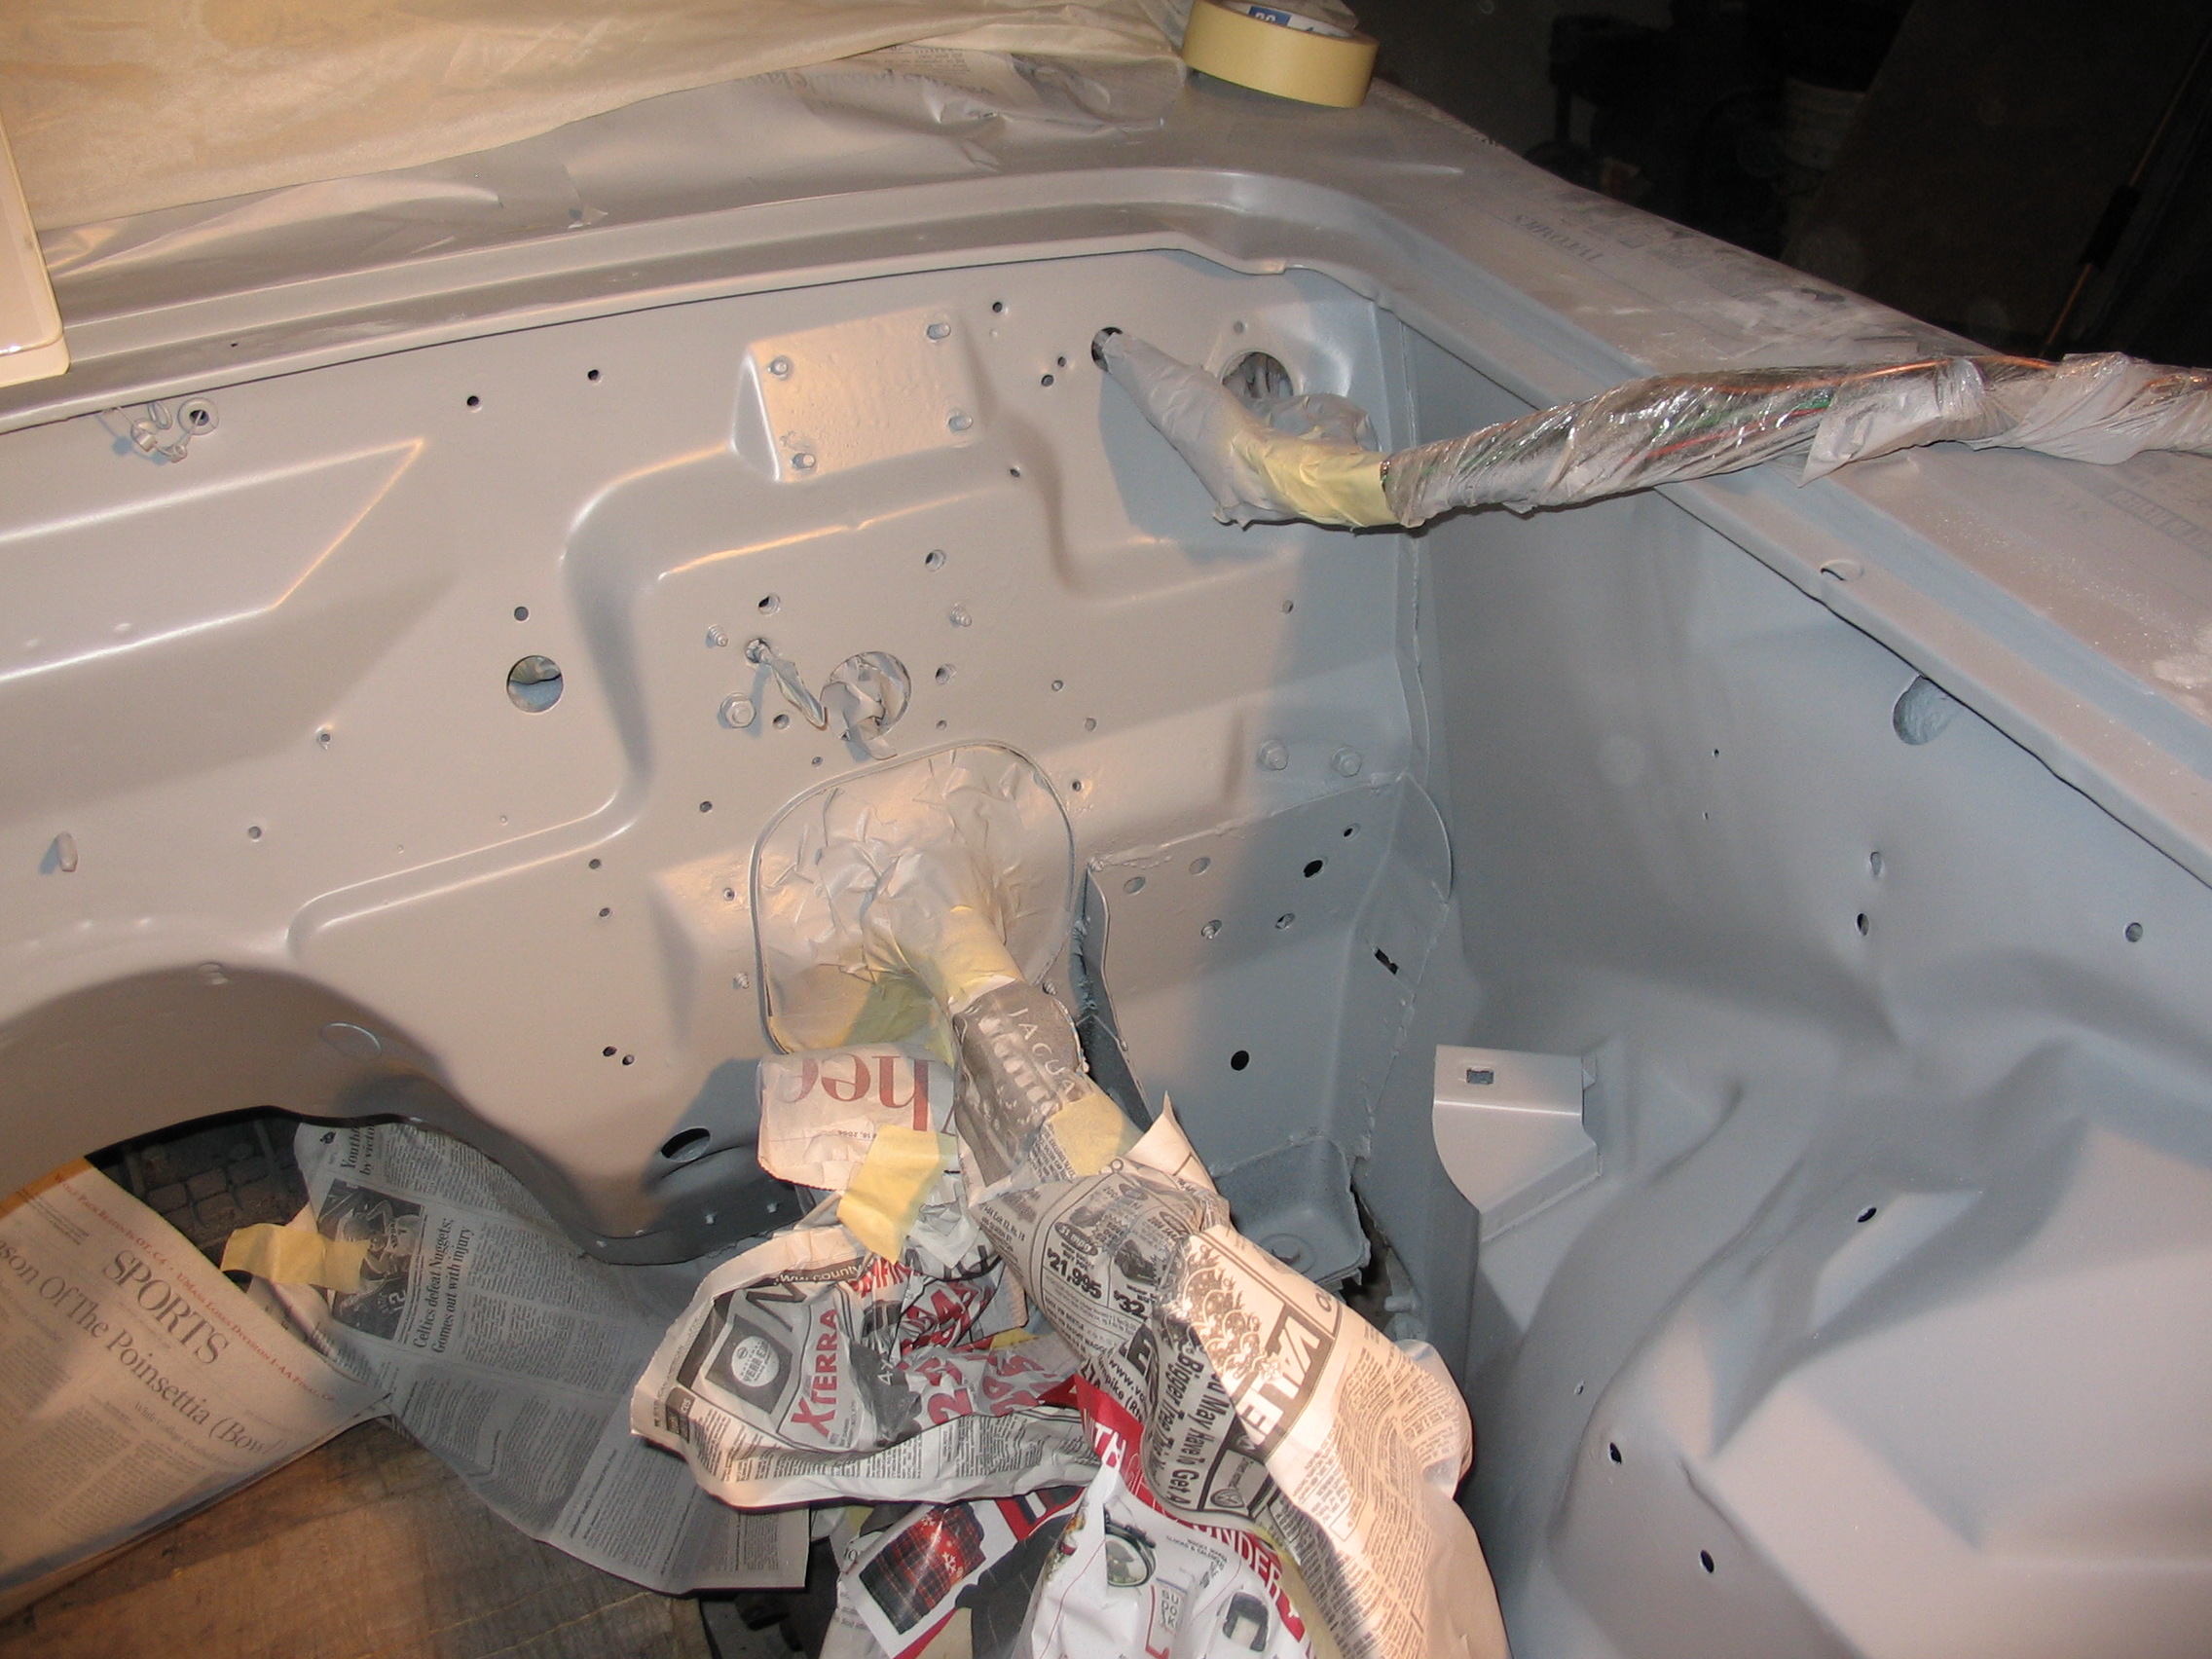
Firewall
33 / 35
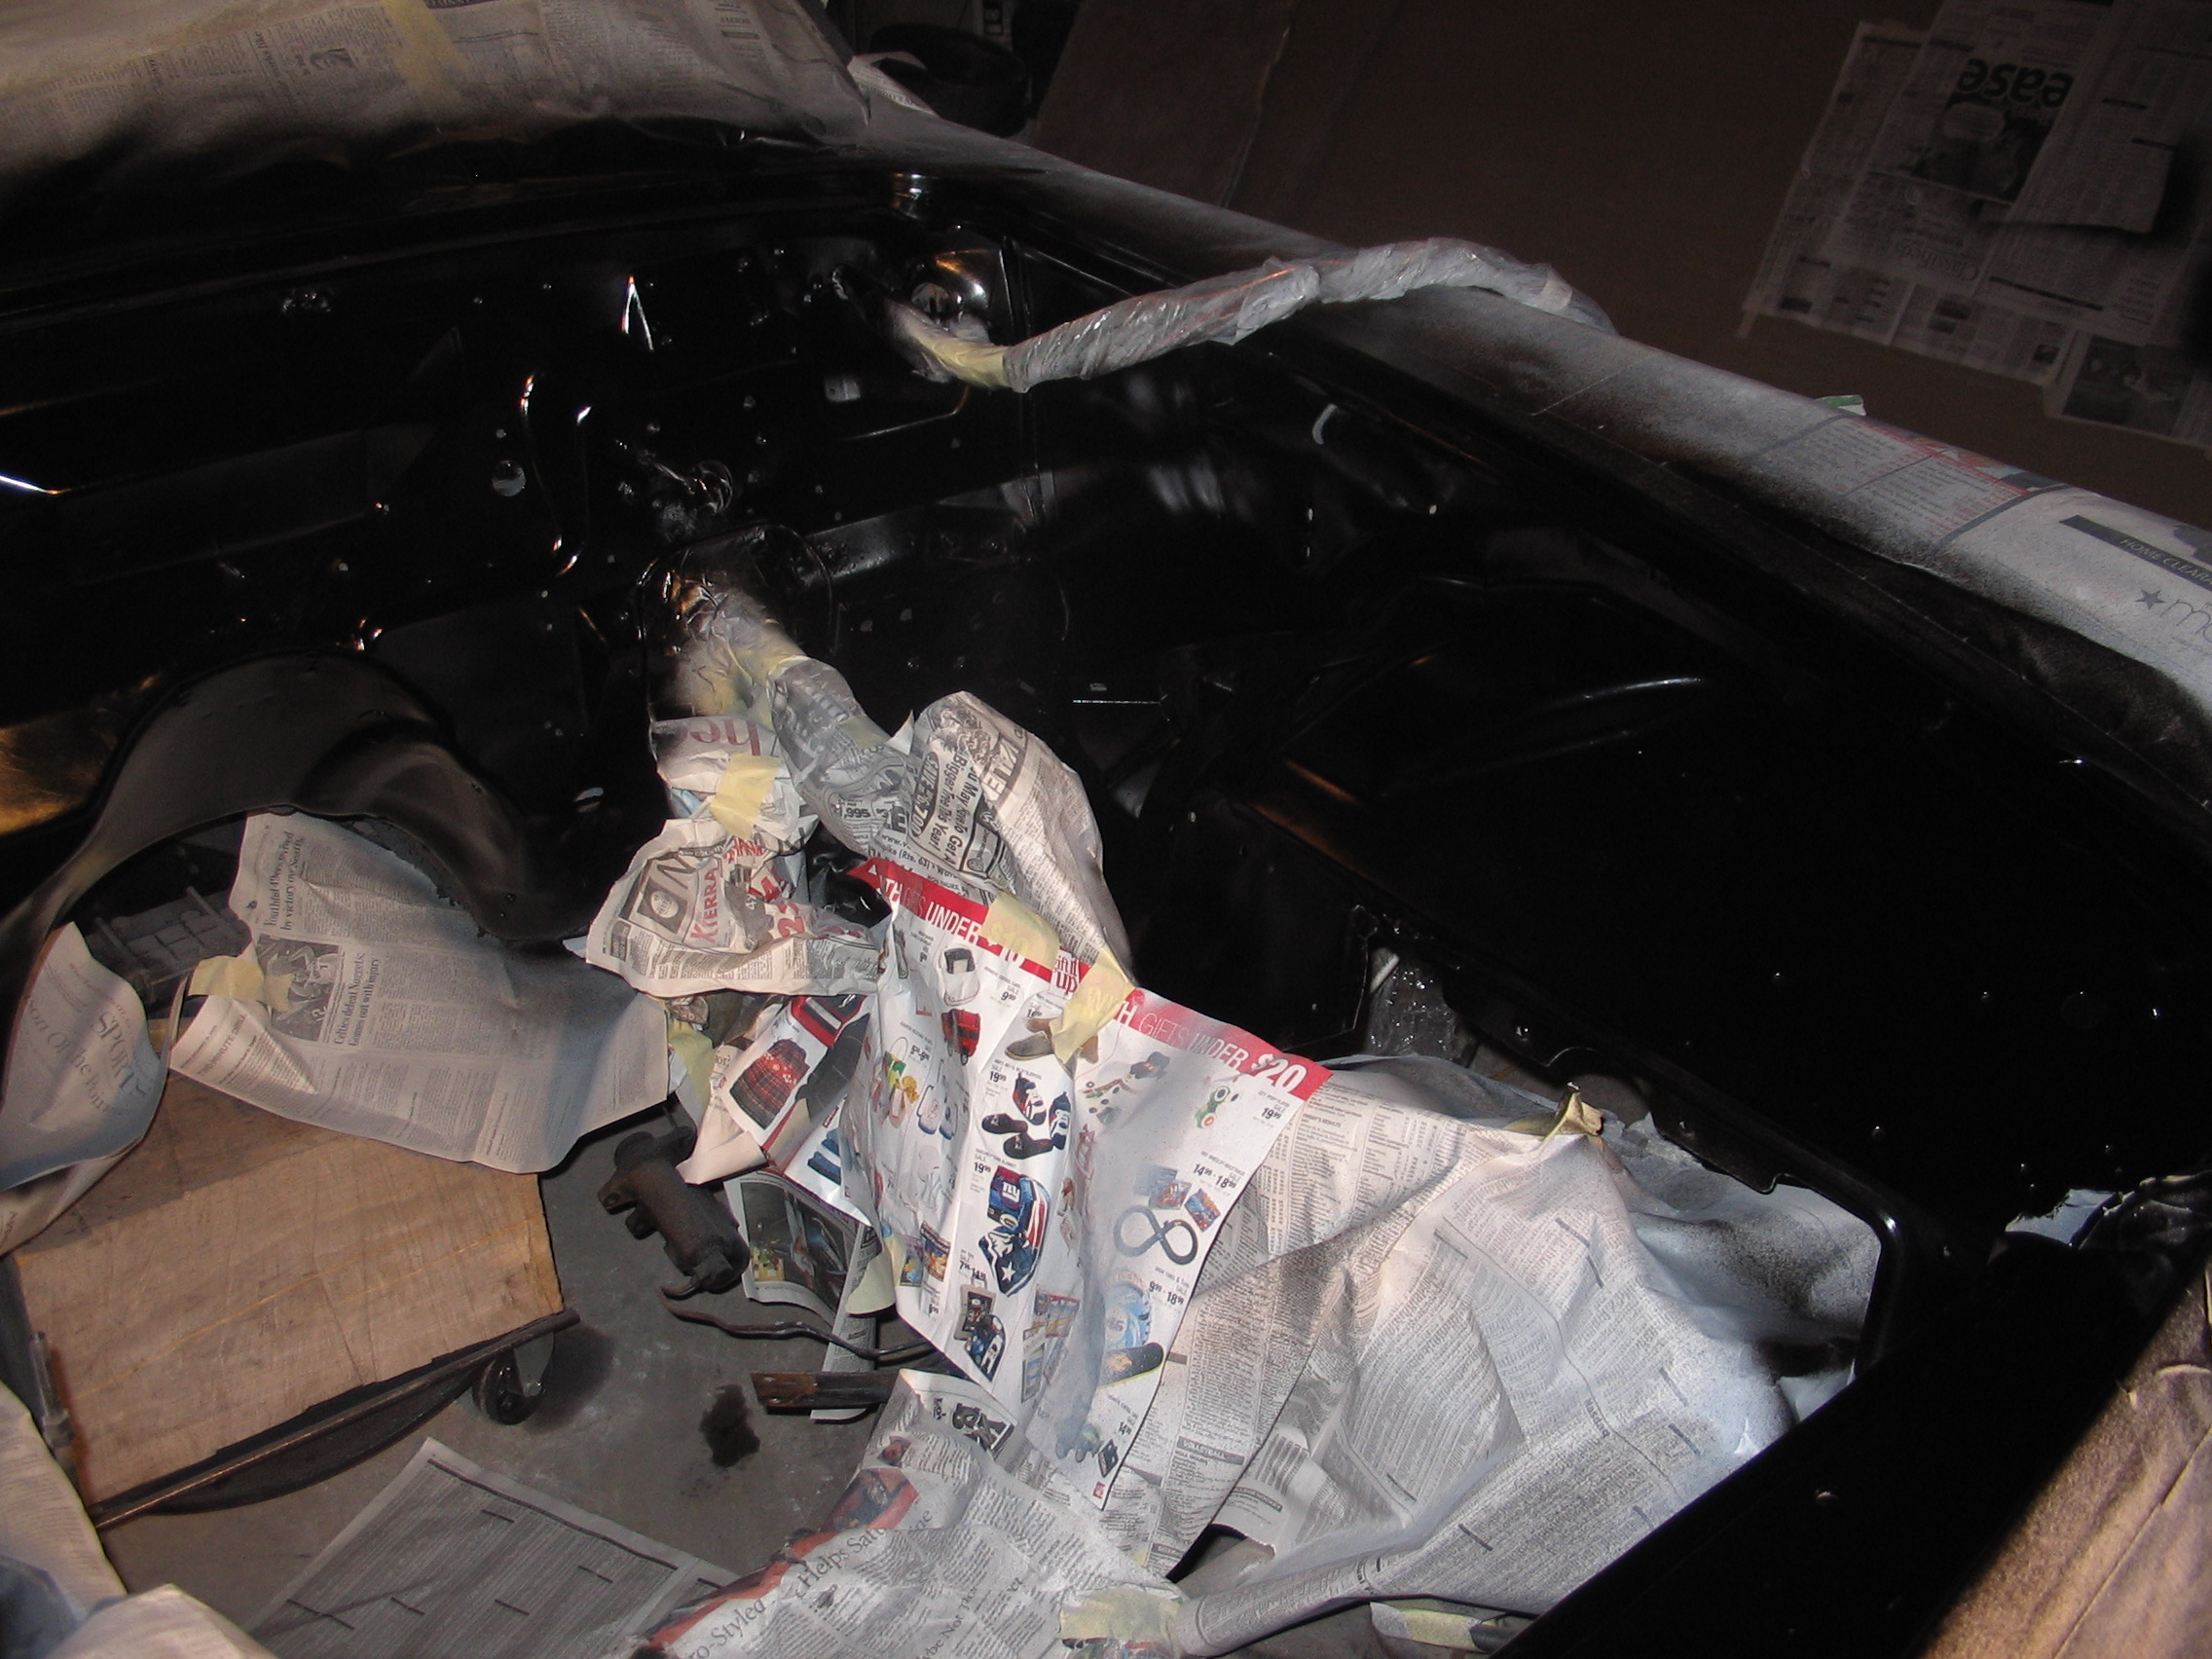
Driver Side
34 / 35
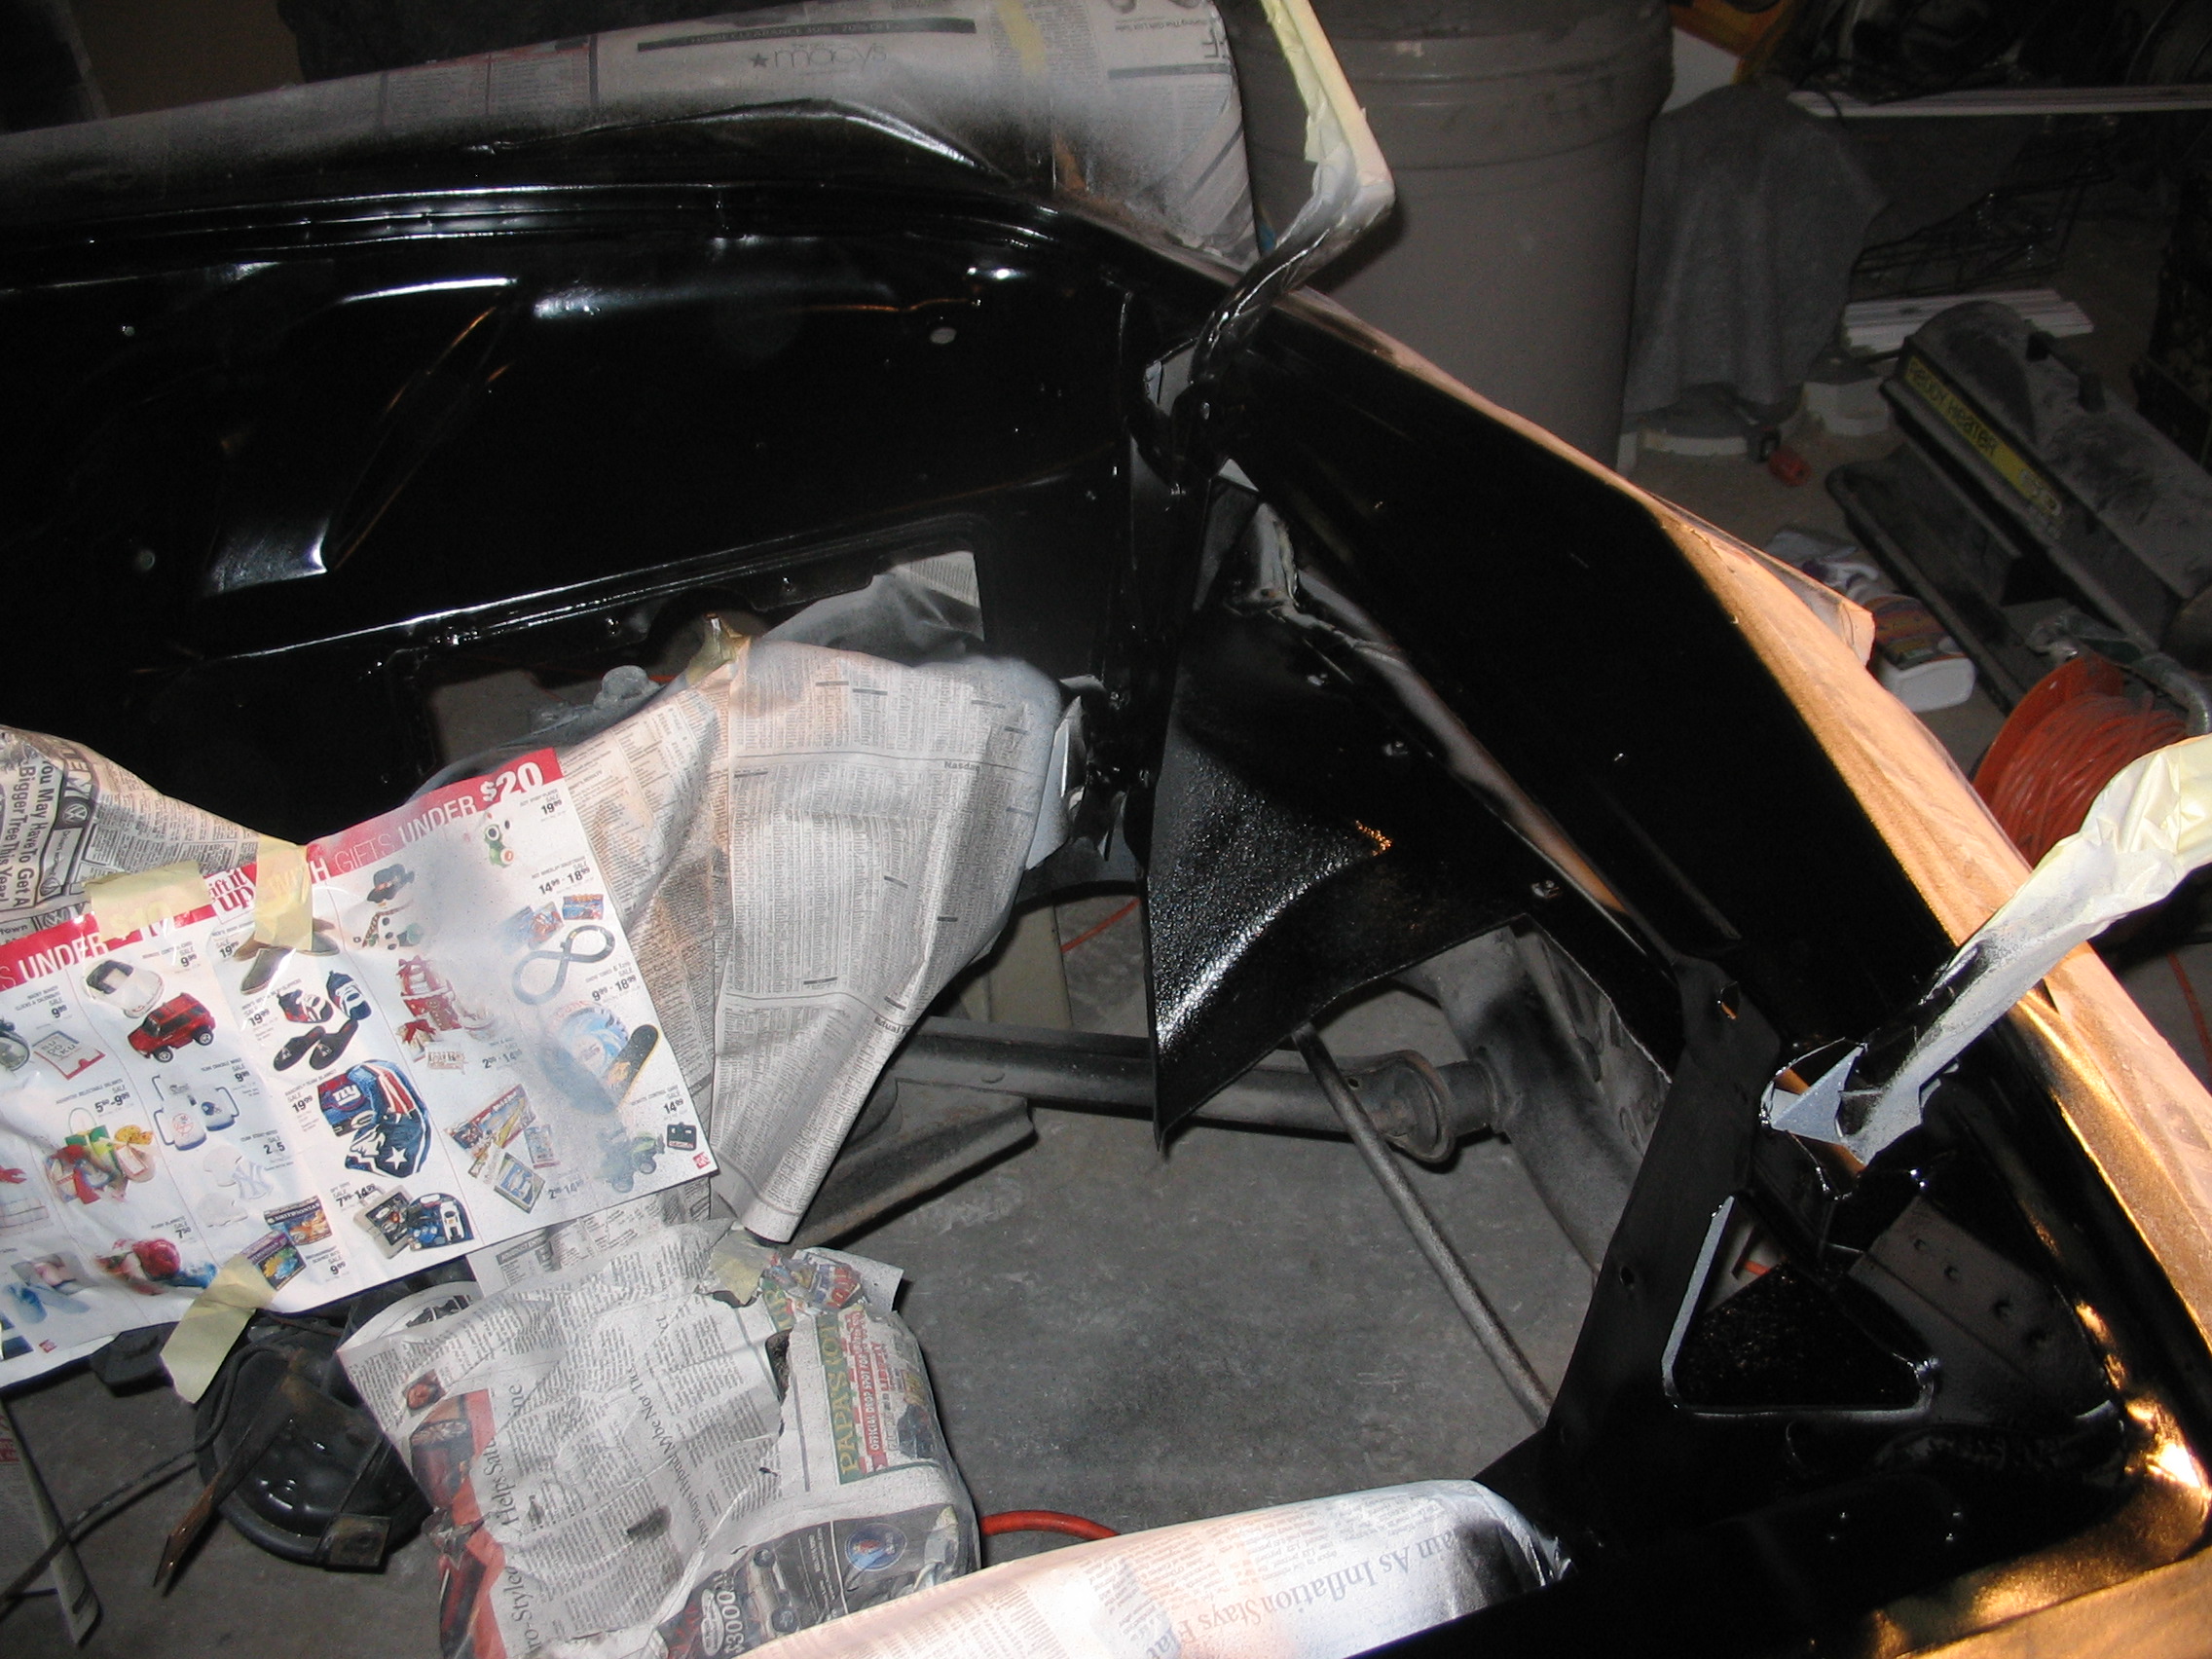
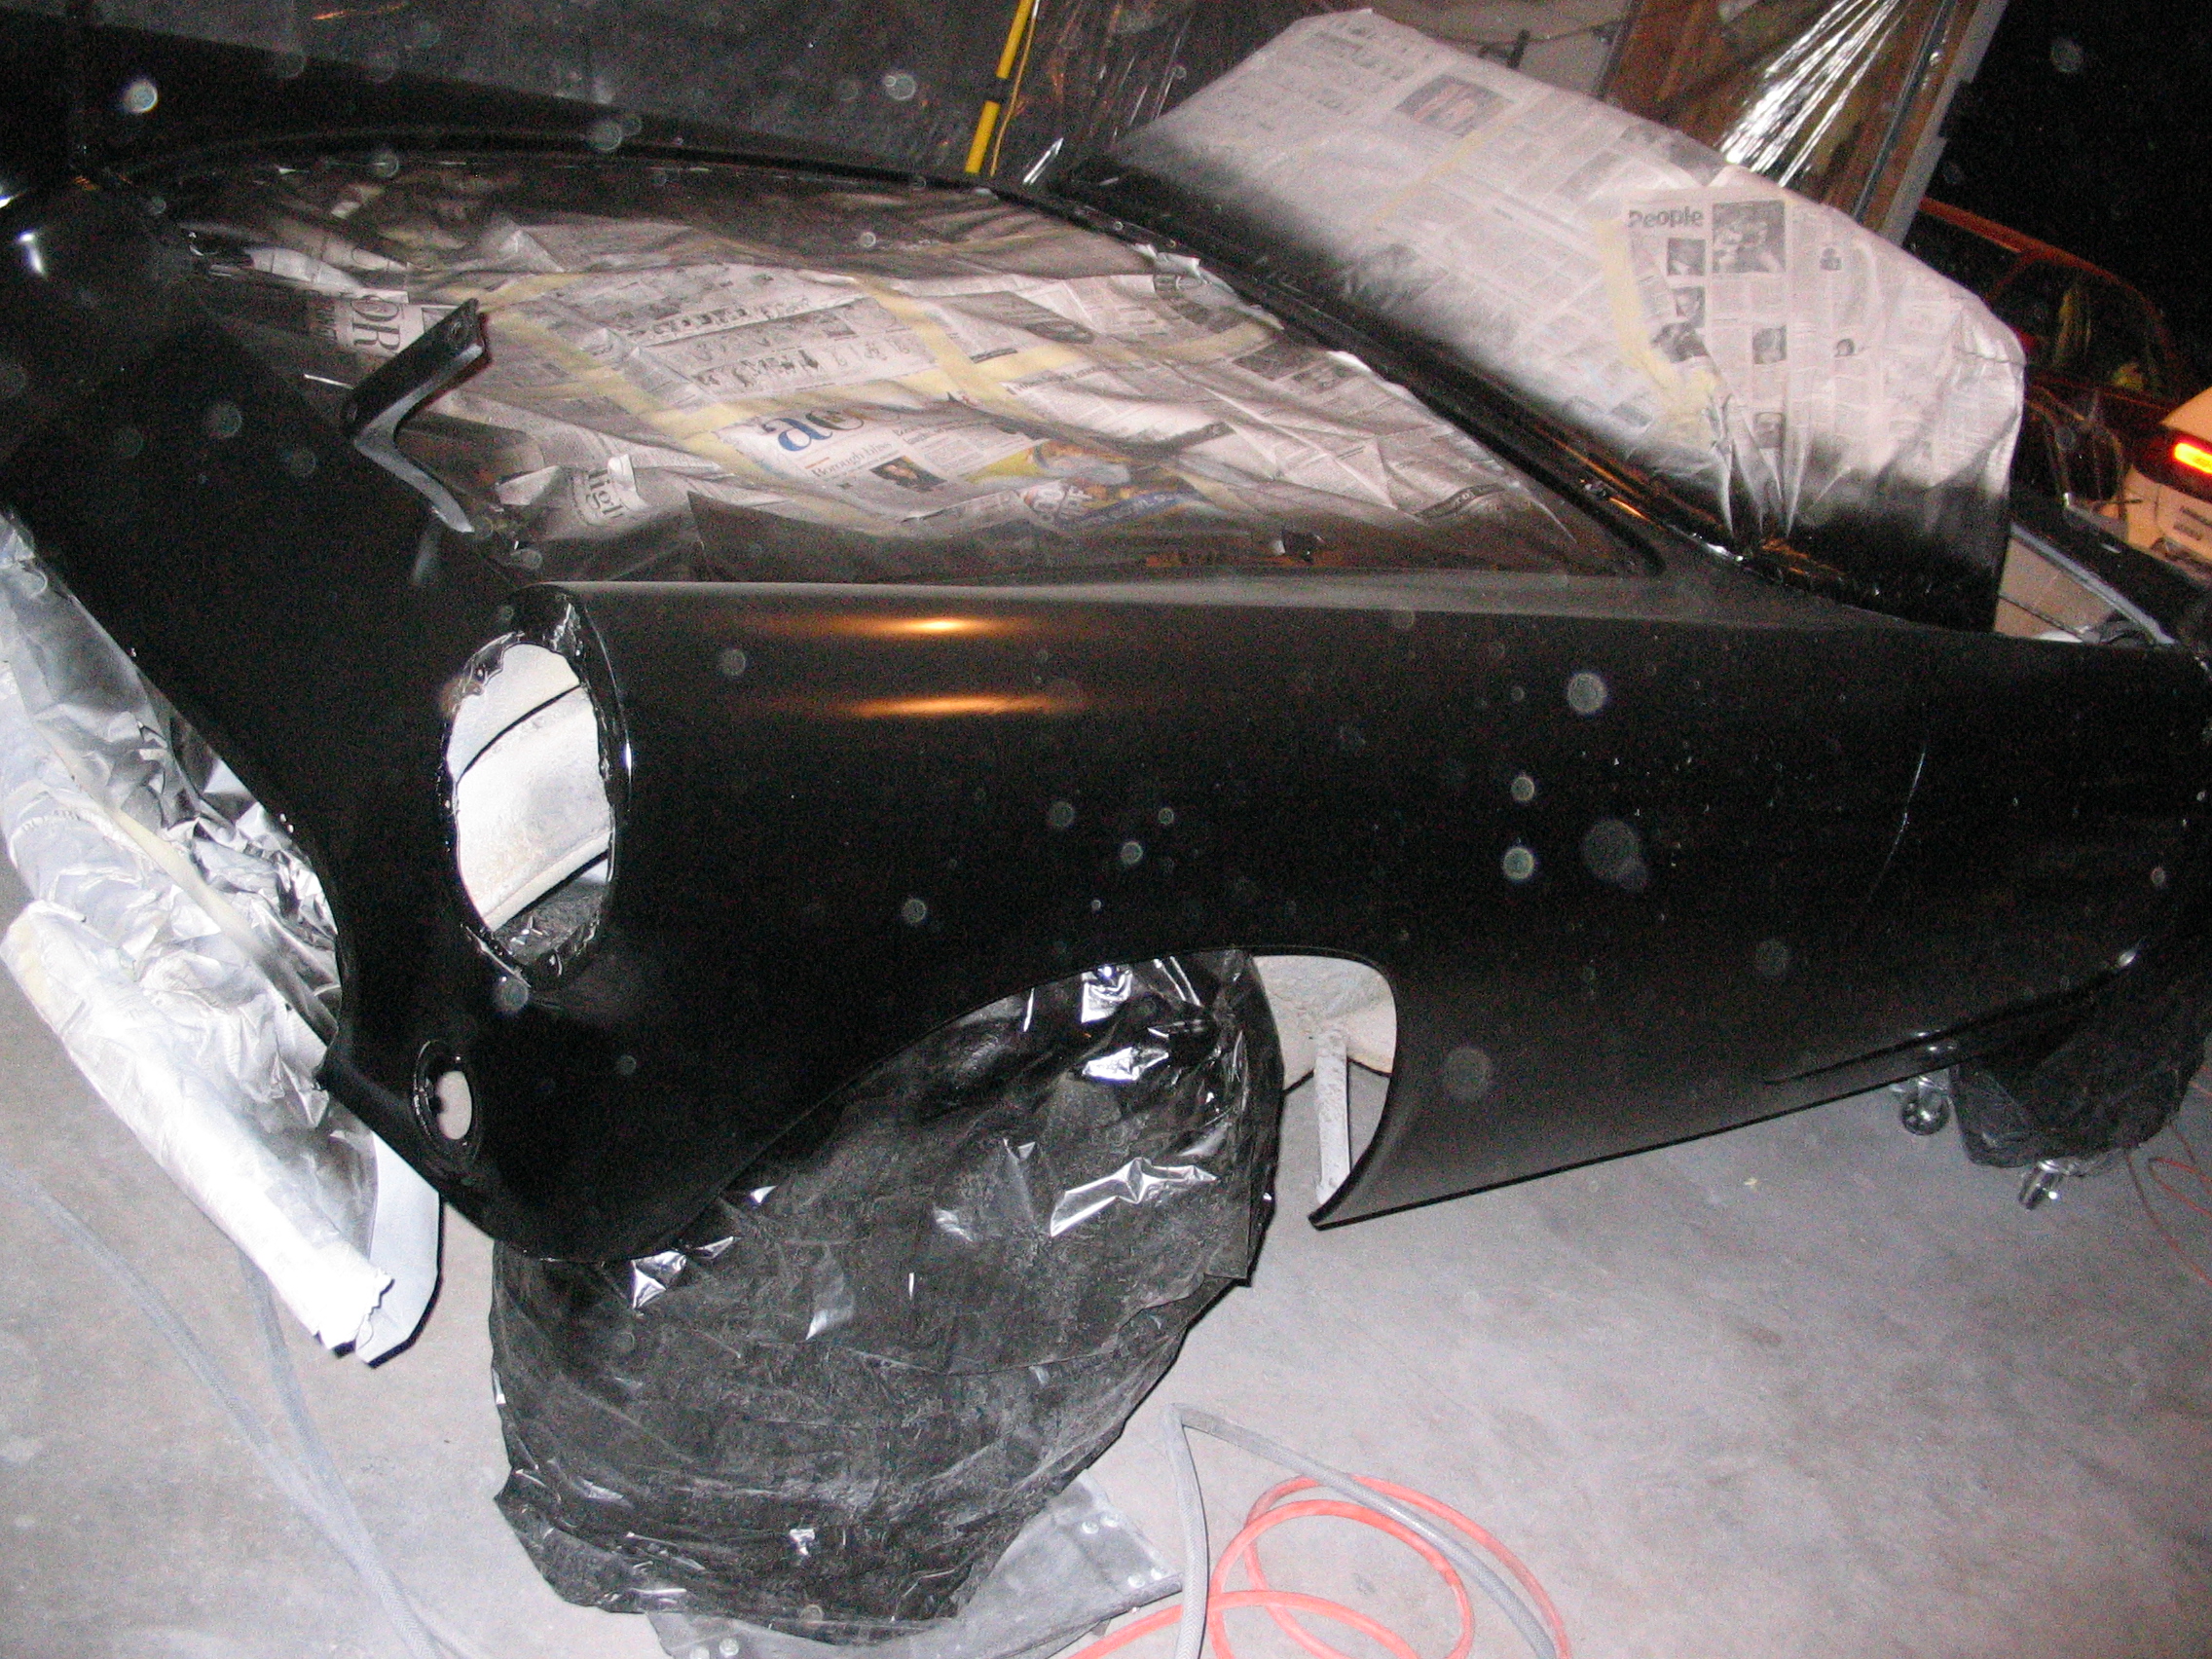
Front
35 / 35
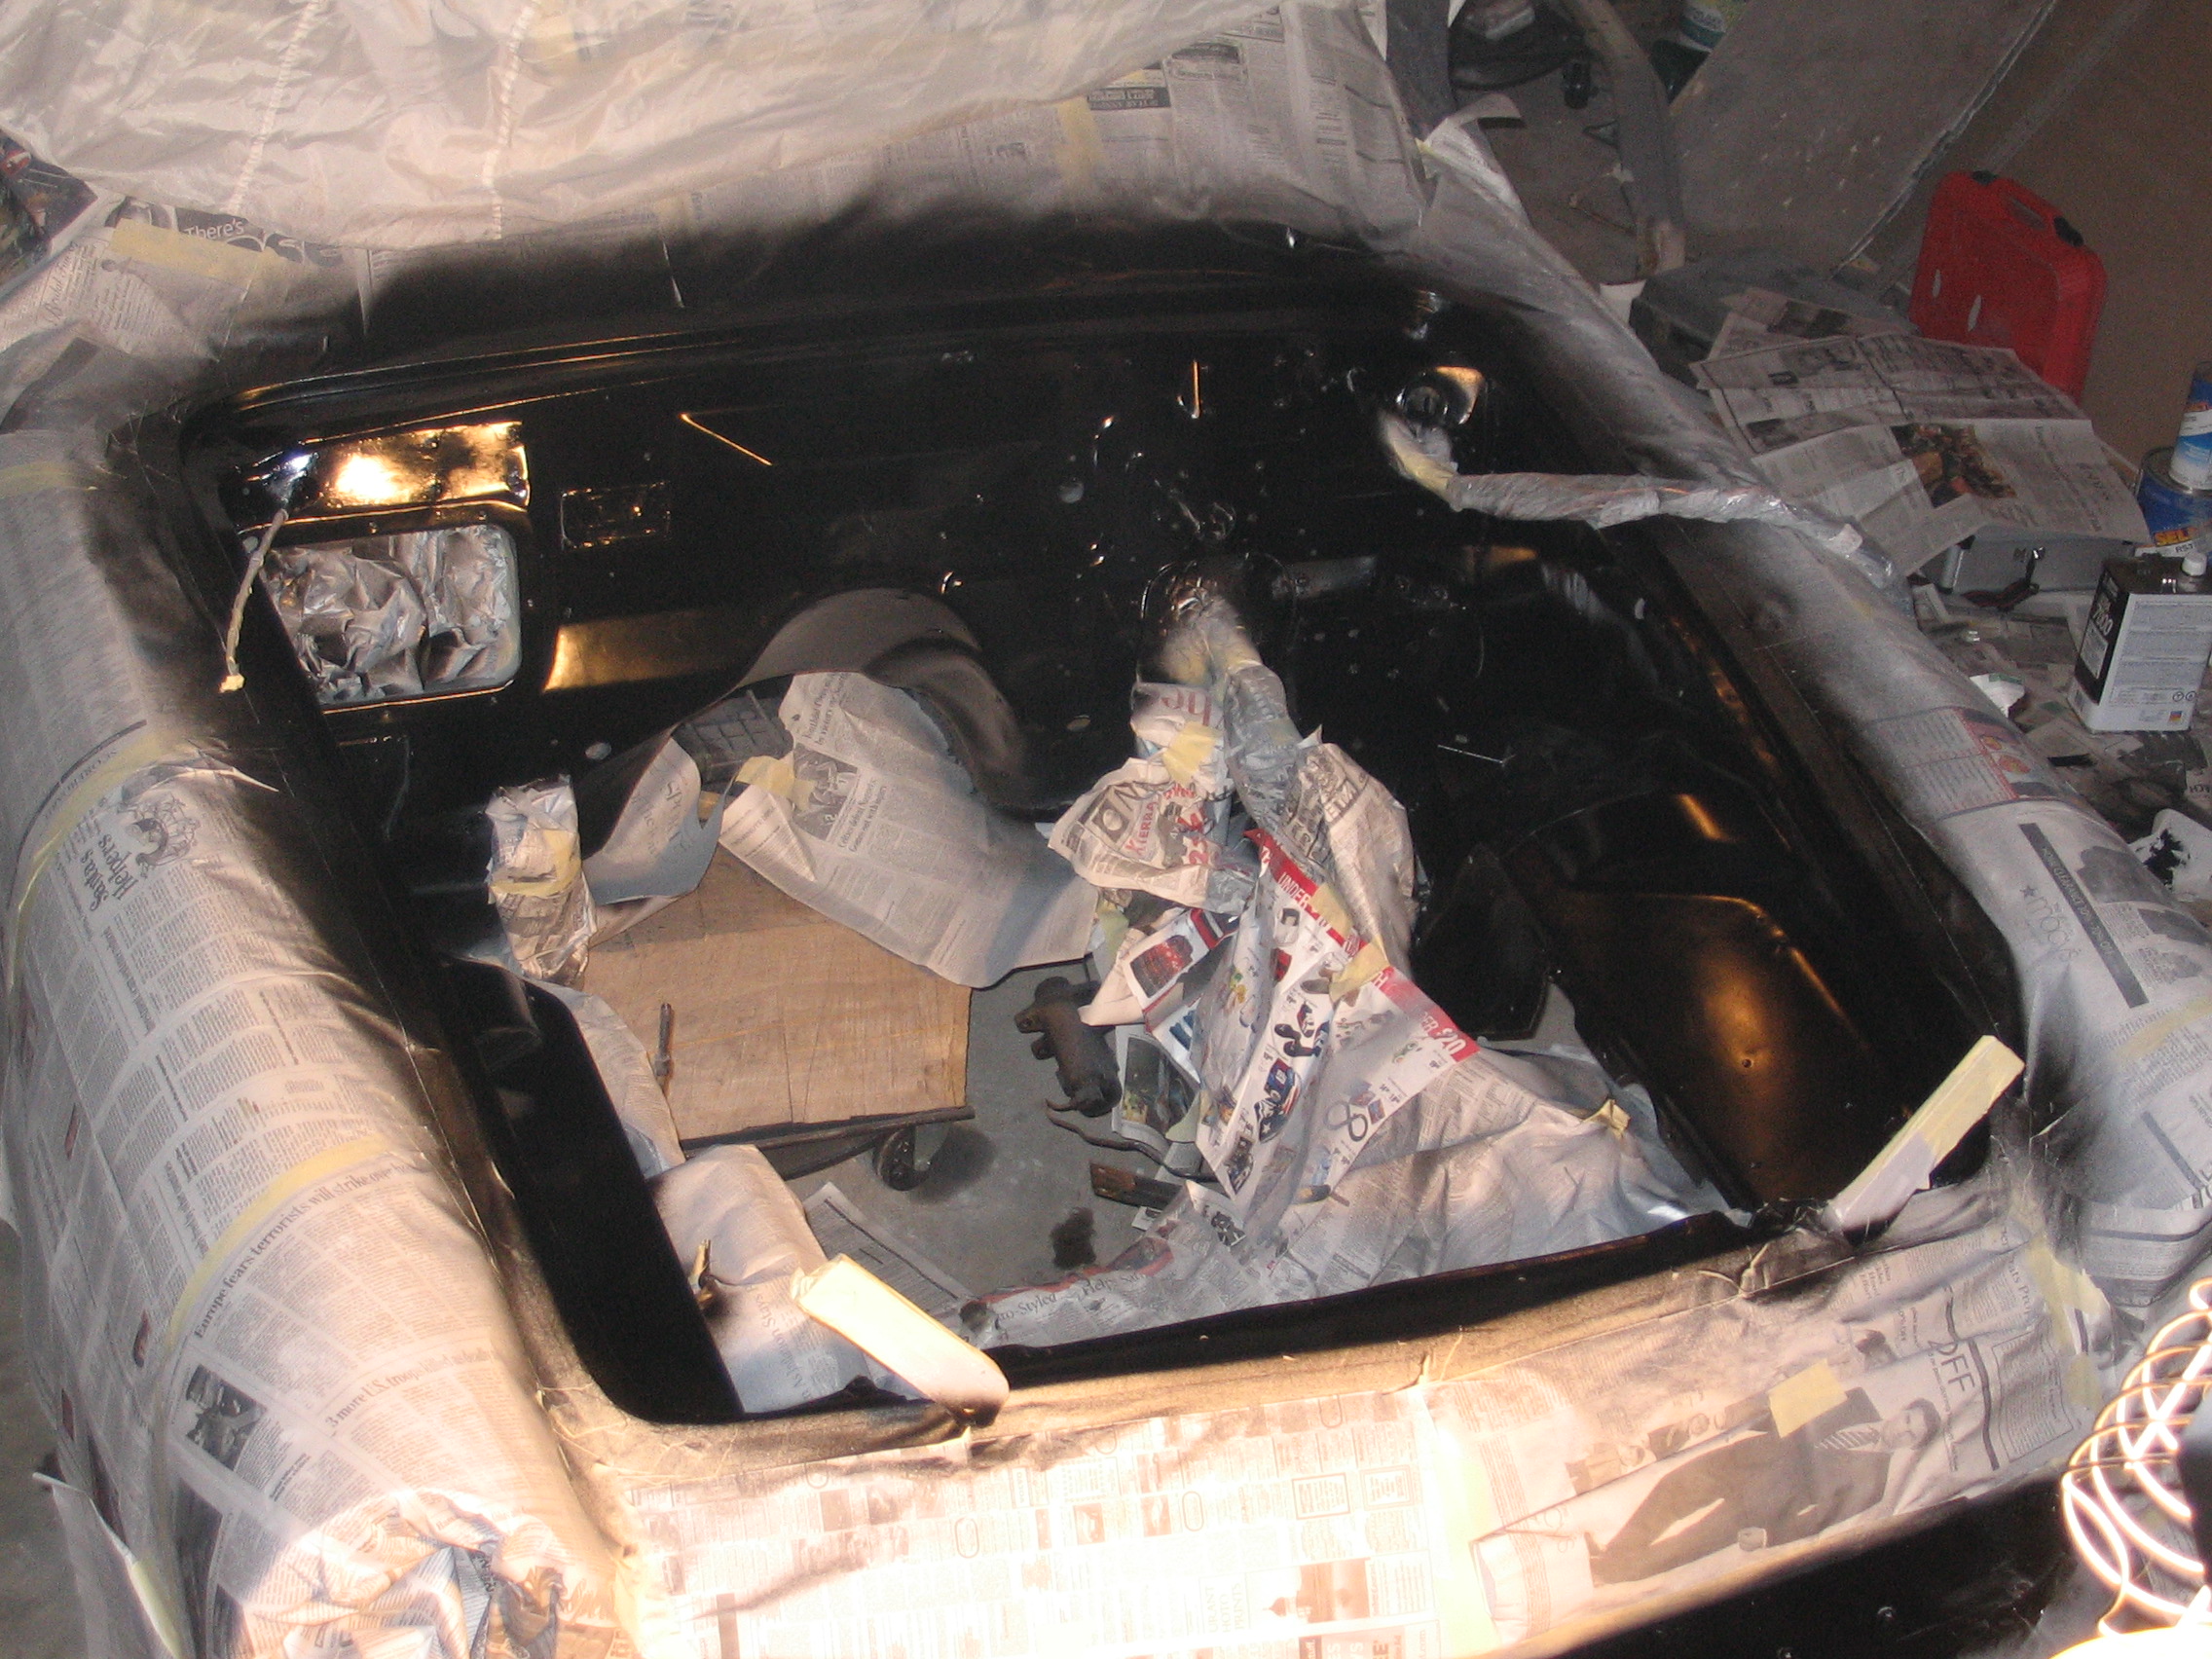
Engine Bay
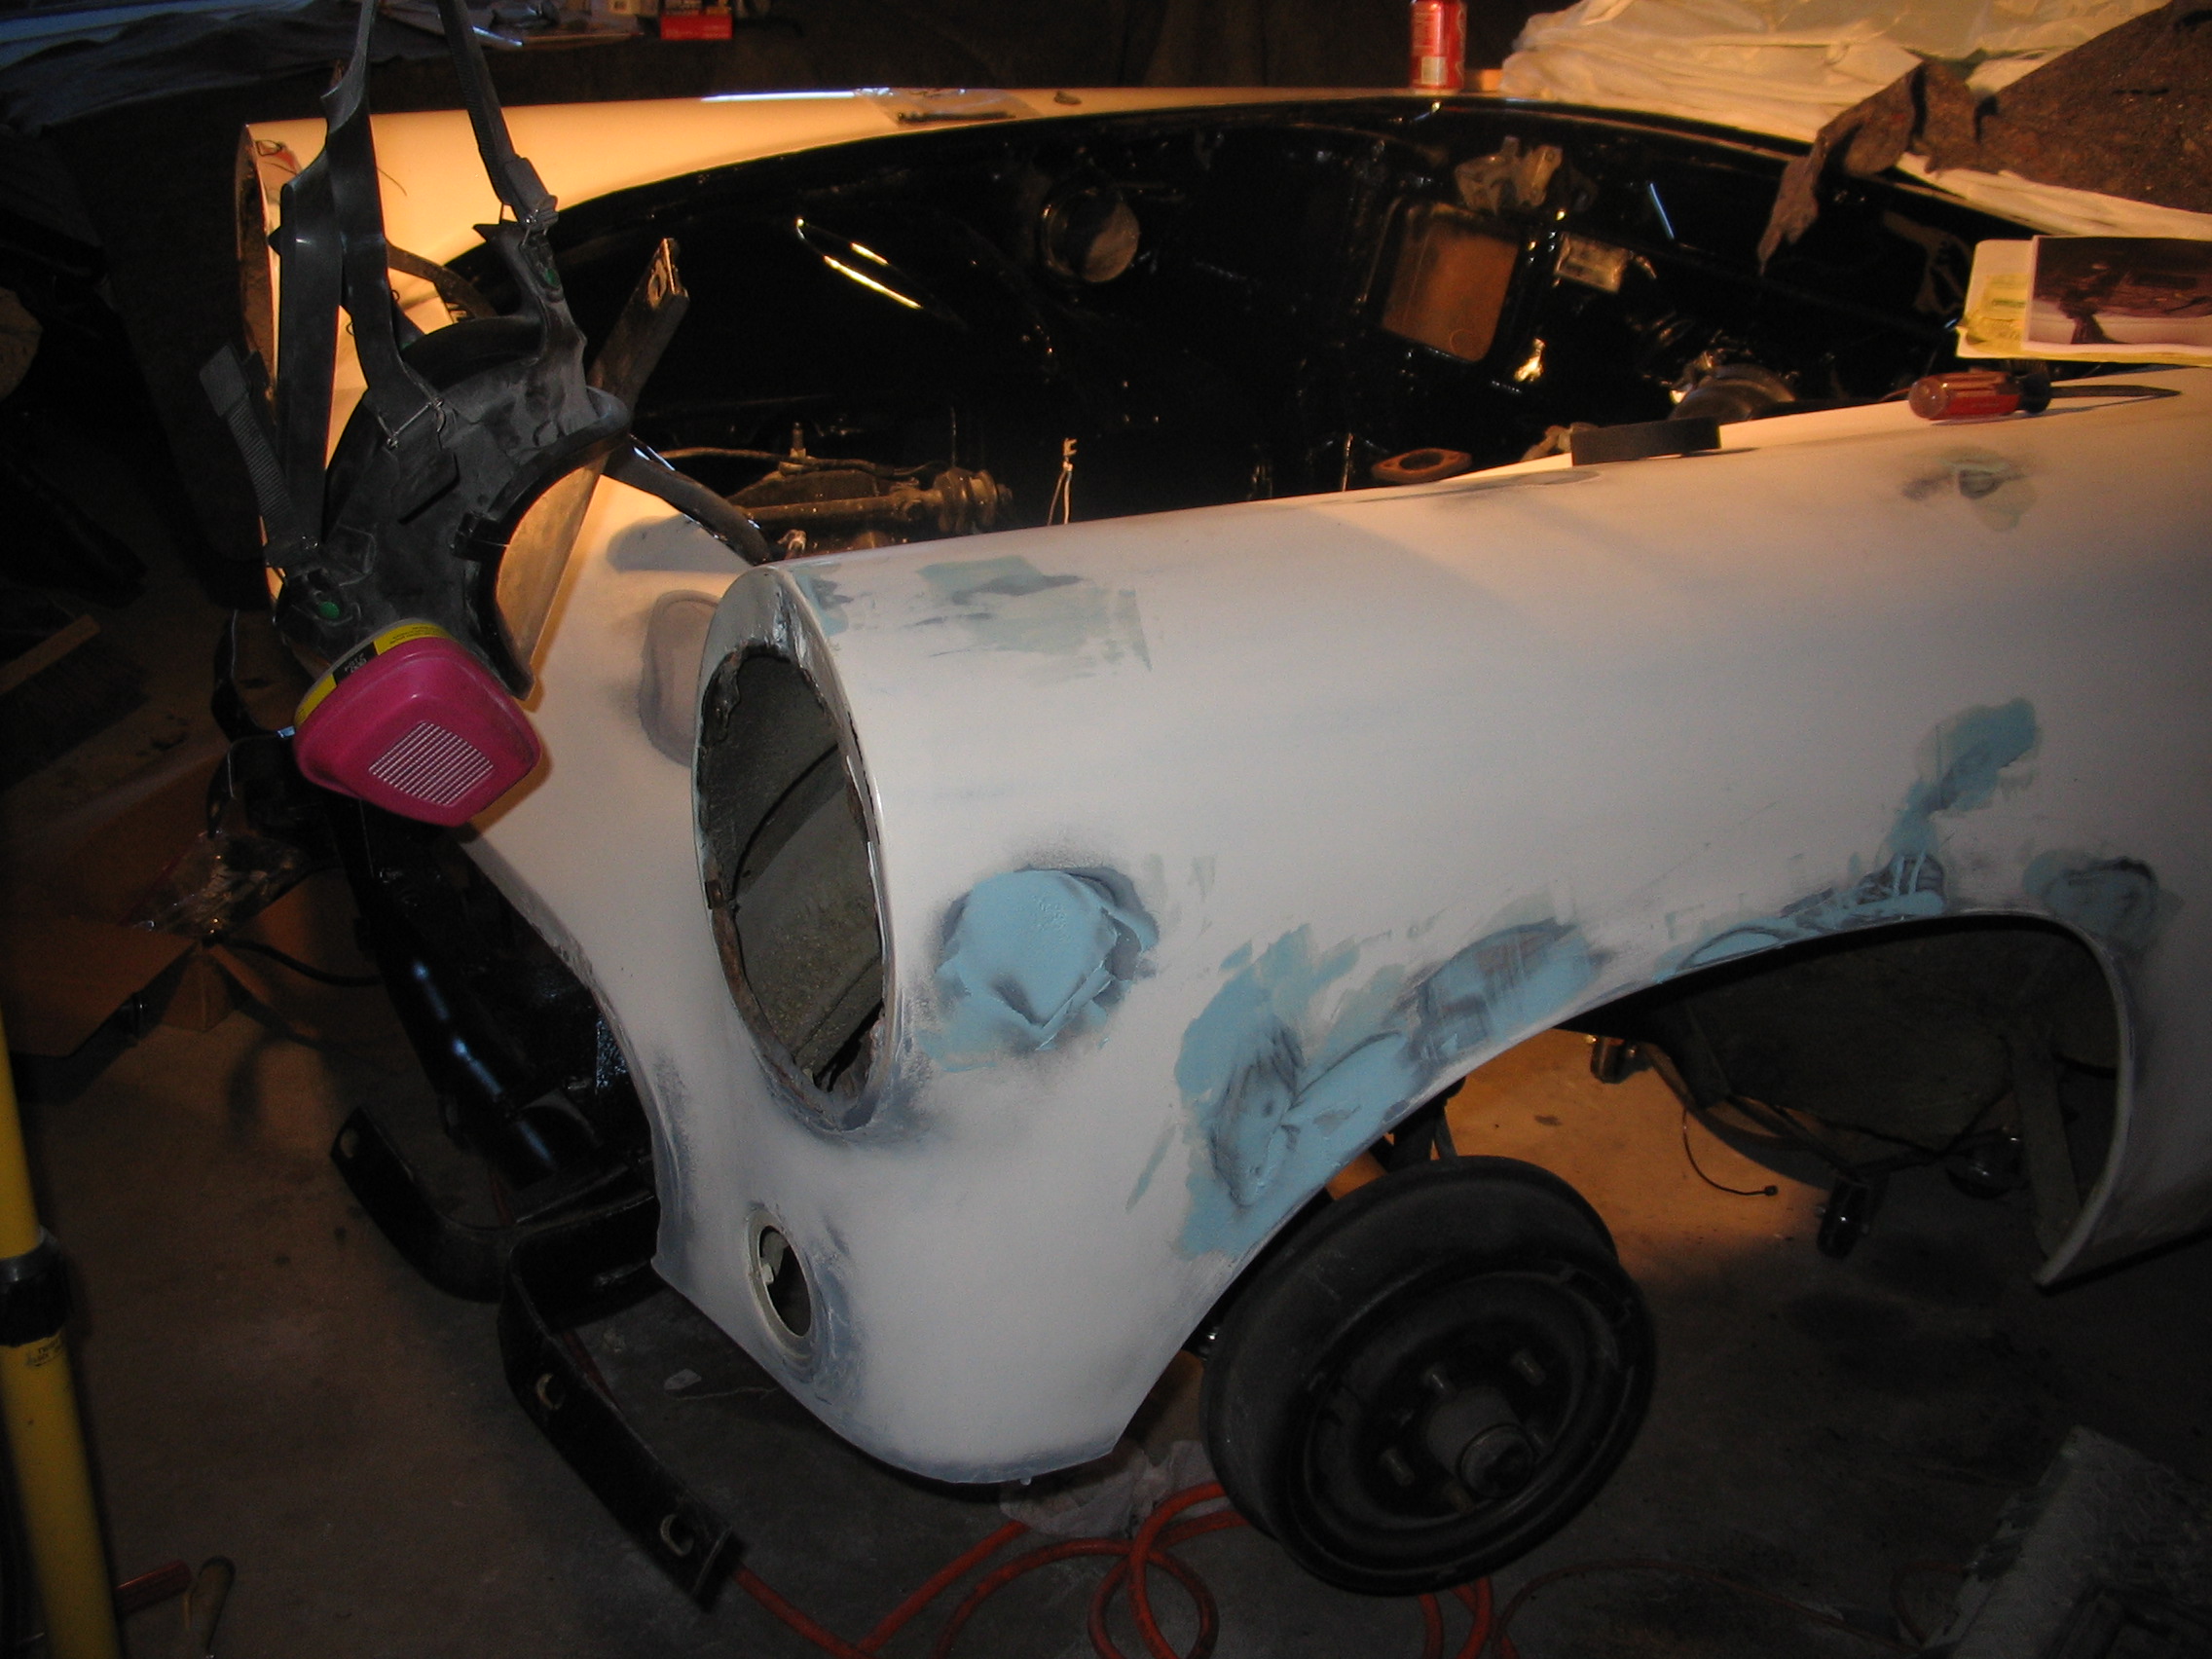
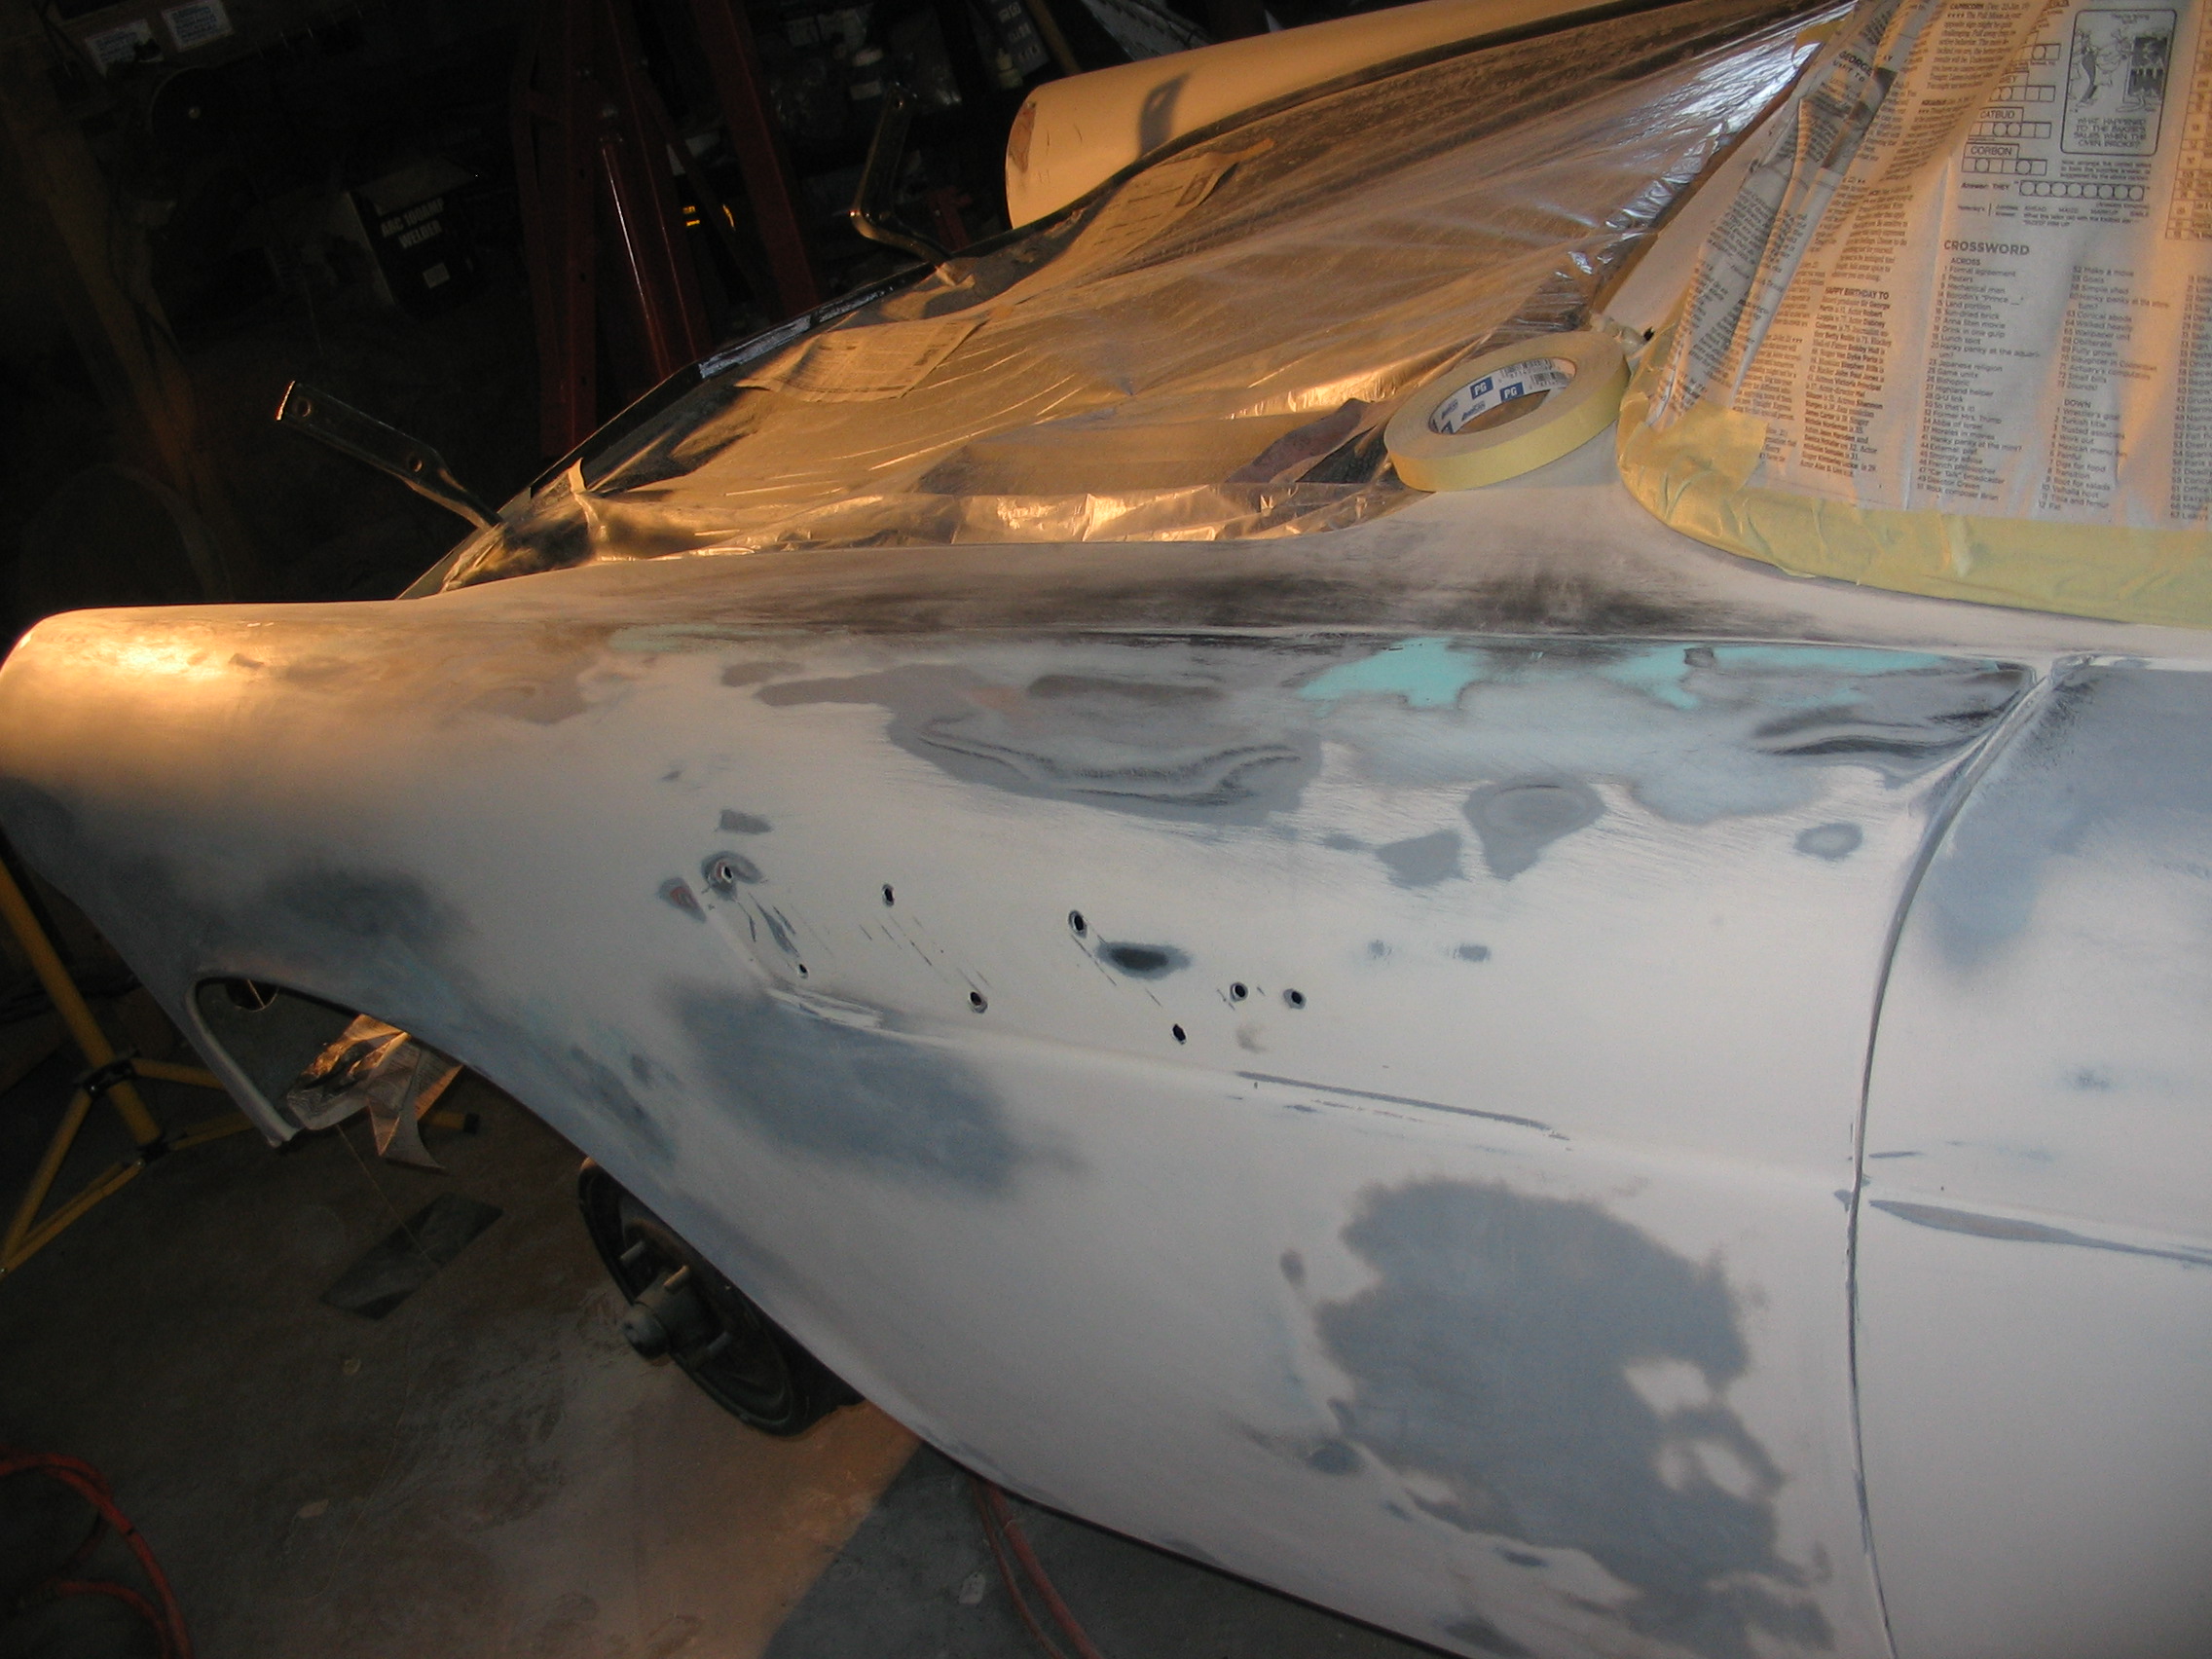
Bodywork
36/ 43
Left Front
37/ 43

Driver side Door
38/ 43
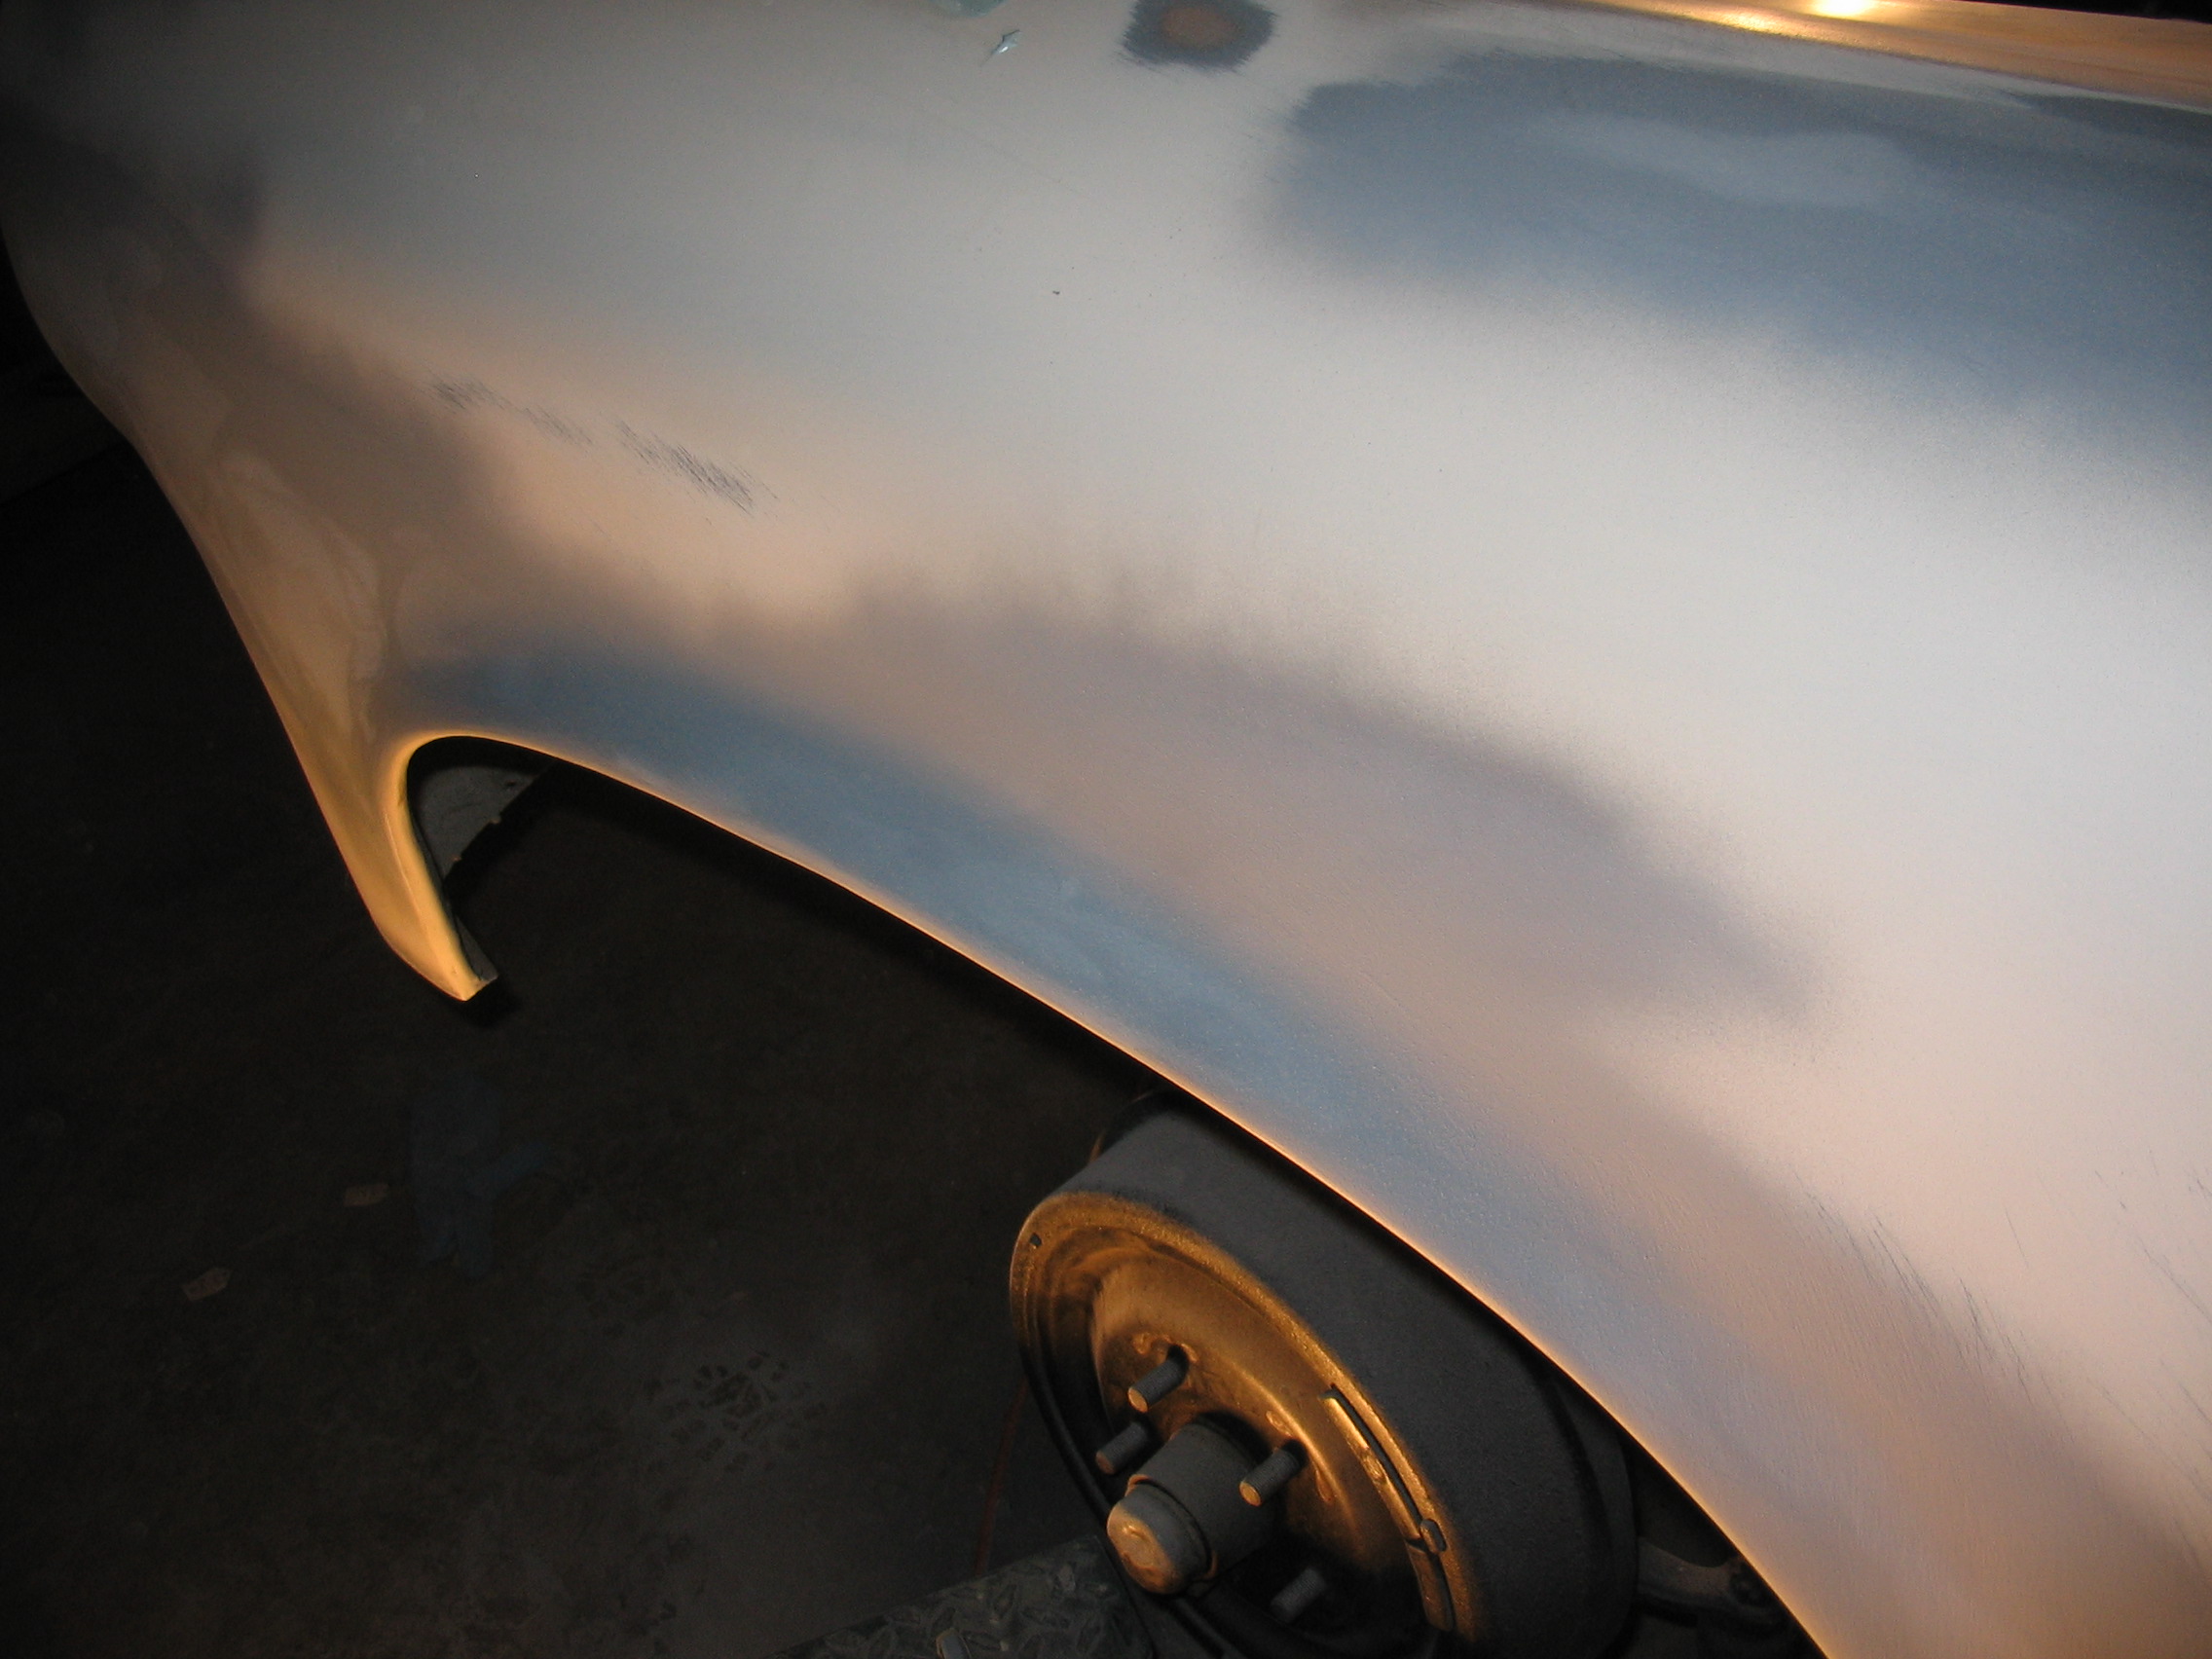
Flare
39/ 43
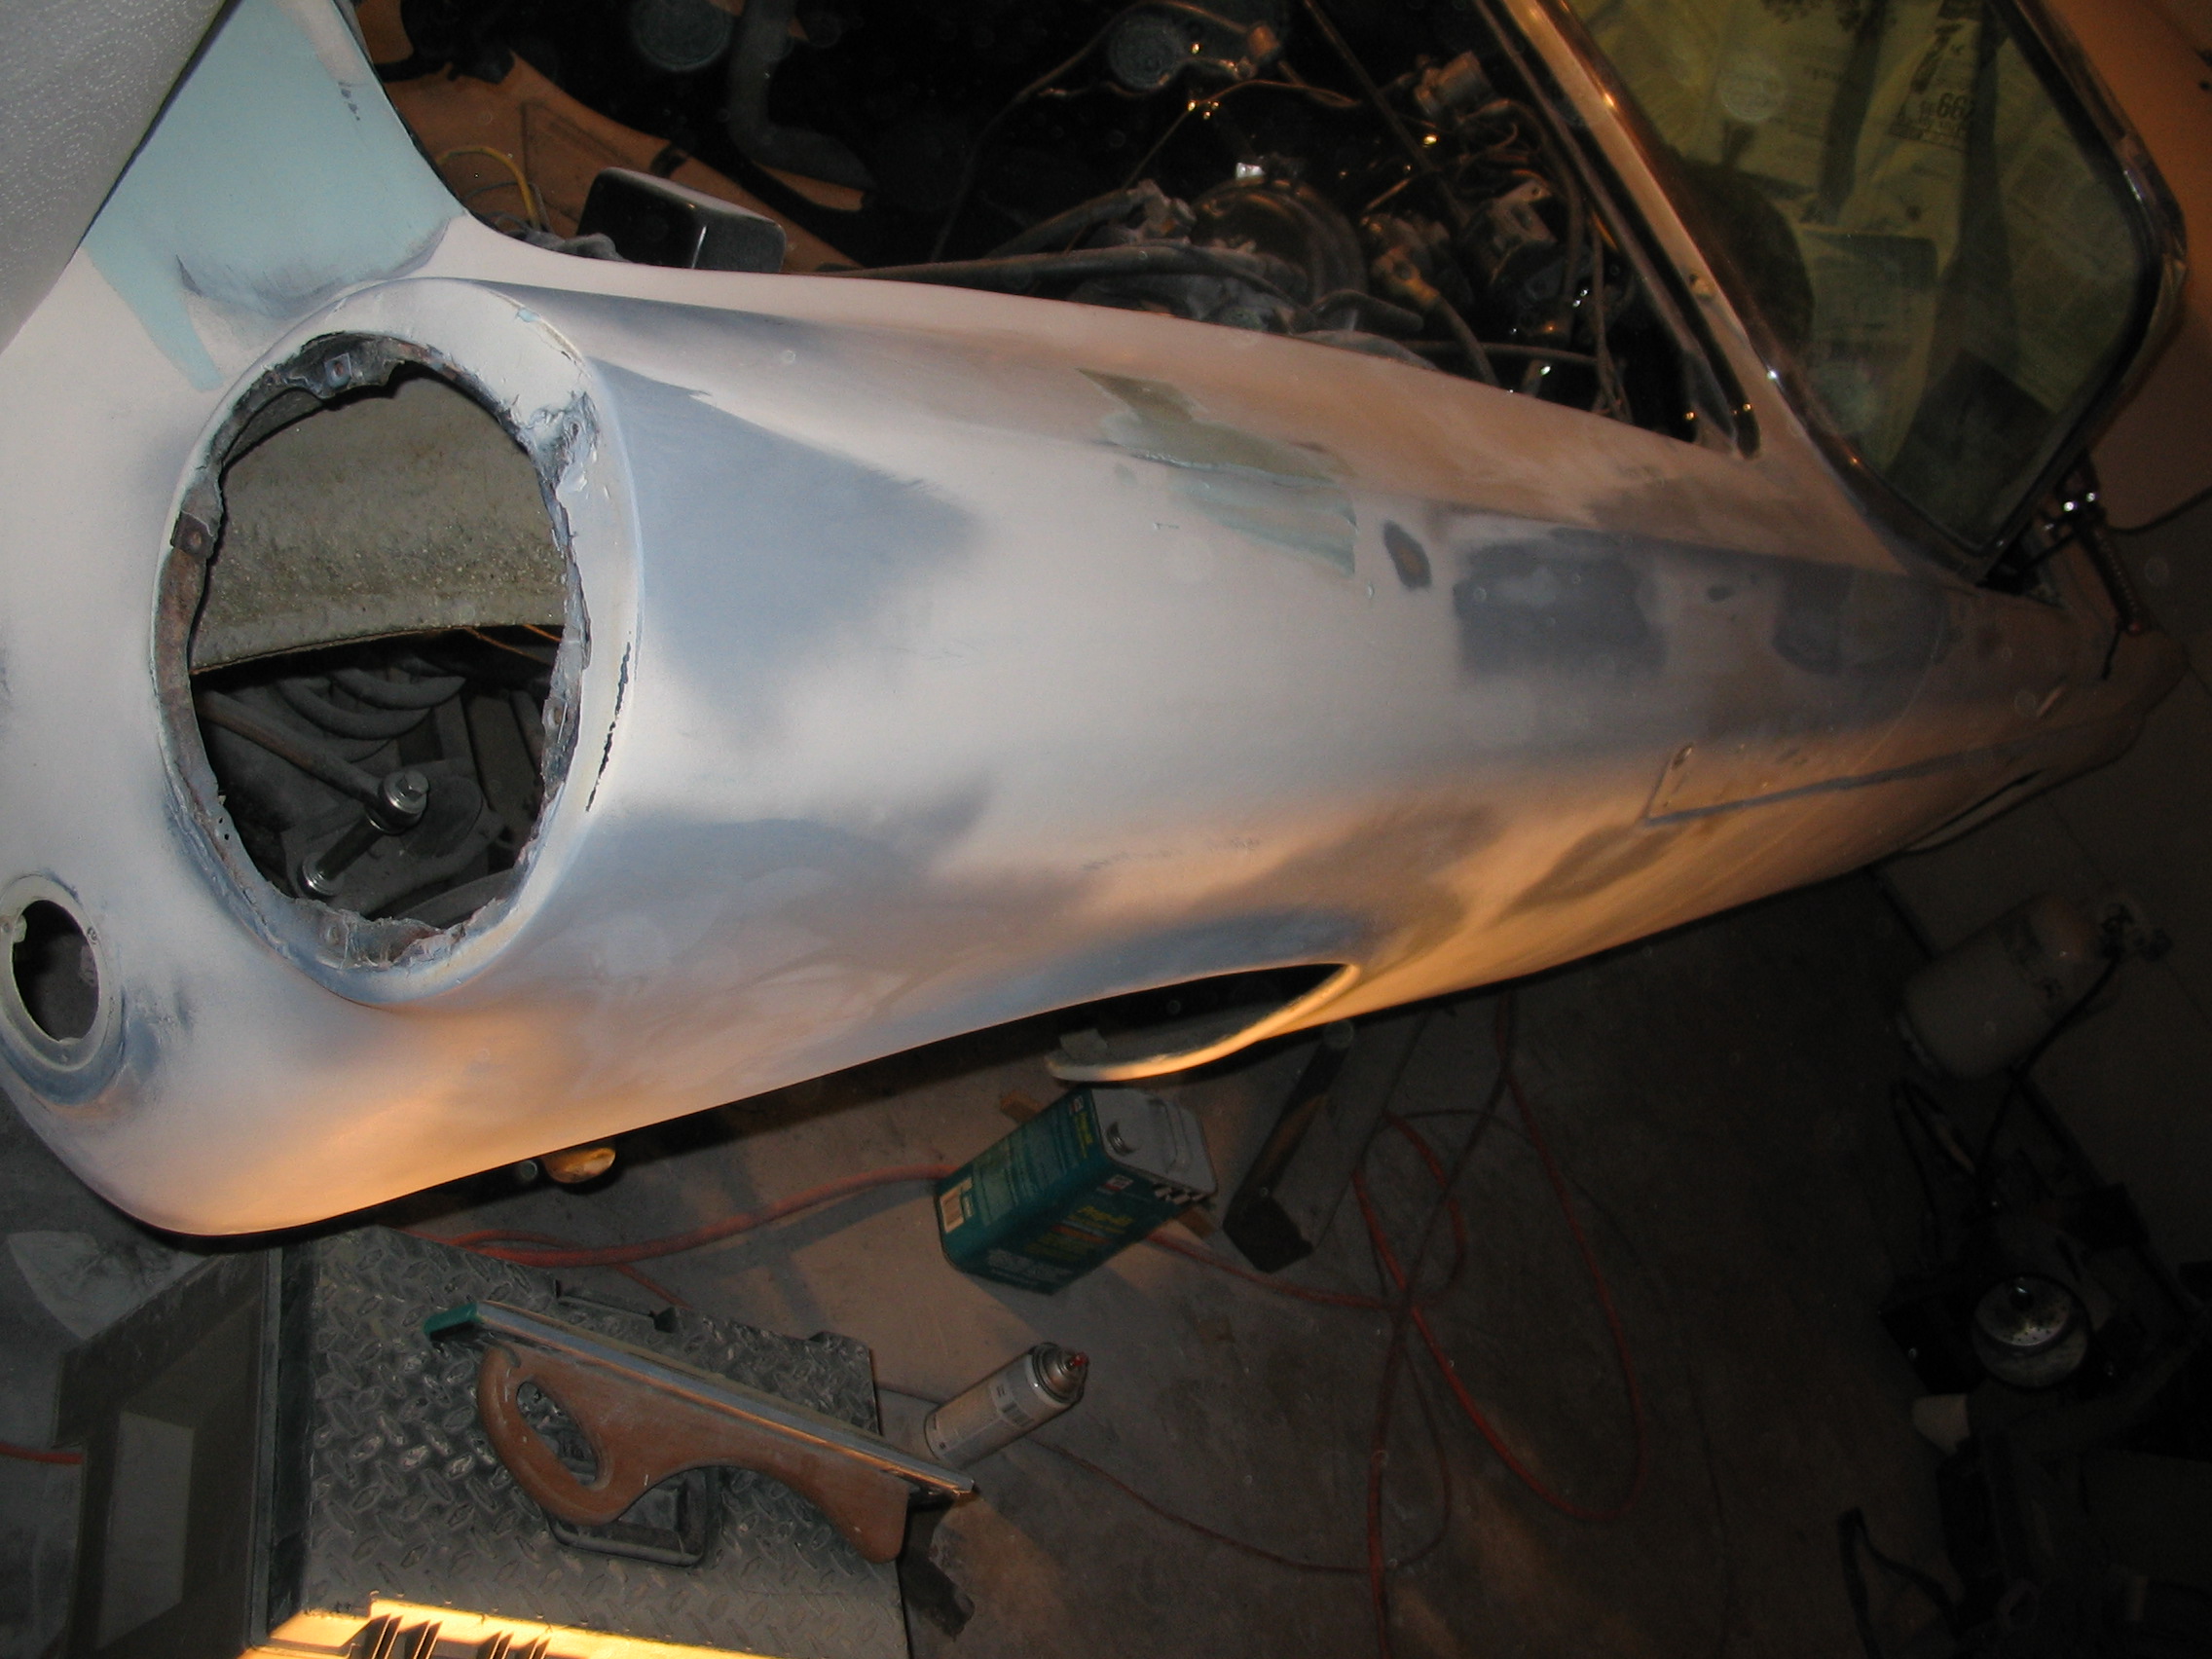
Headlight
40/ 43
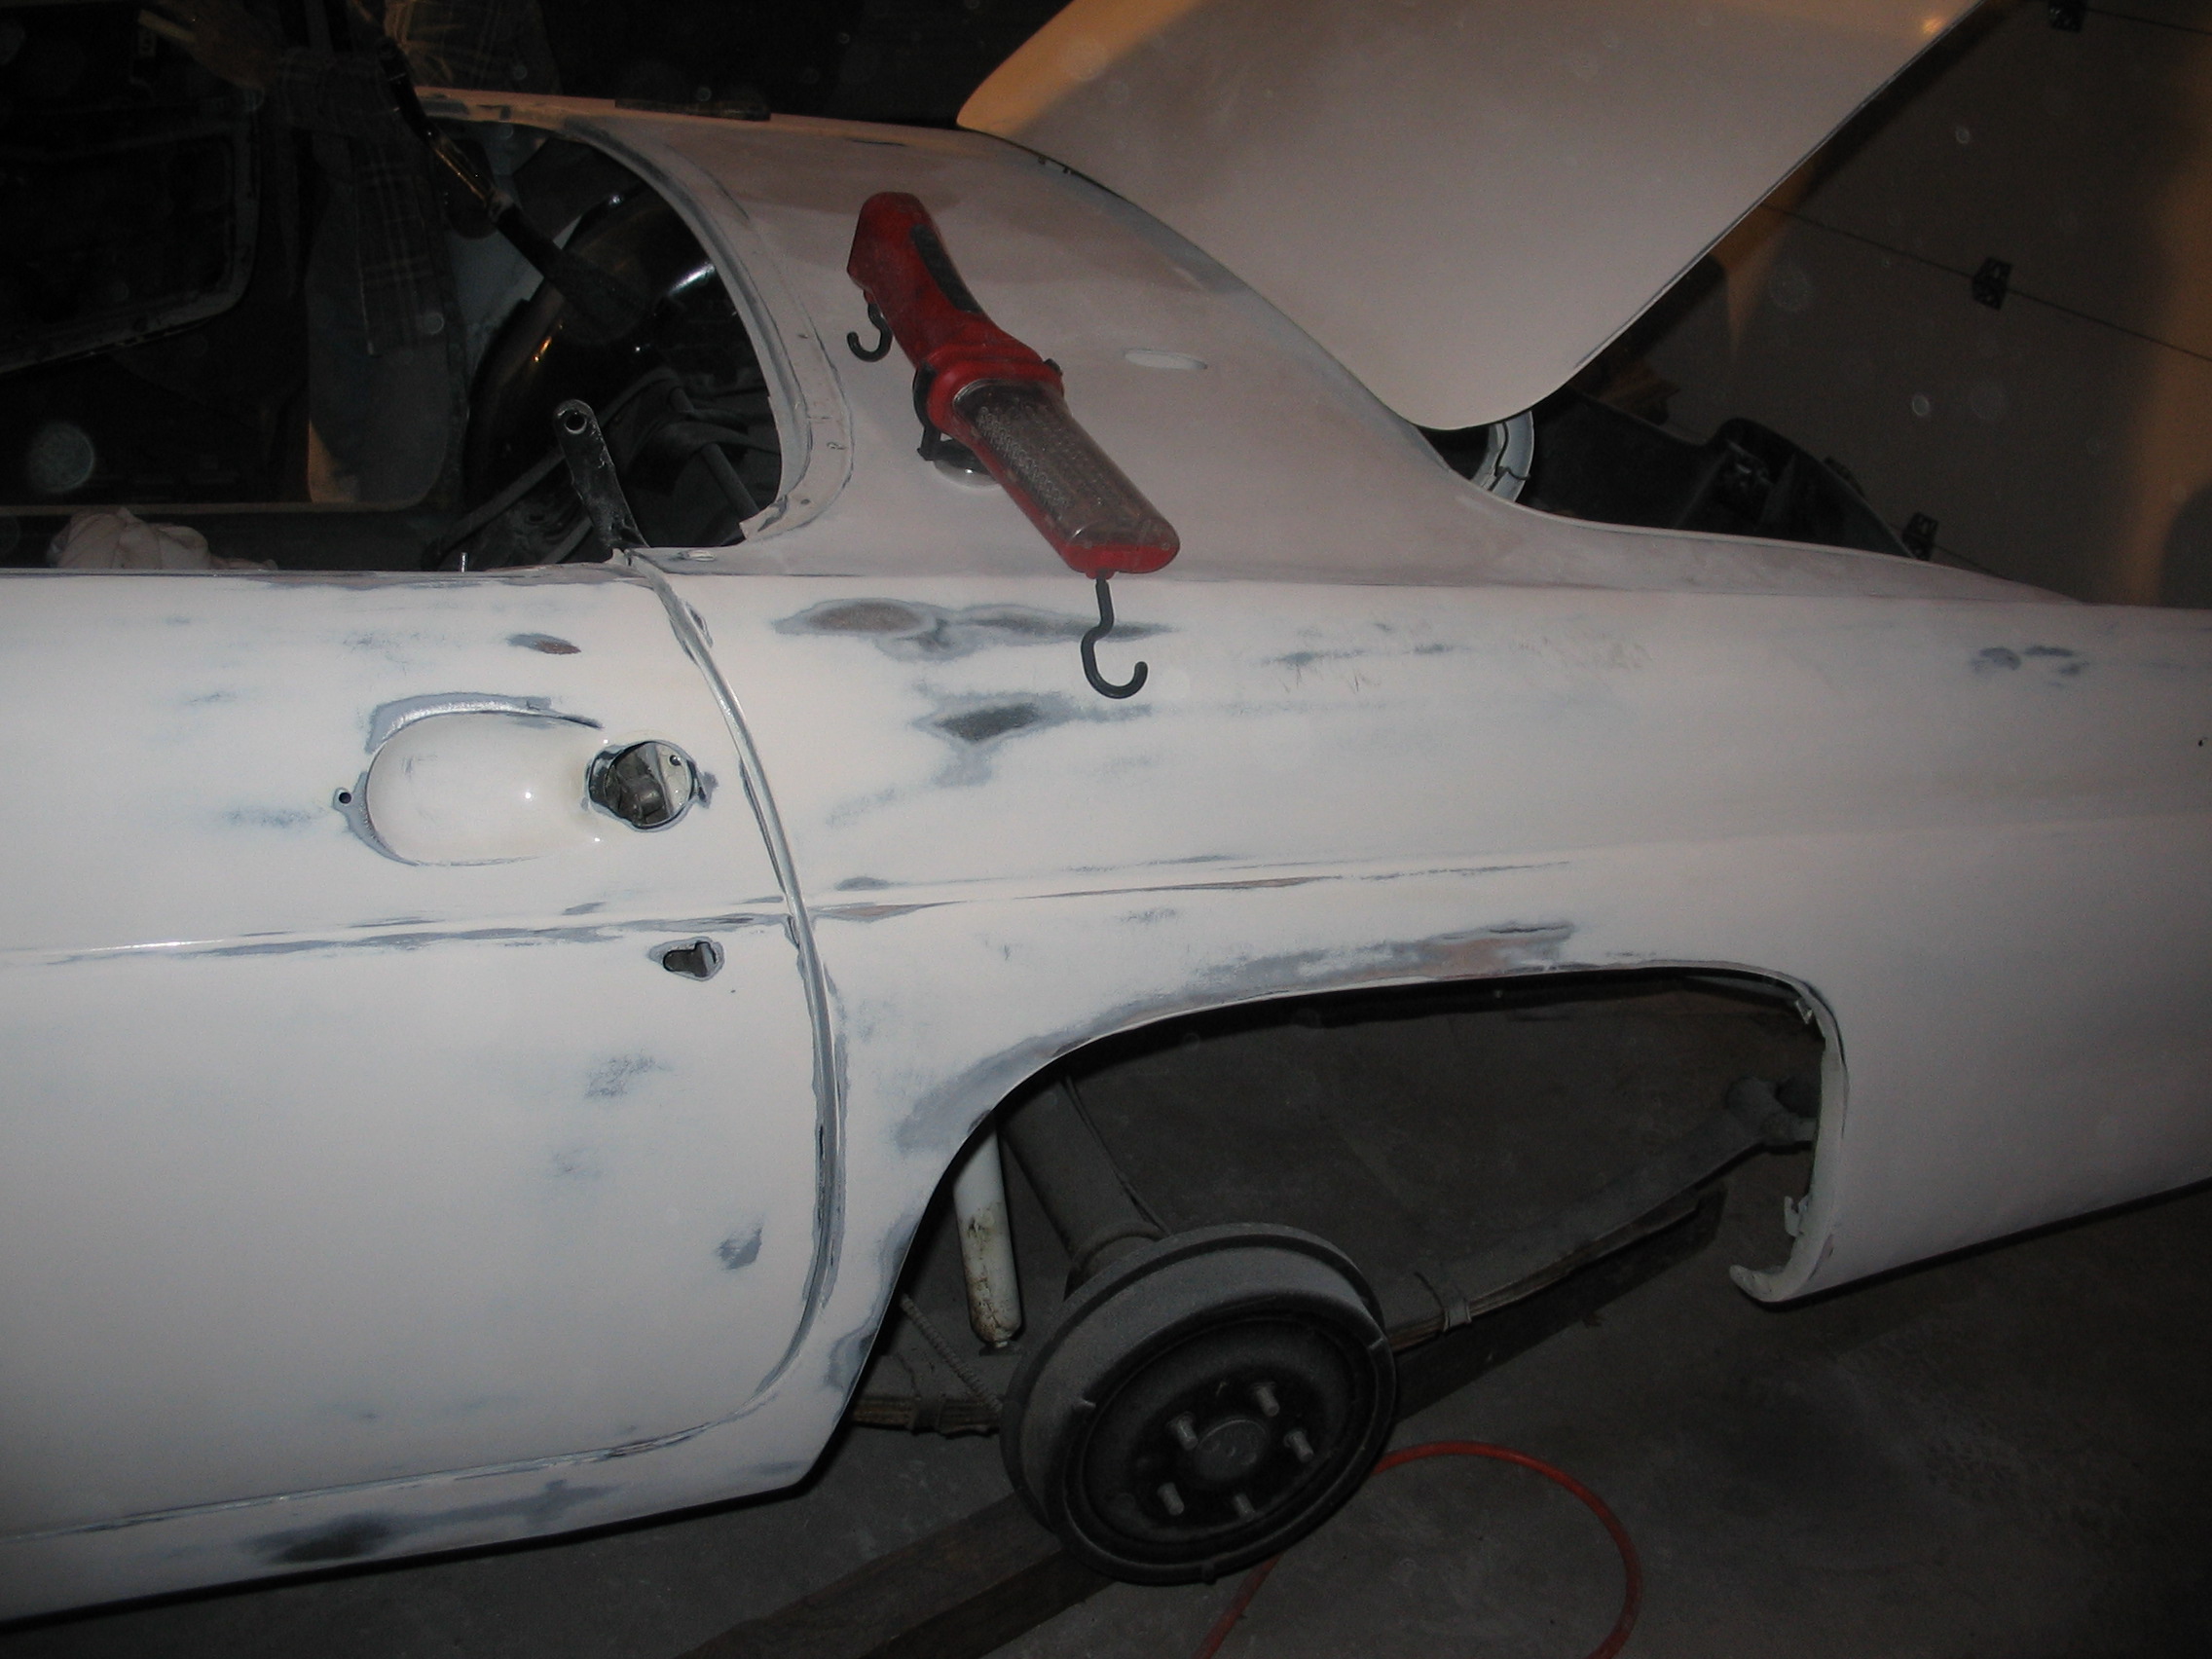
Rear Quarter
41/ 43
Front Quarter
42/ 43
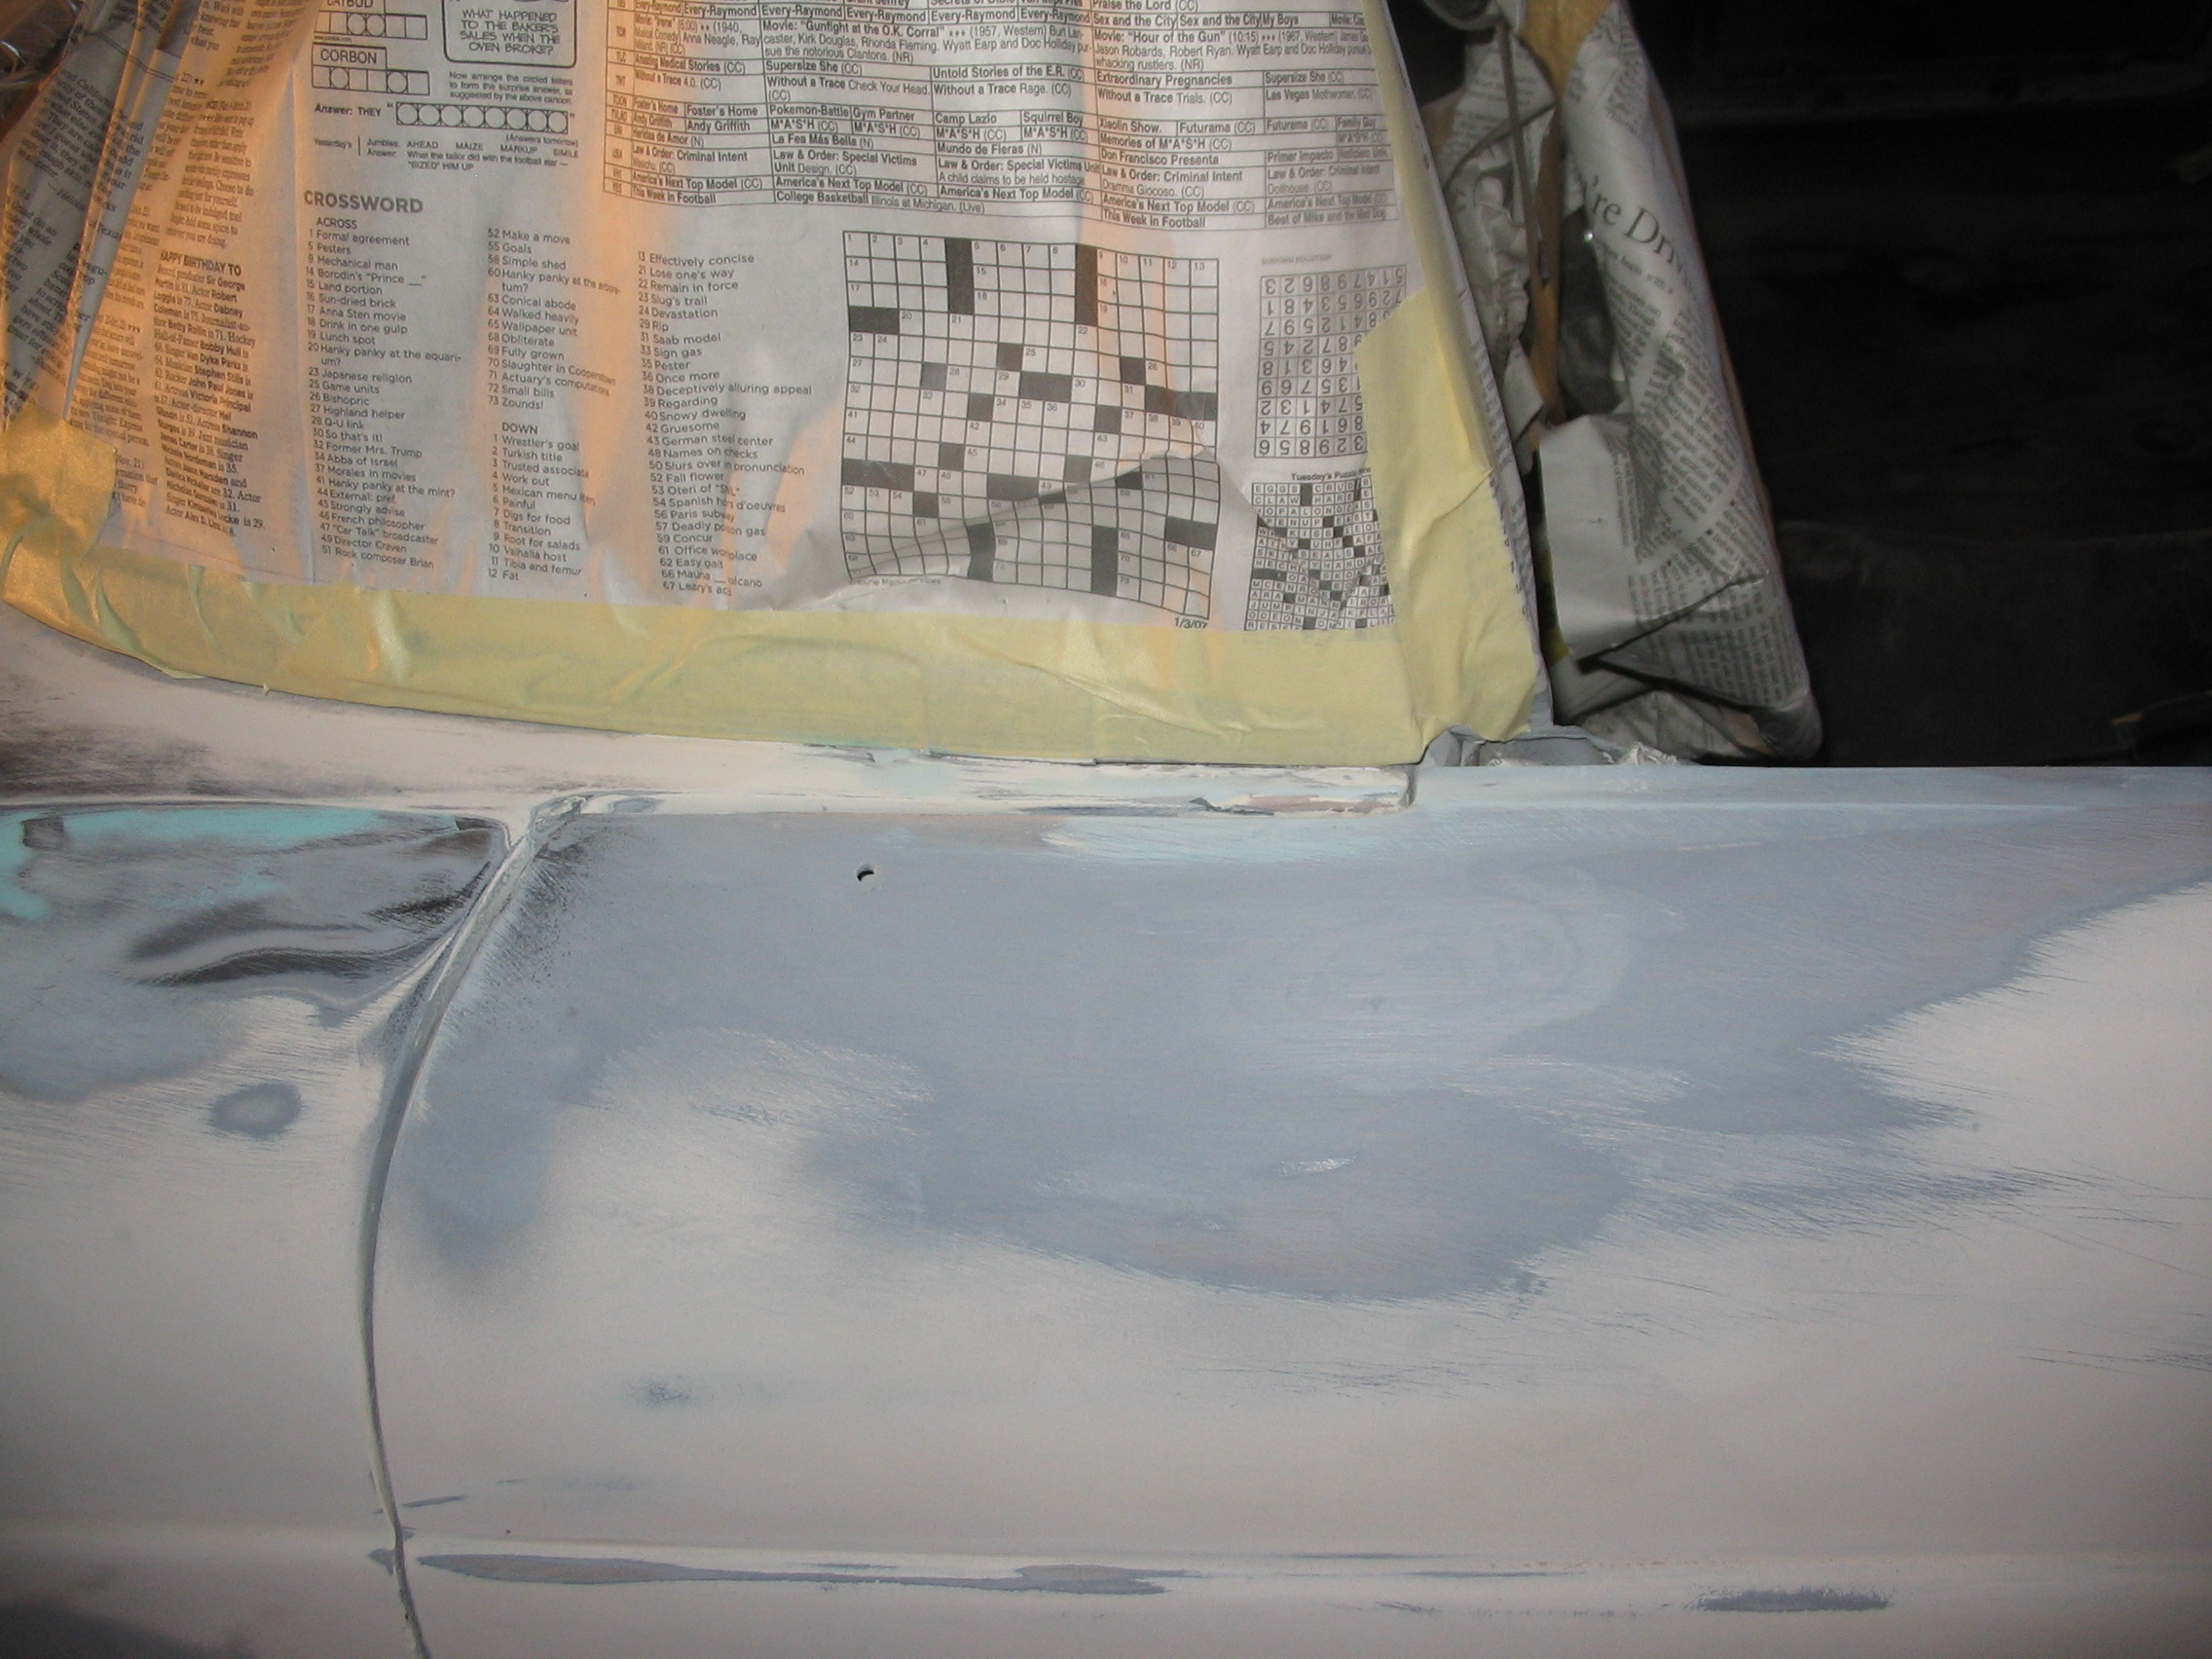
Dog Leg
43/ 43
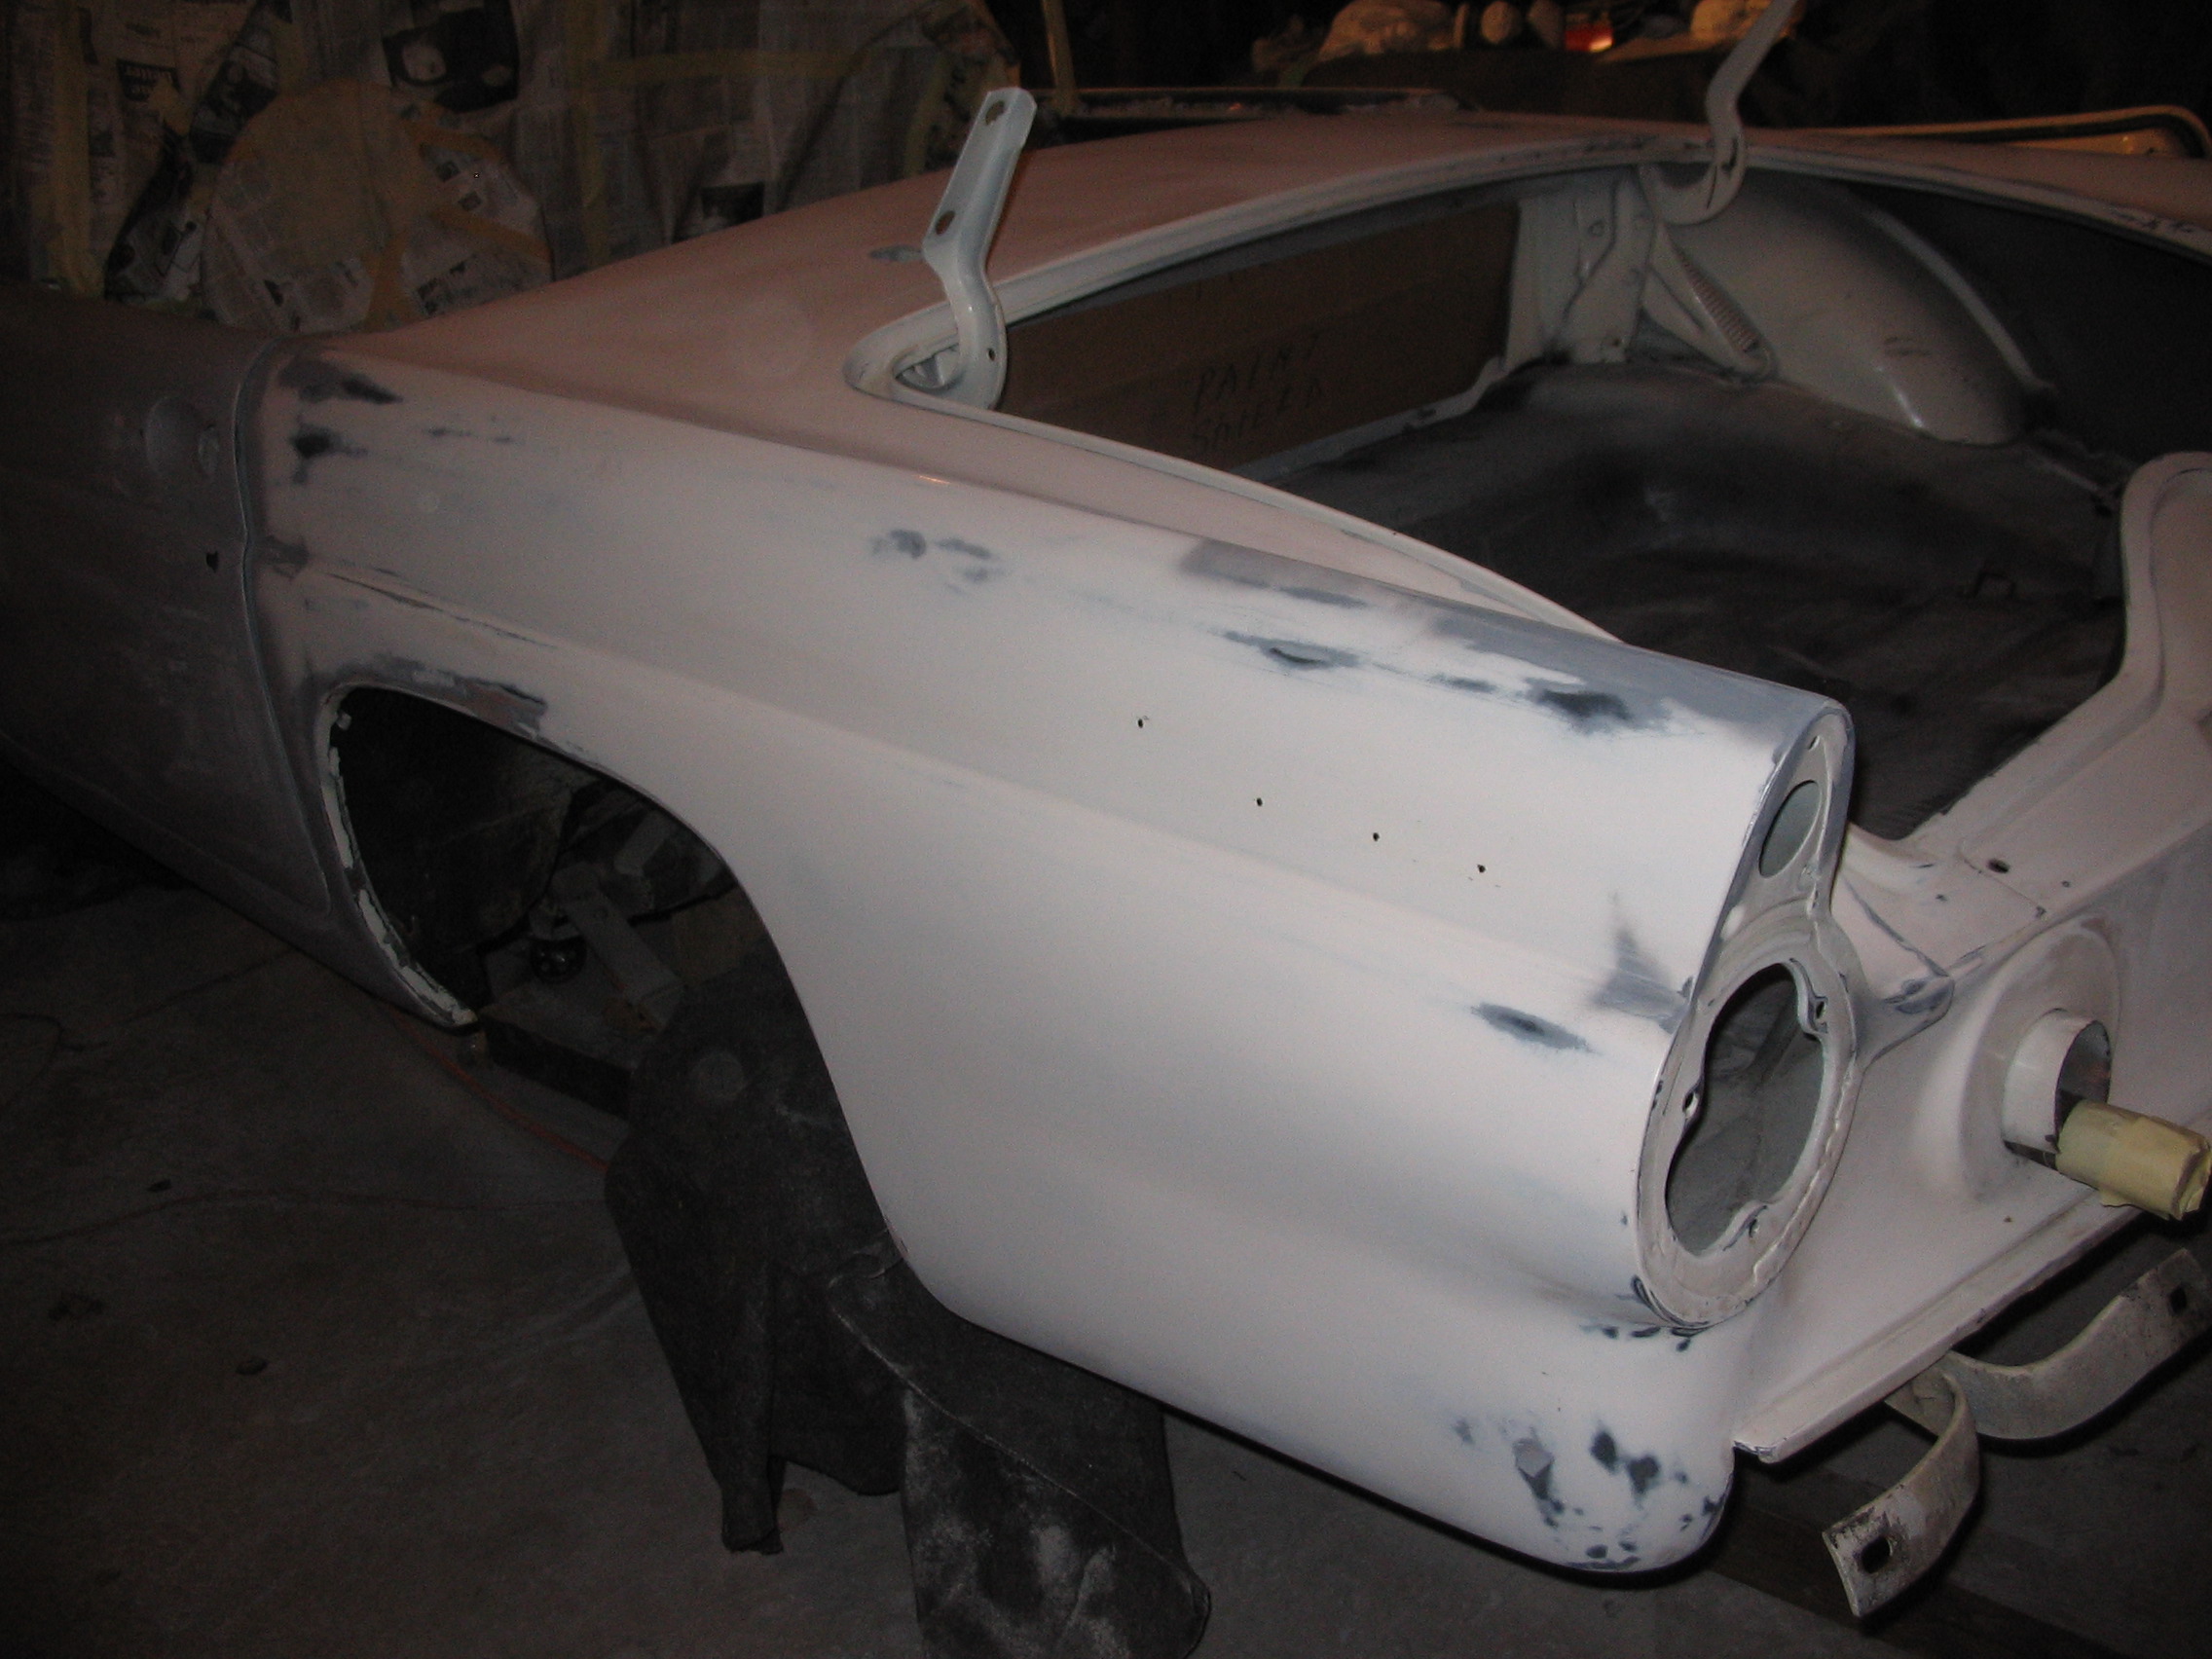
Rear Quarter
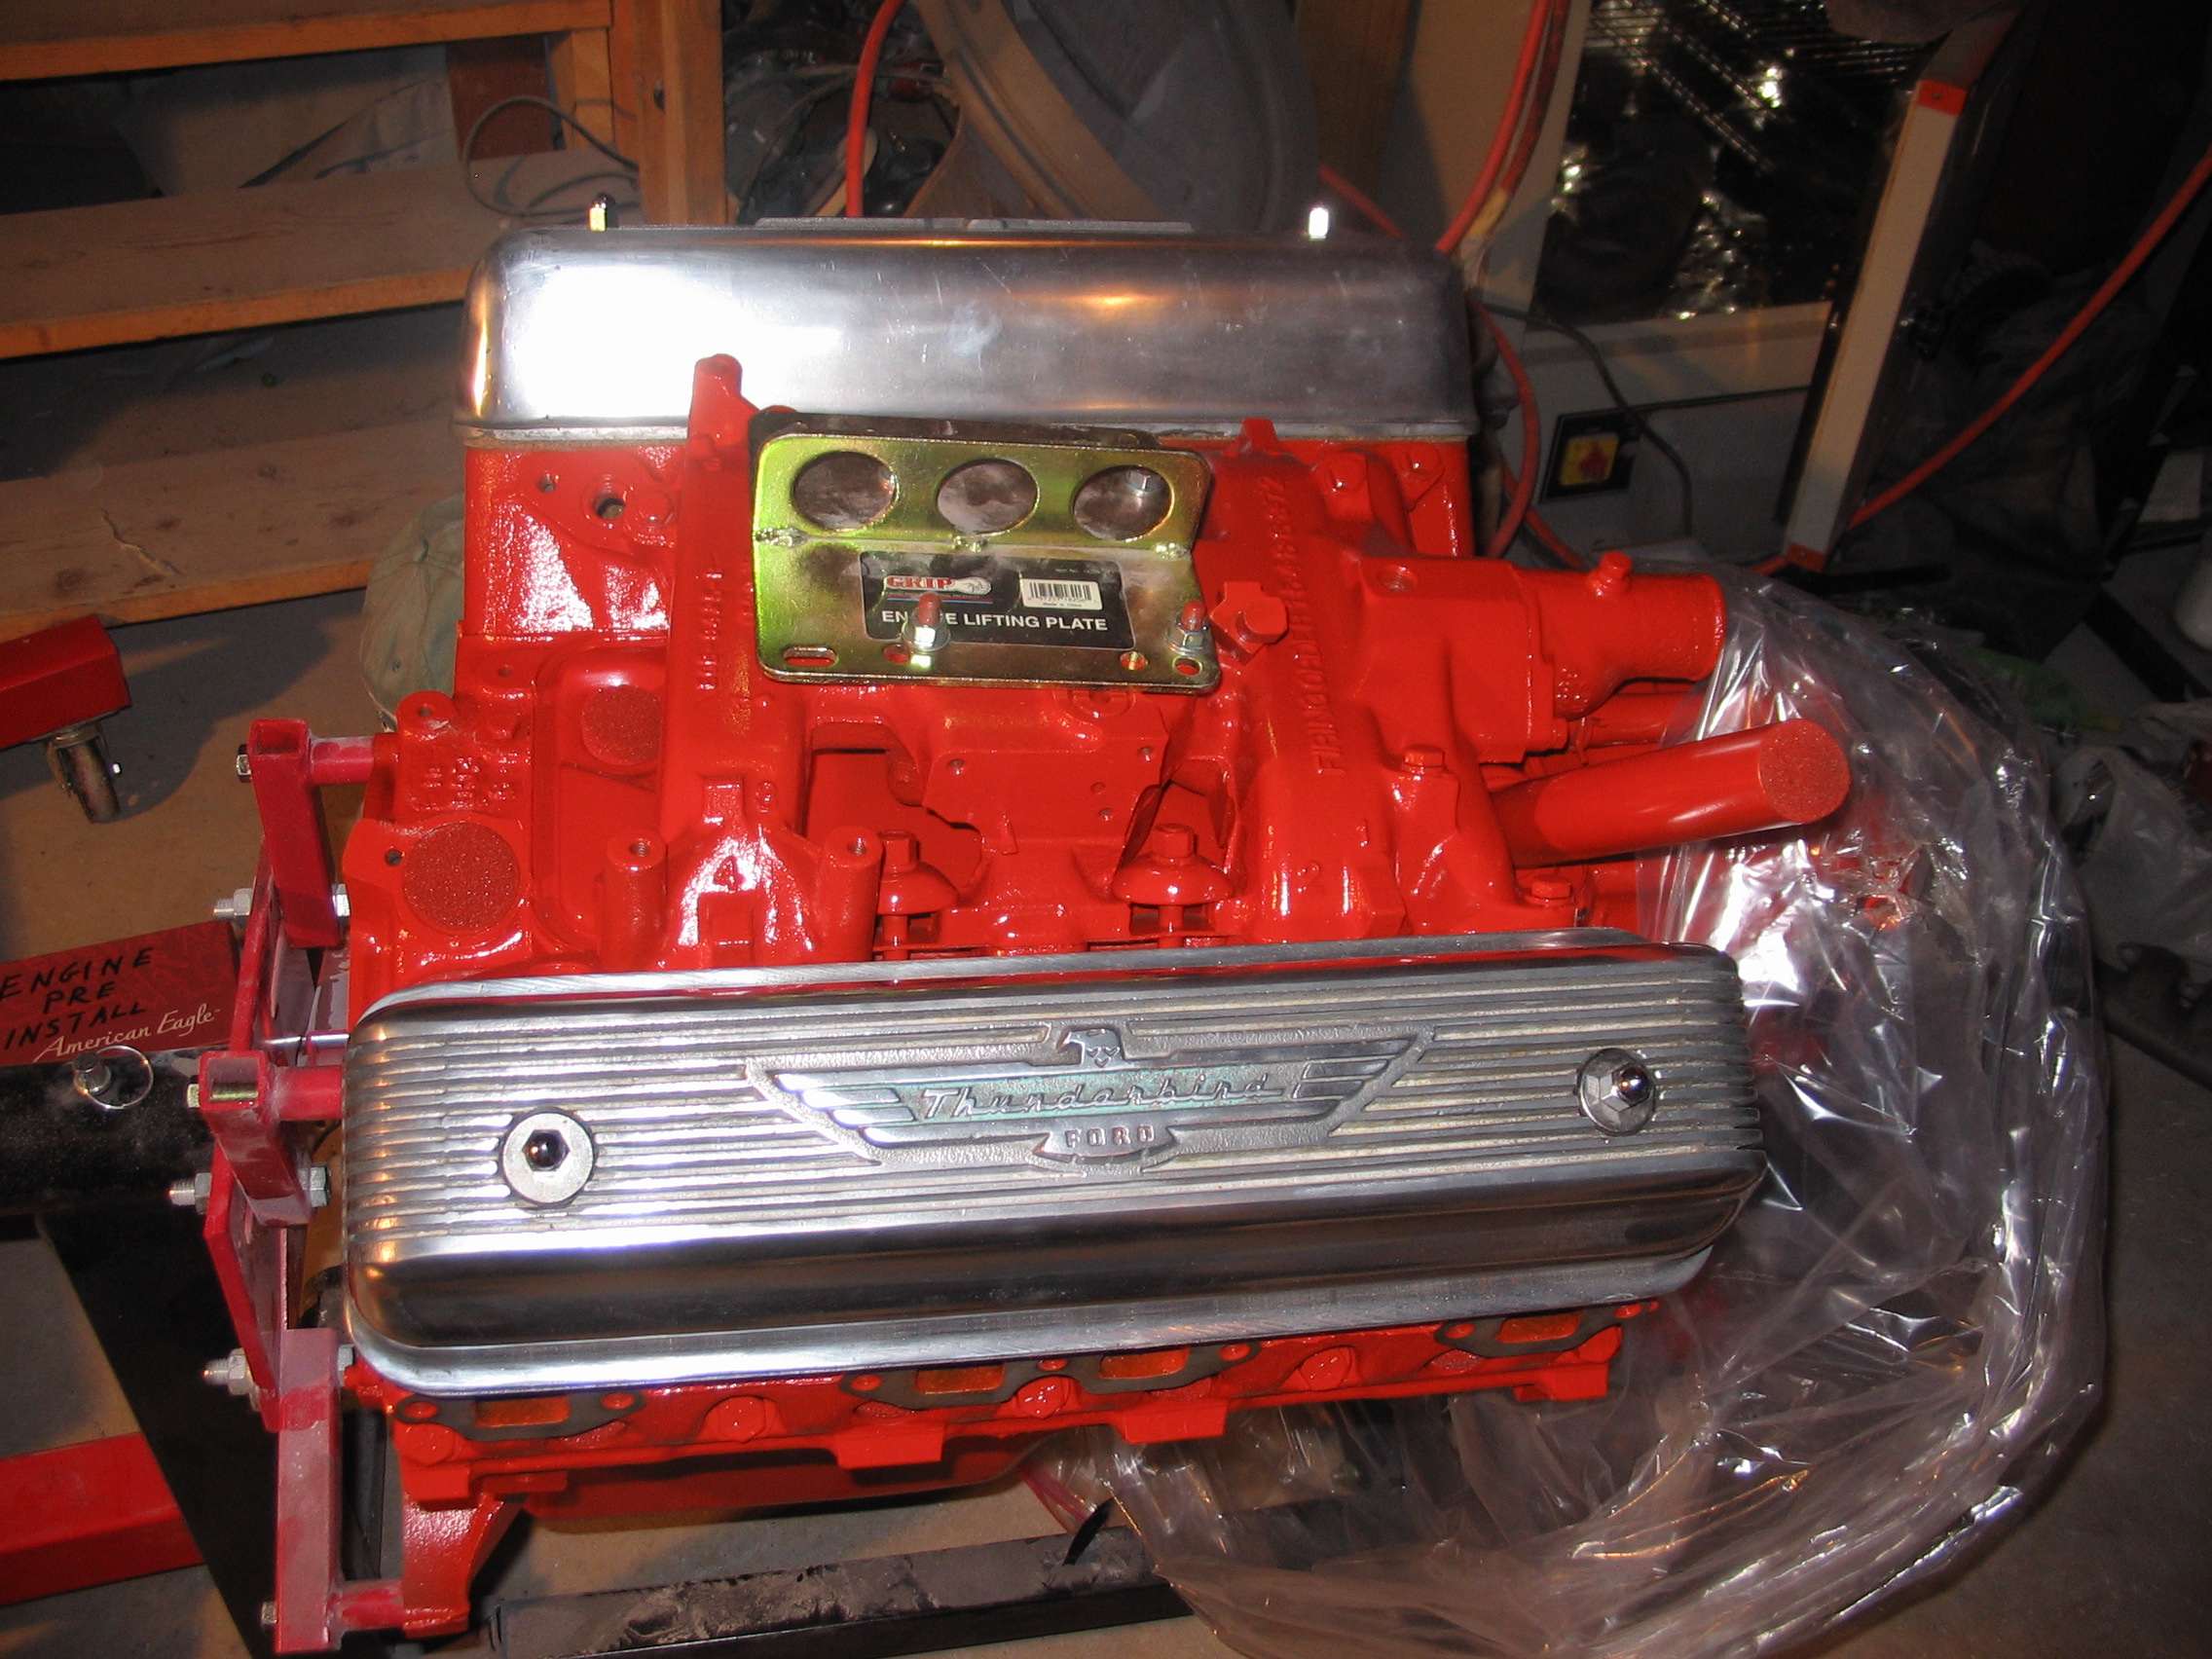
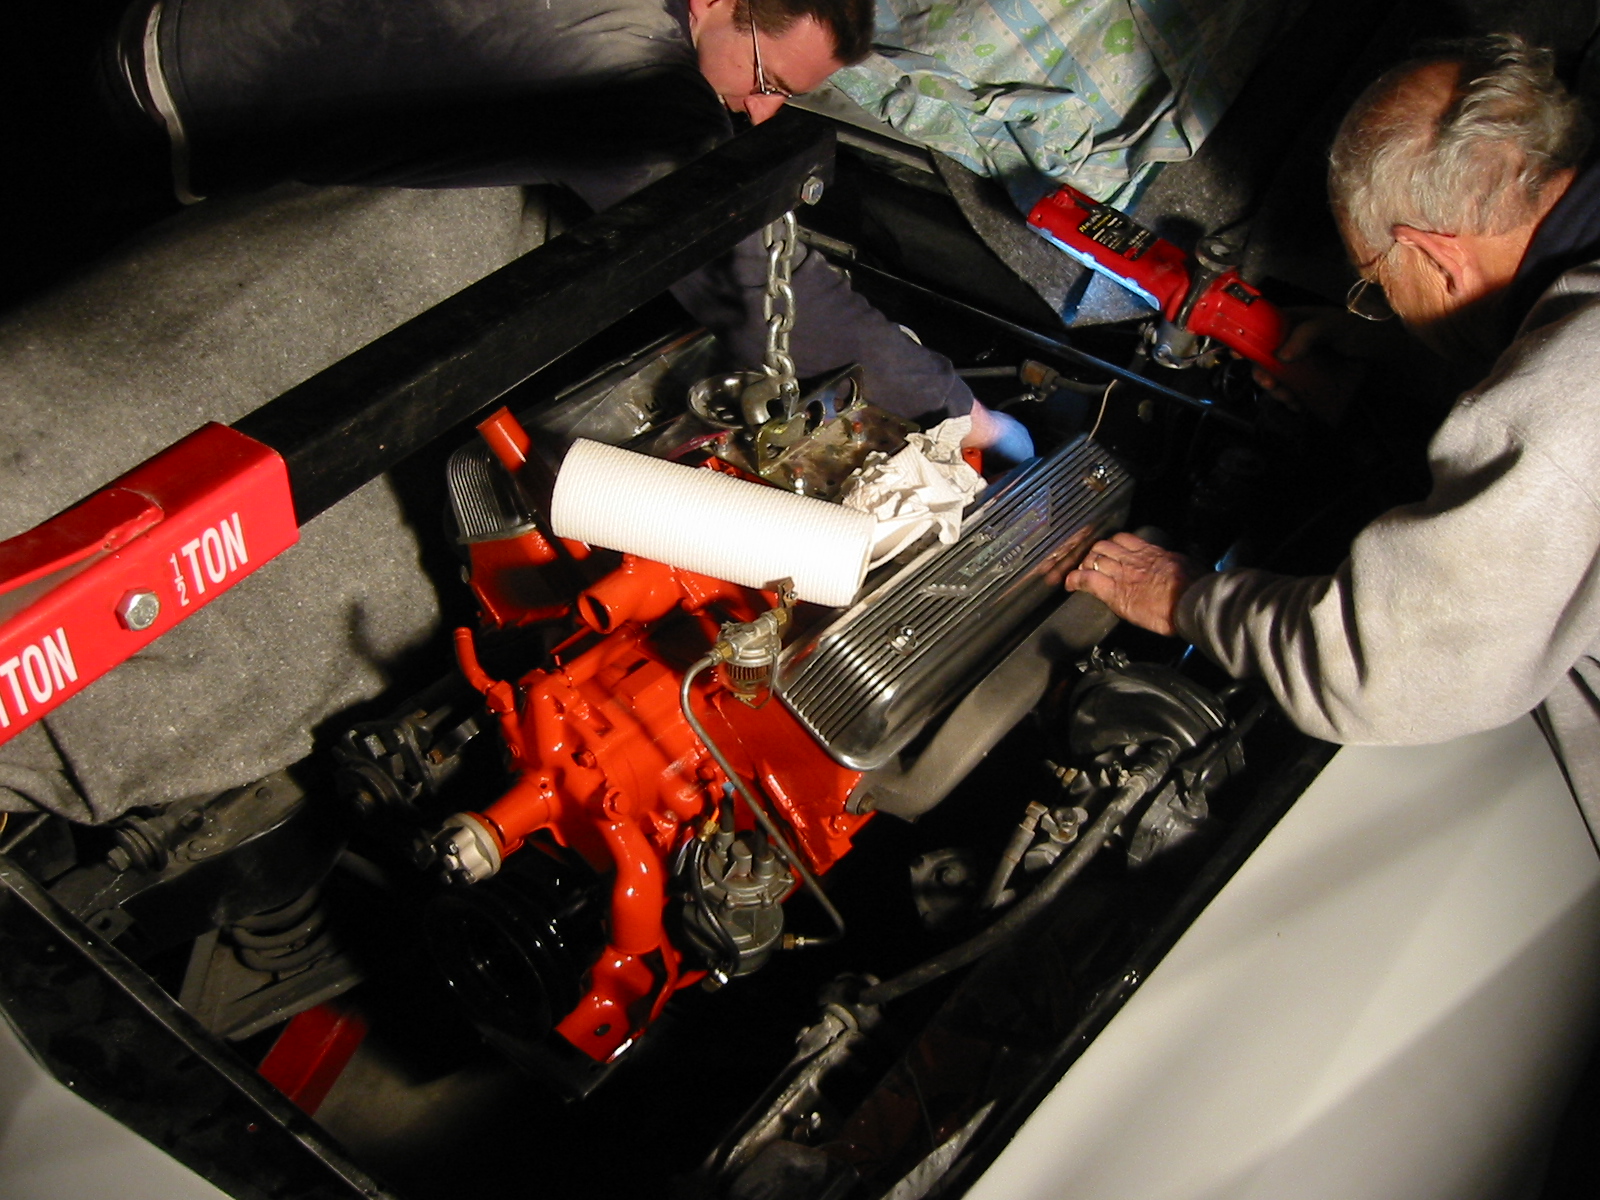
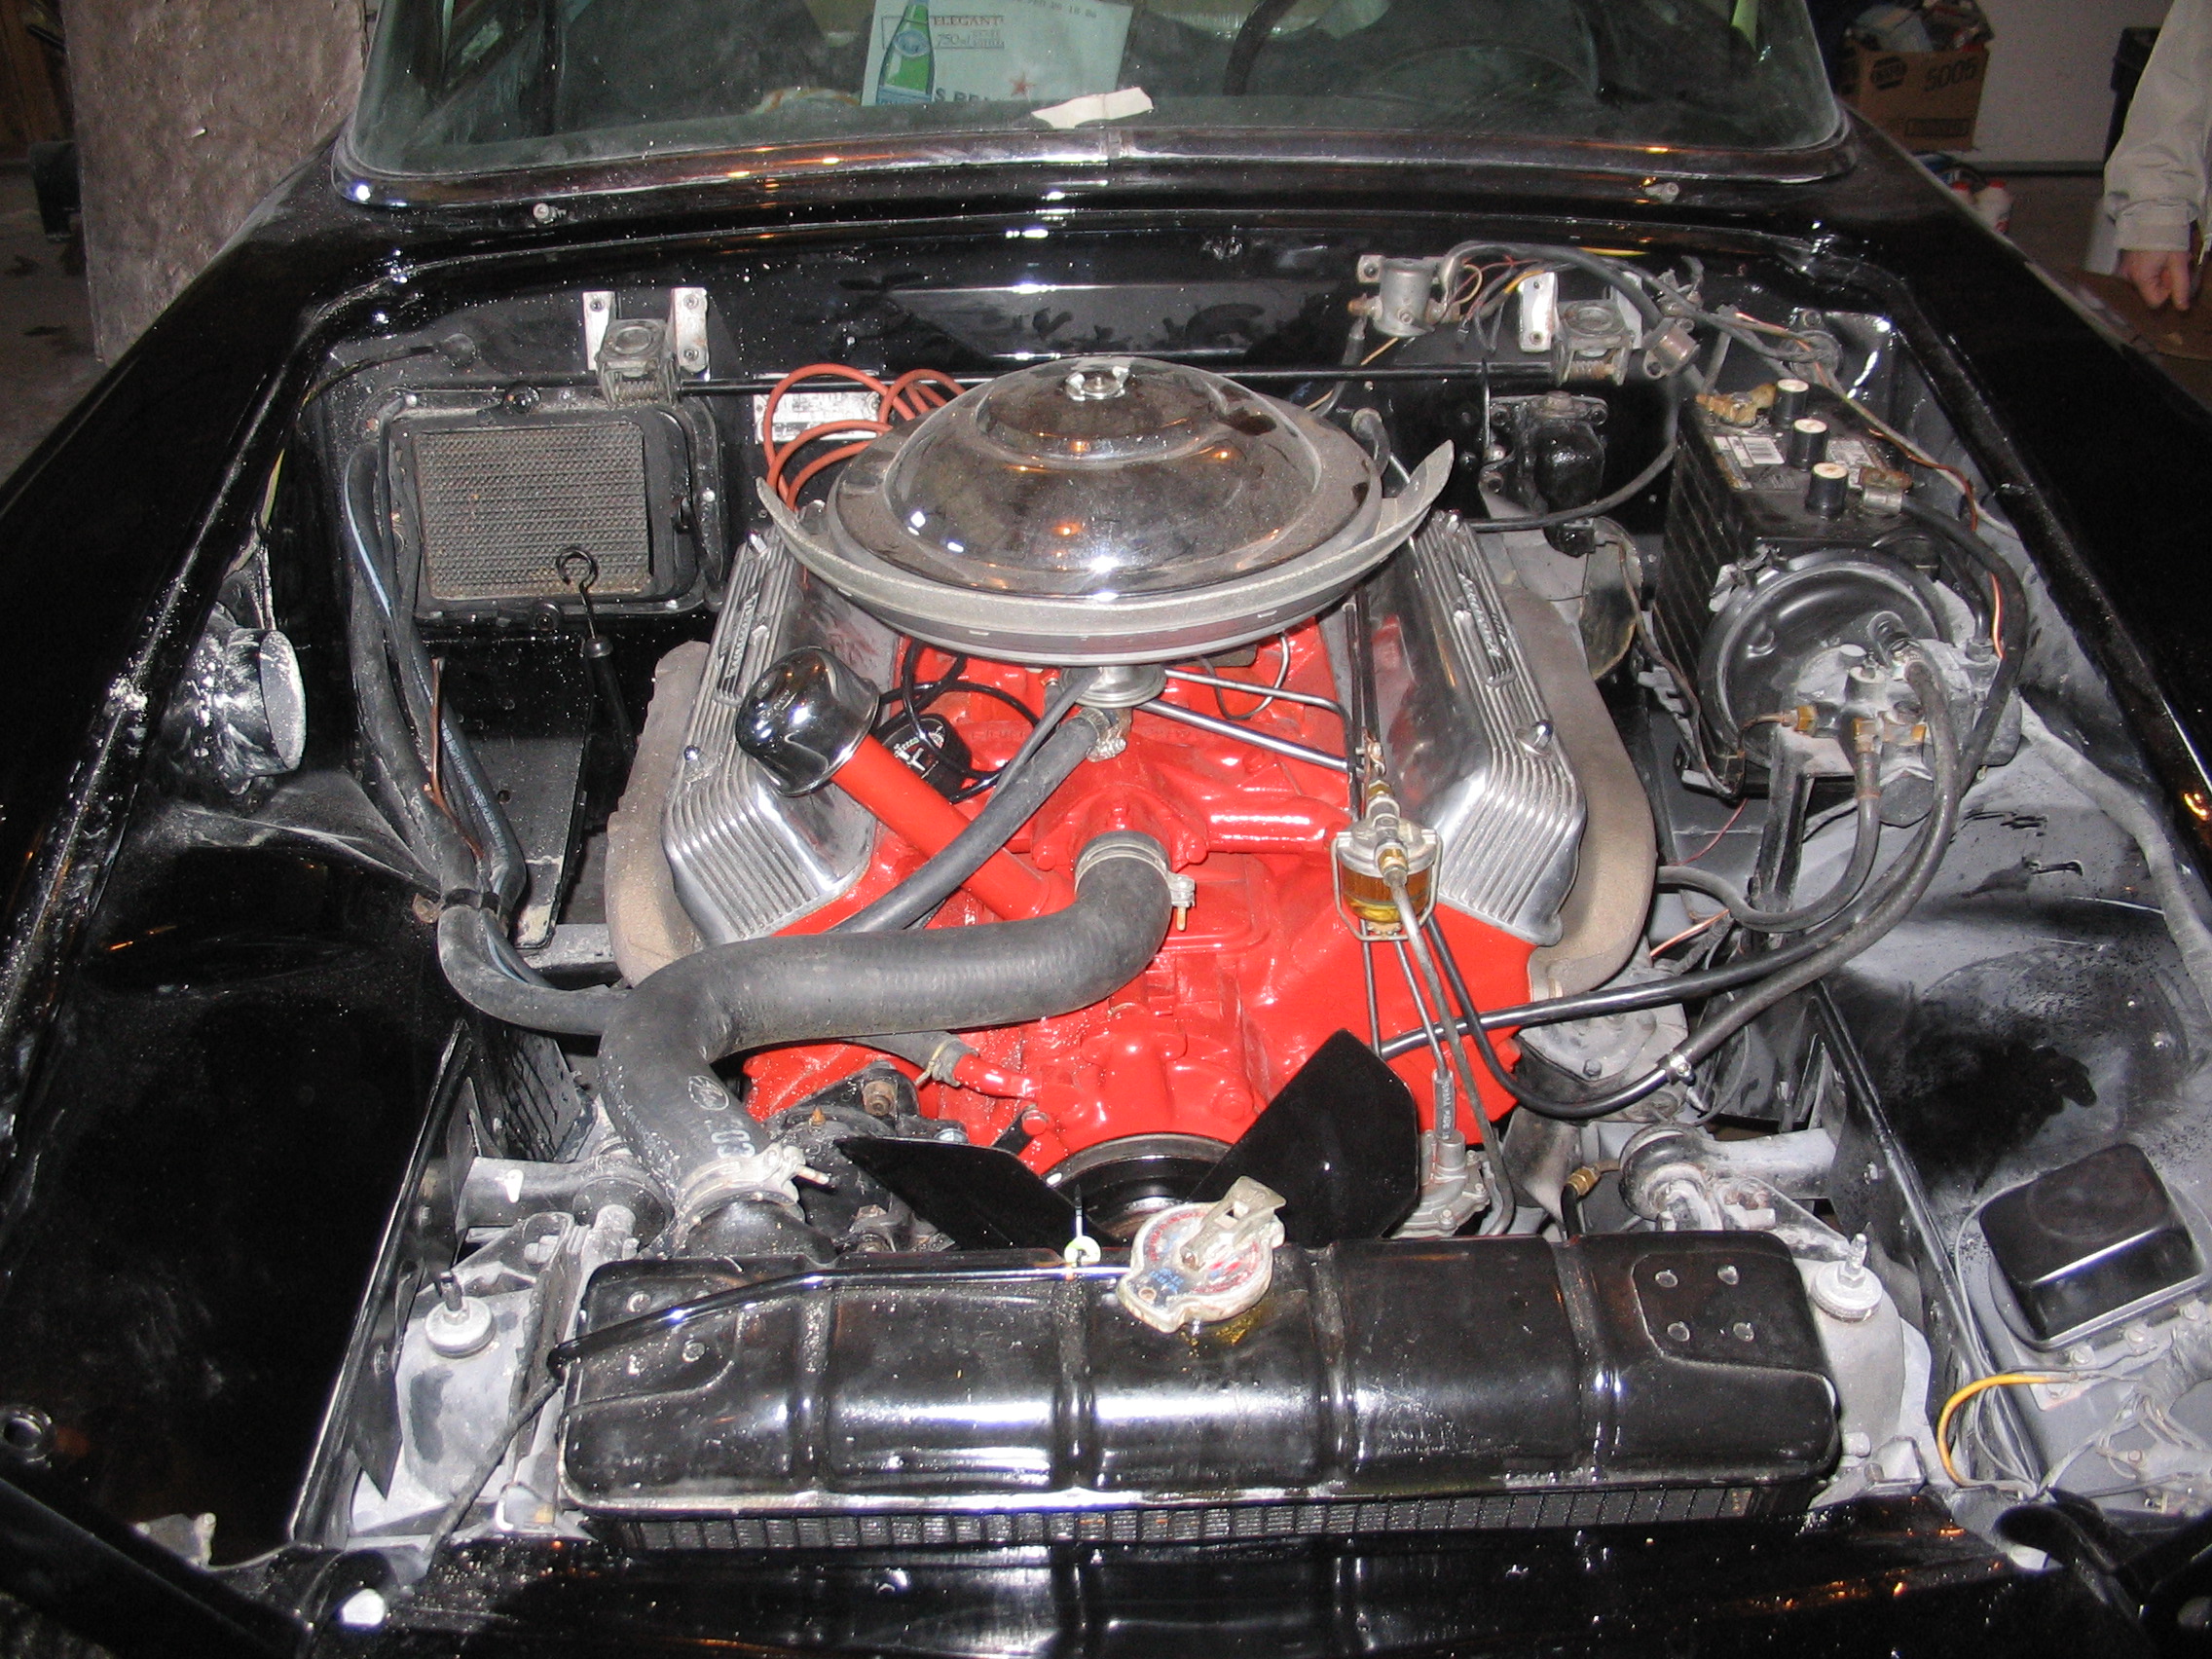
Engine Install and Paint
44/ 56
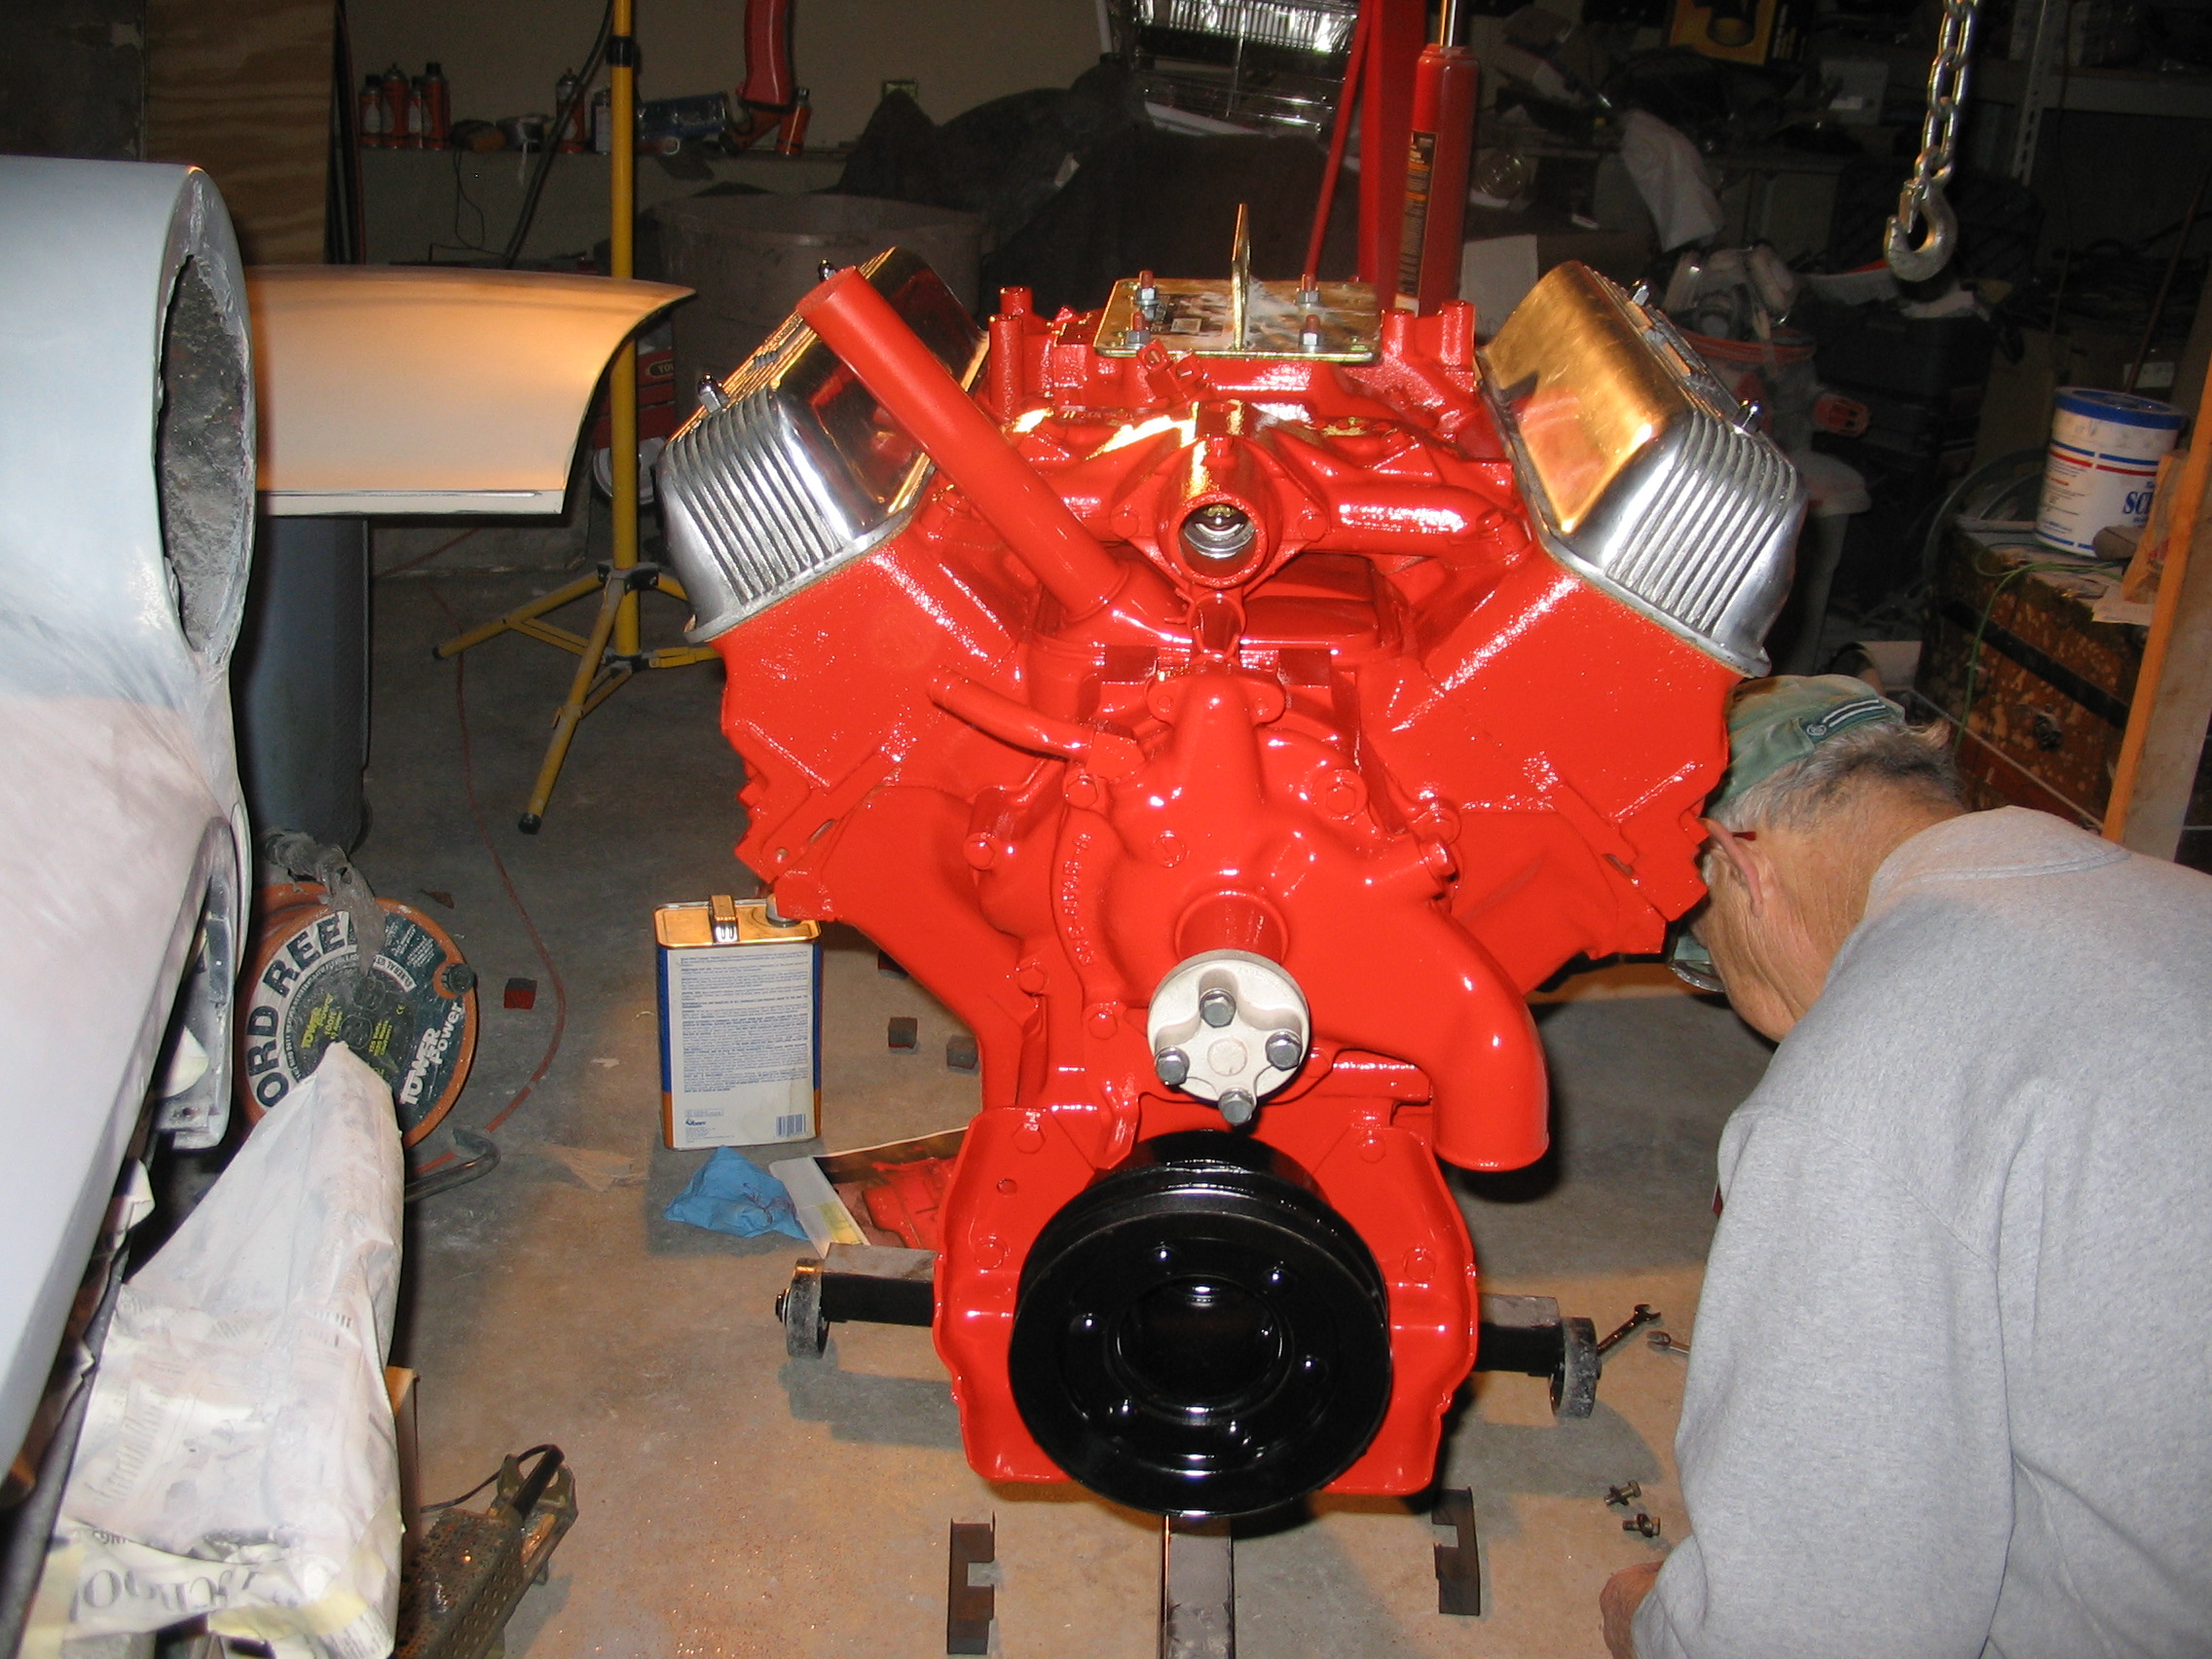
Engine top
45/ 56
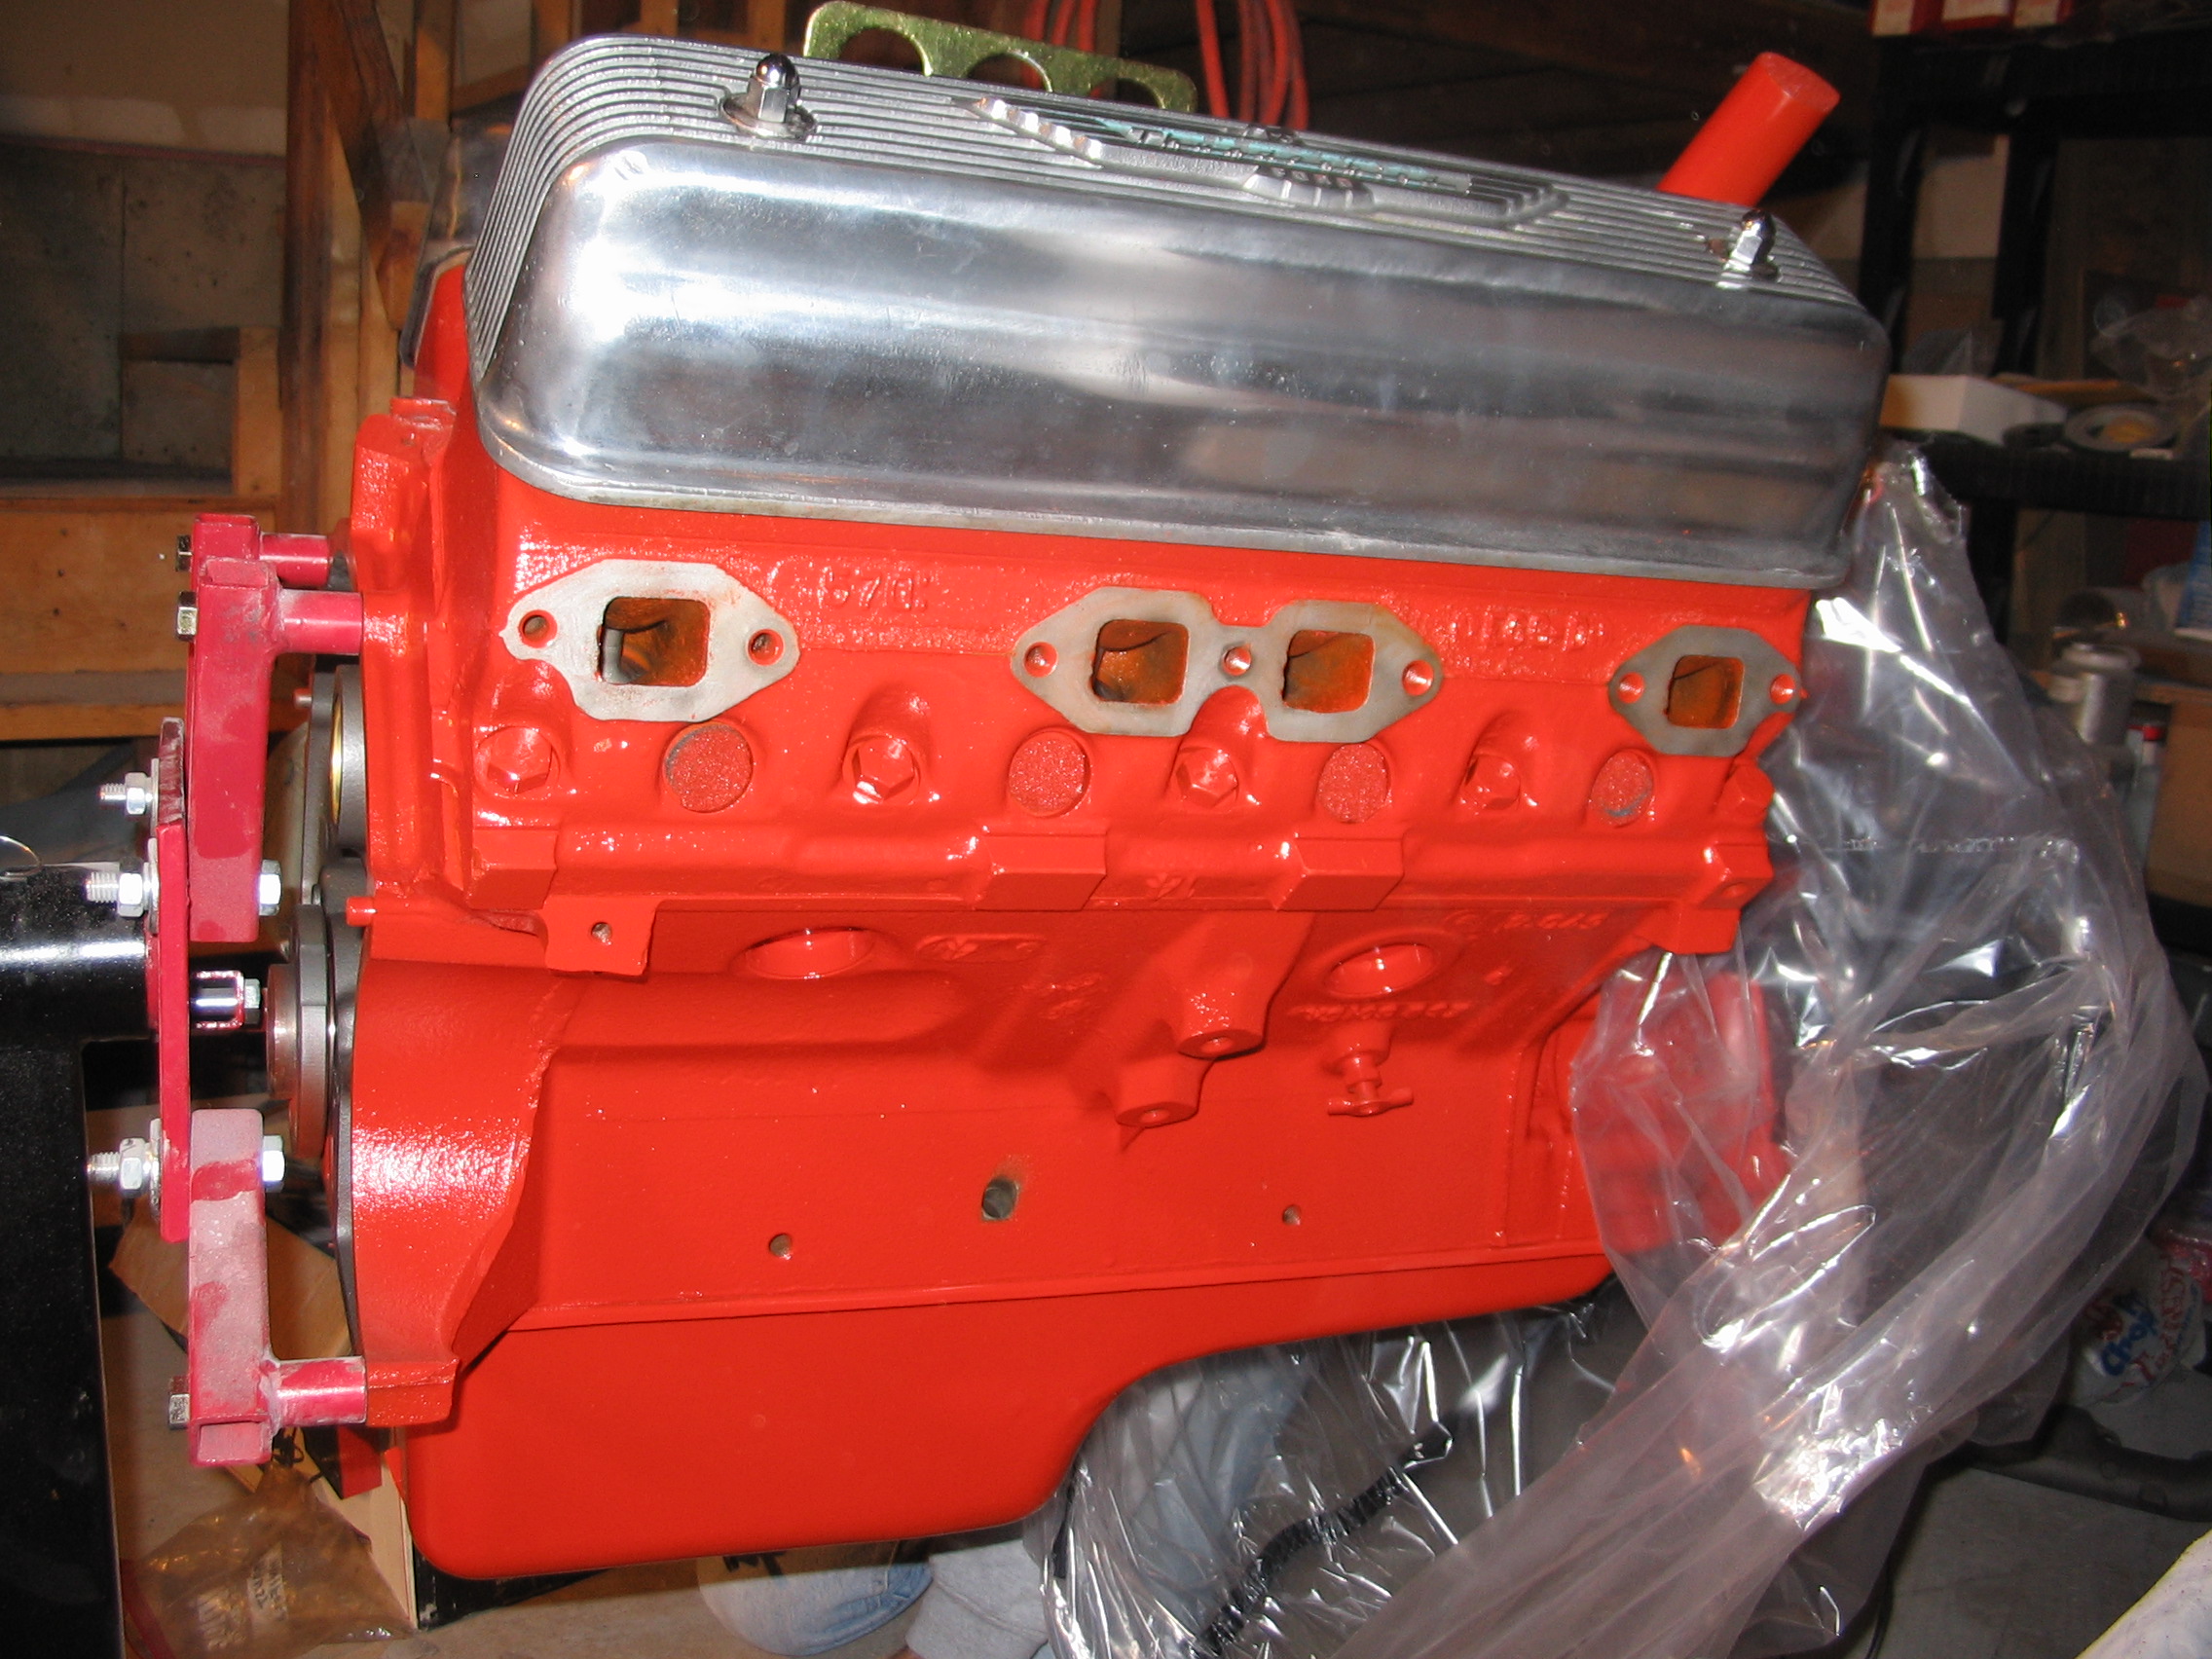
Engine Side
46/ 56
Engine Exhaust
47/ 56
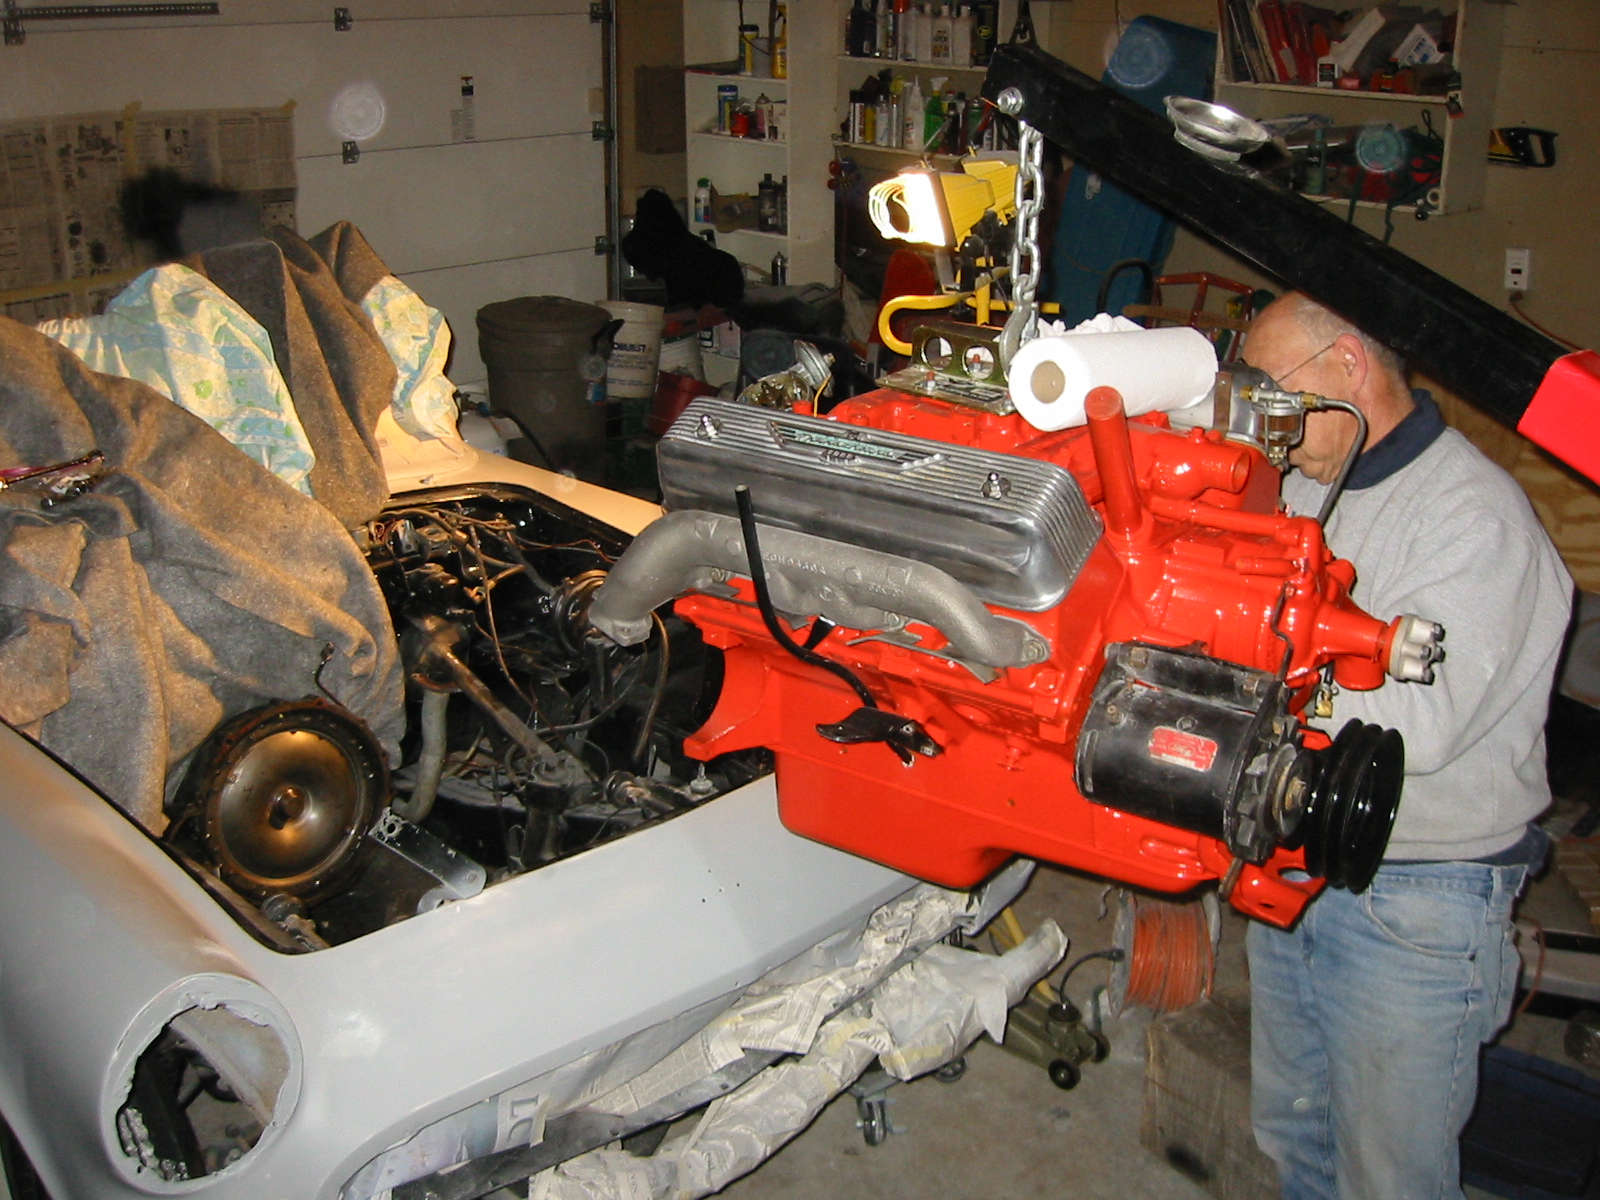
Lifting Engine
48/ 56
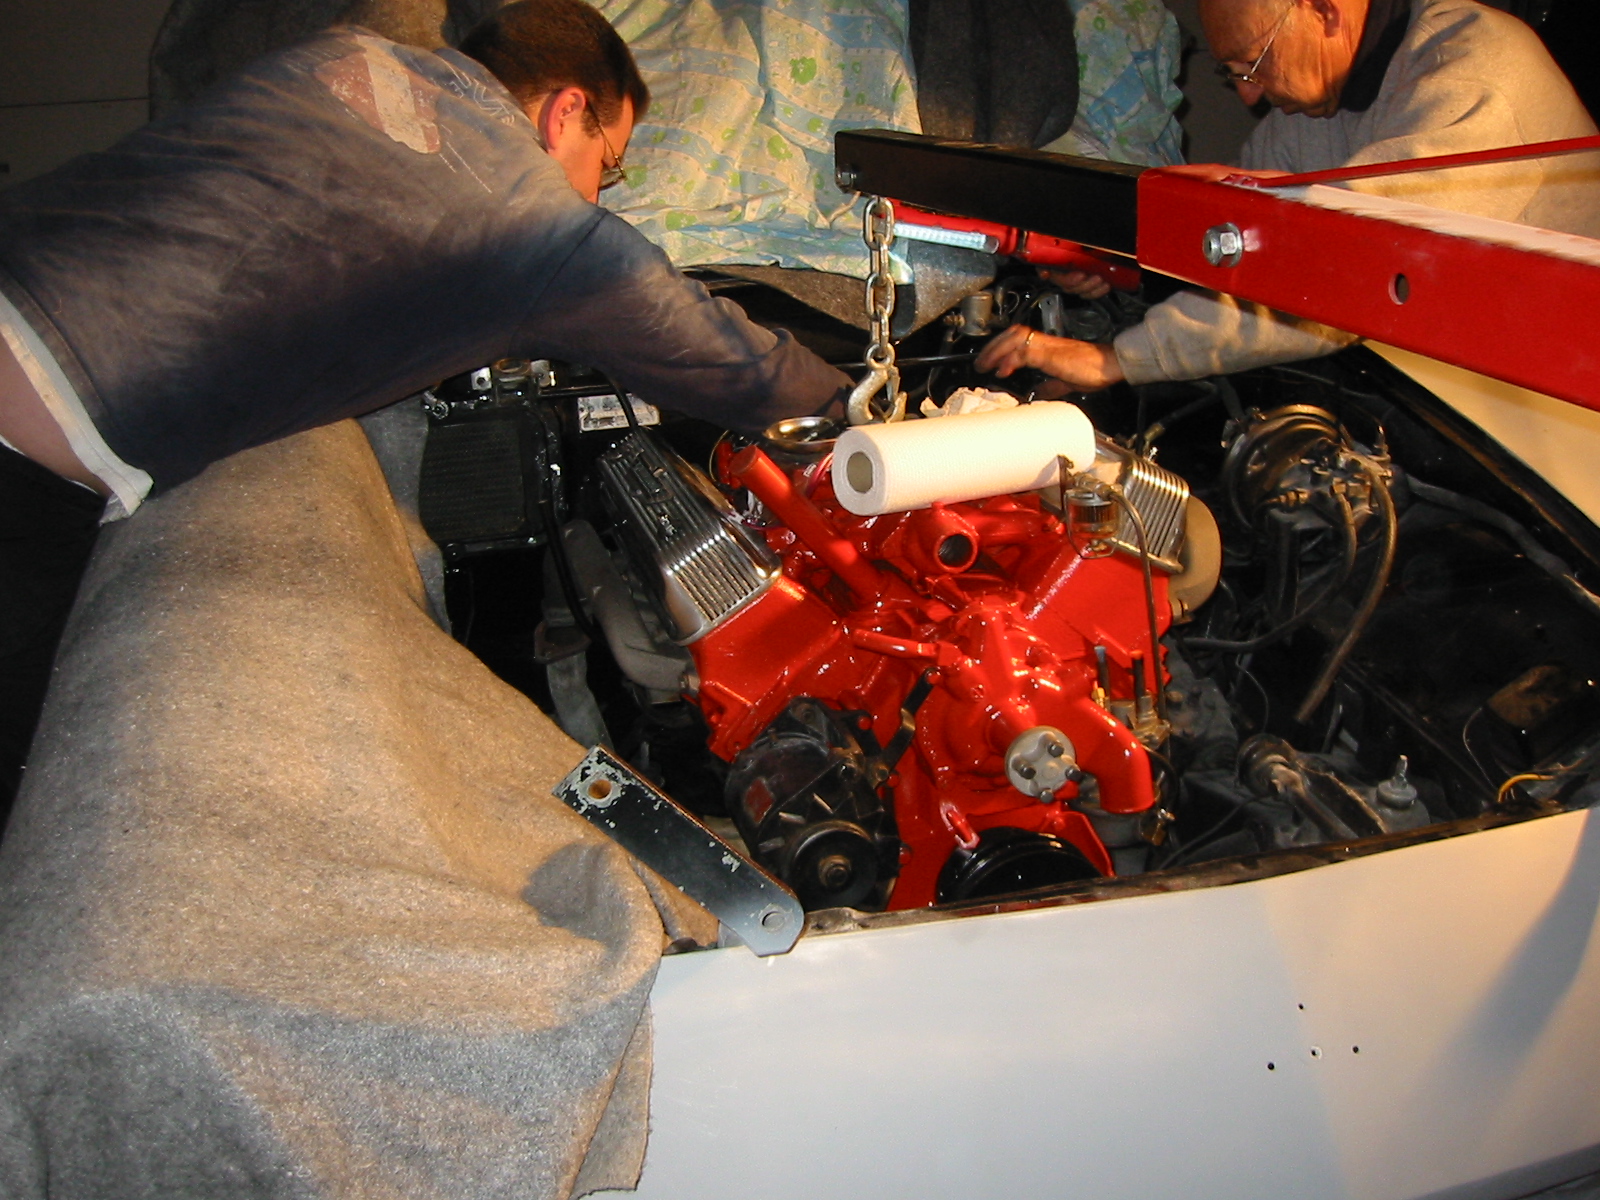
Lowering Engine in place
49/ 56
Bolting Engine to Transmission
50/ 56
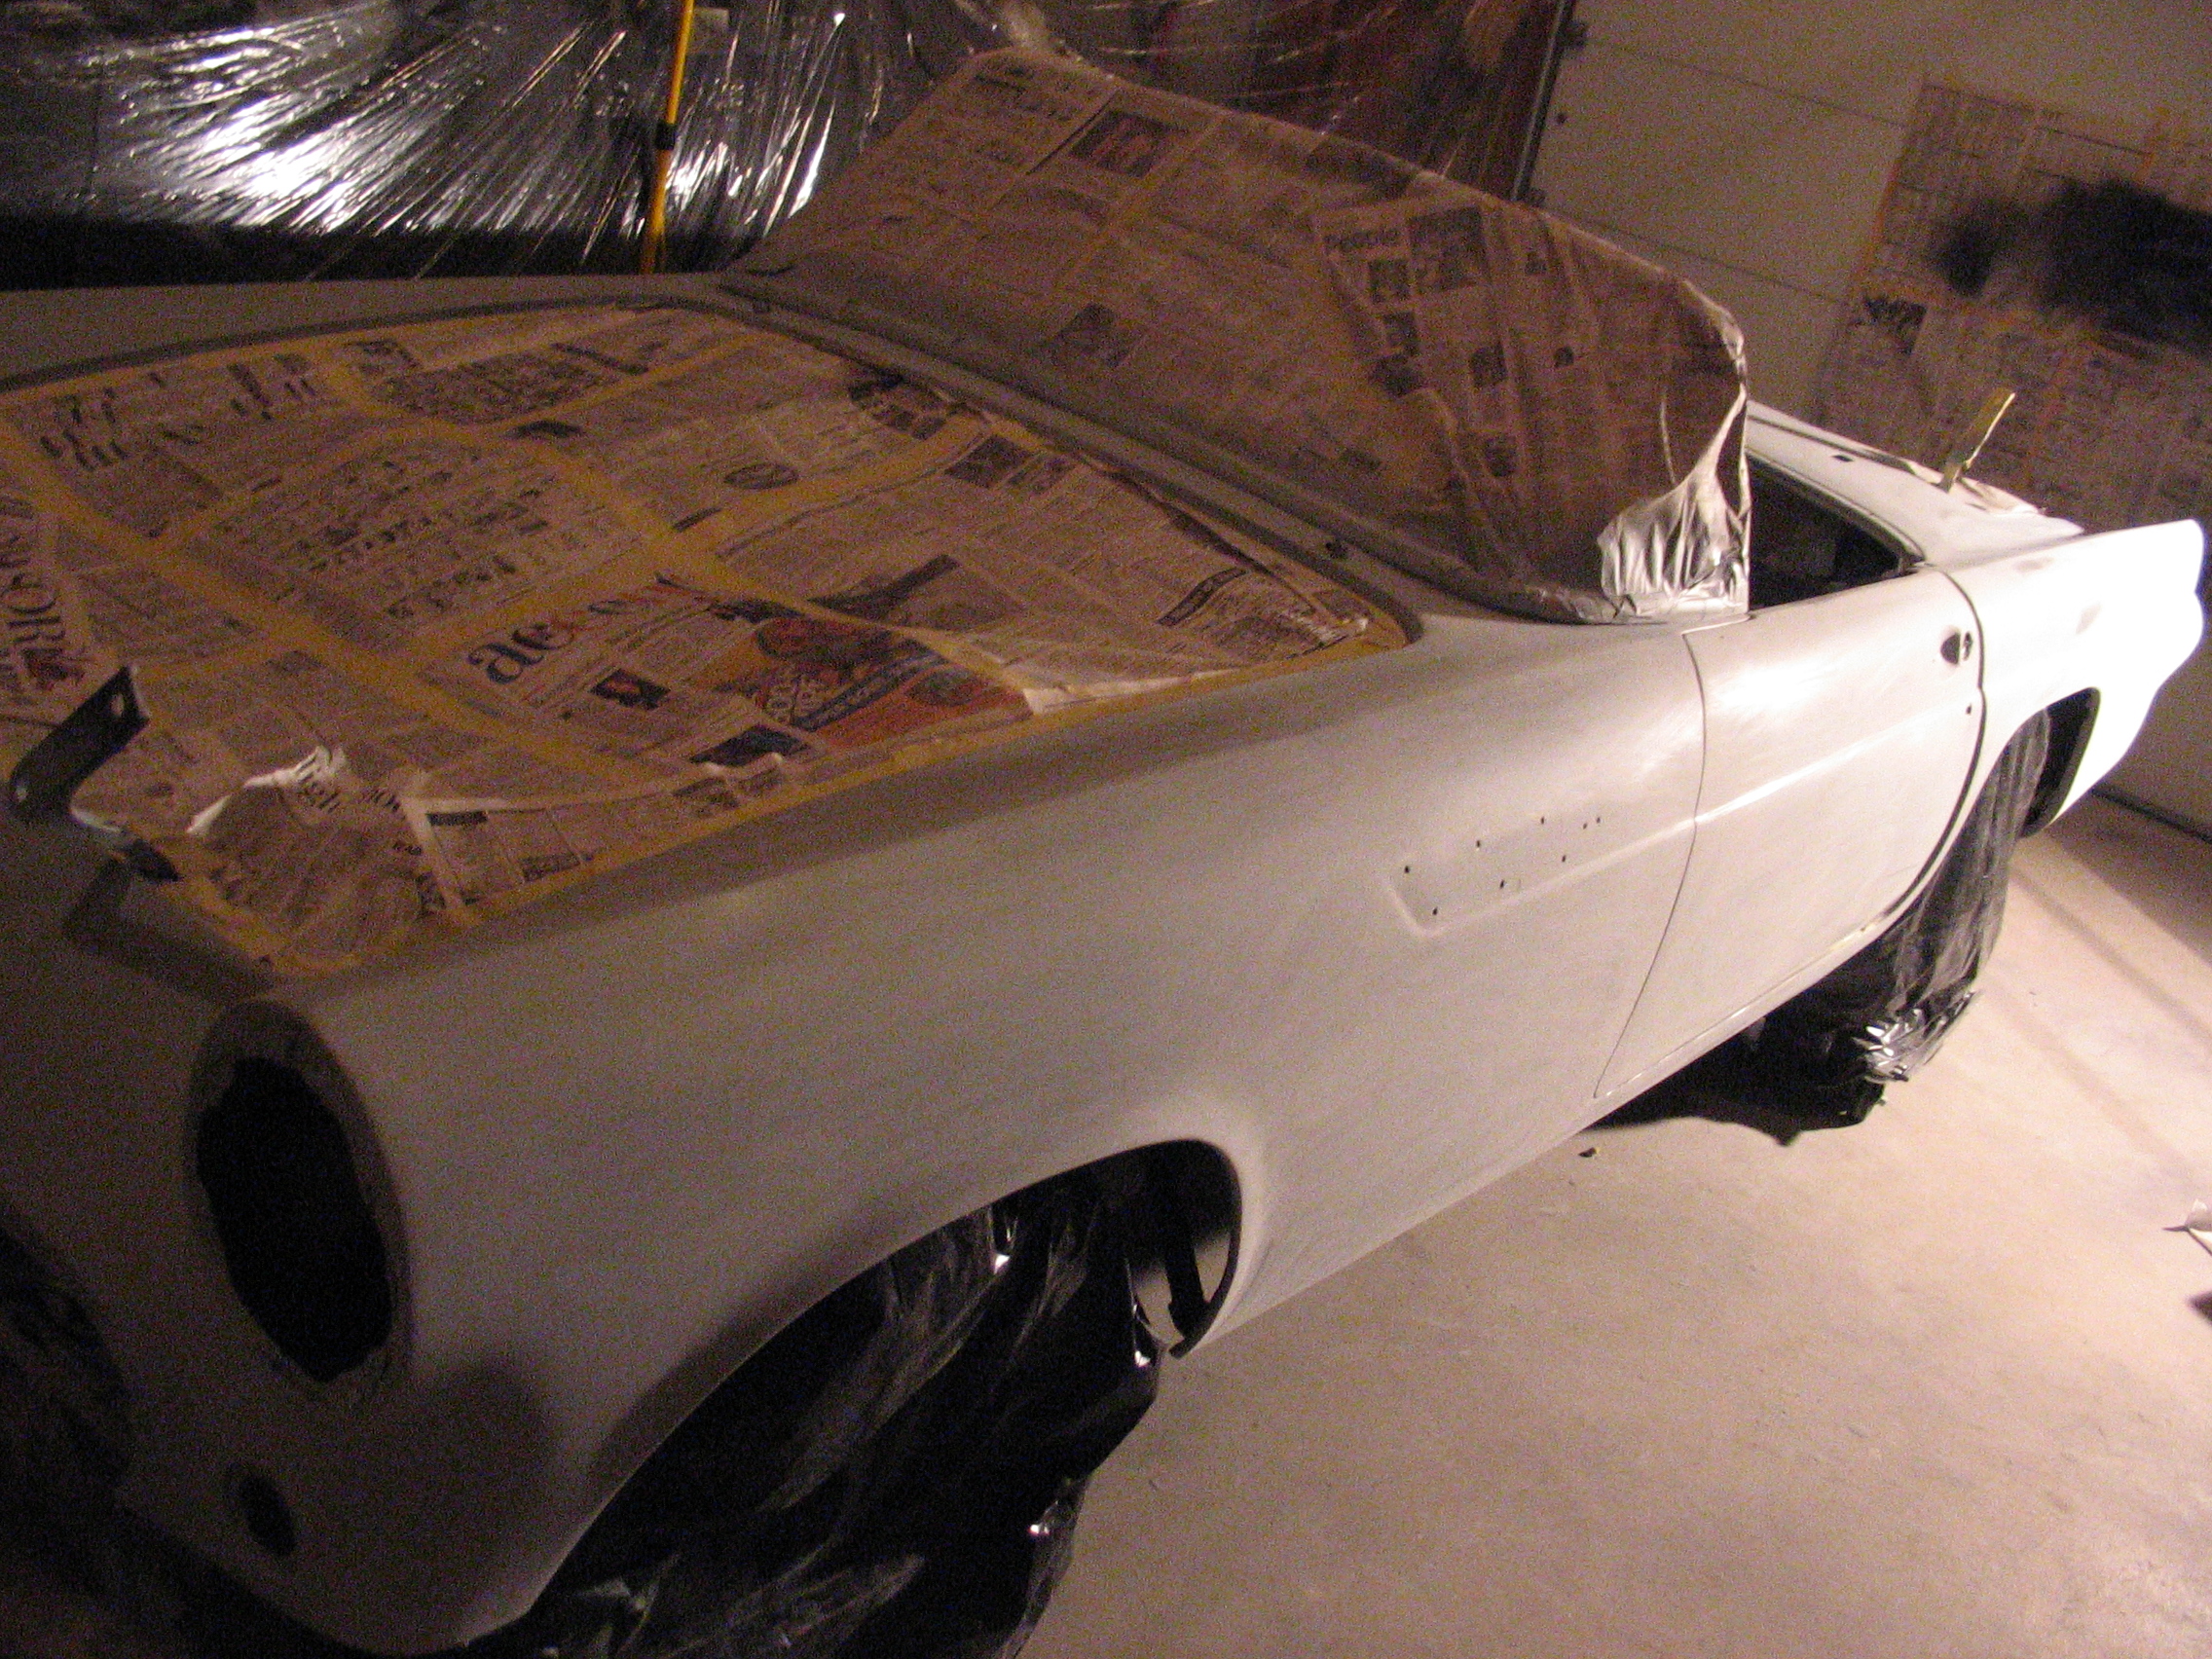
Primer
51/ 56
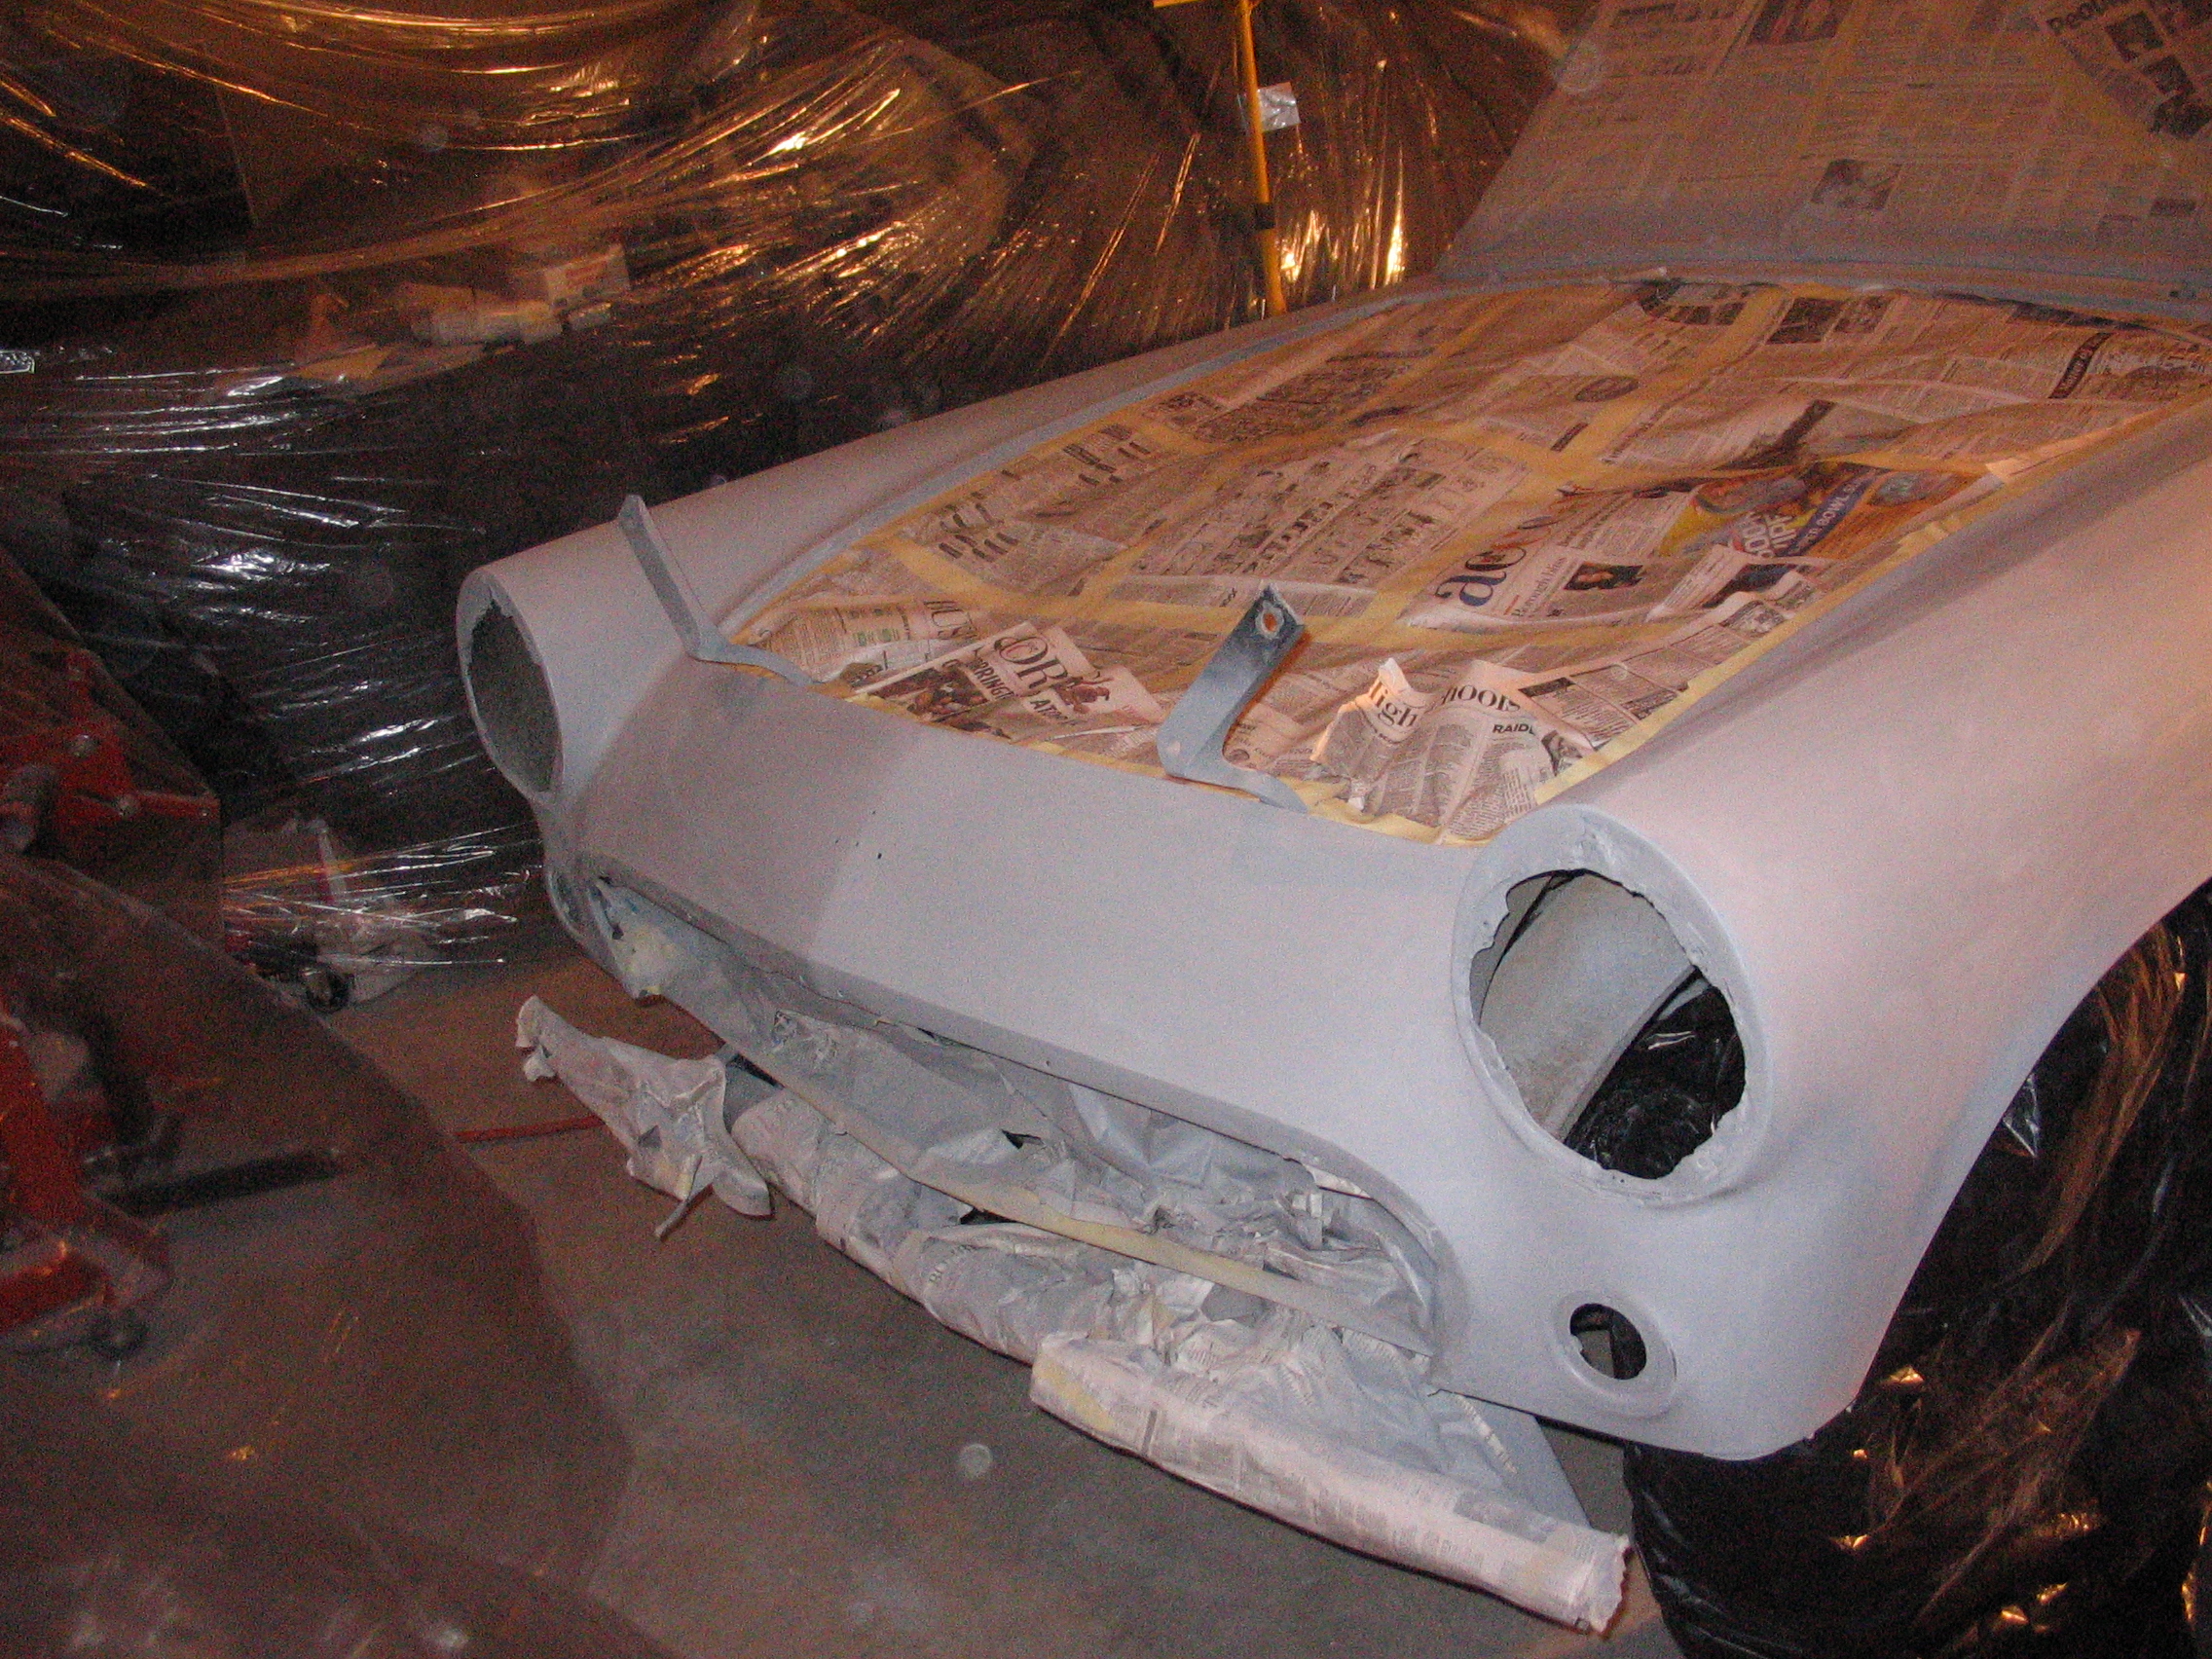
Front
52/ 56
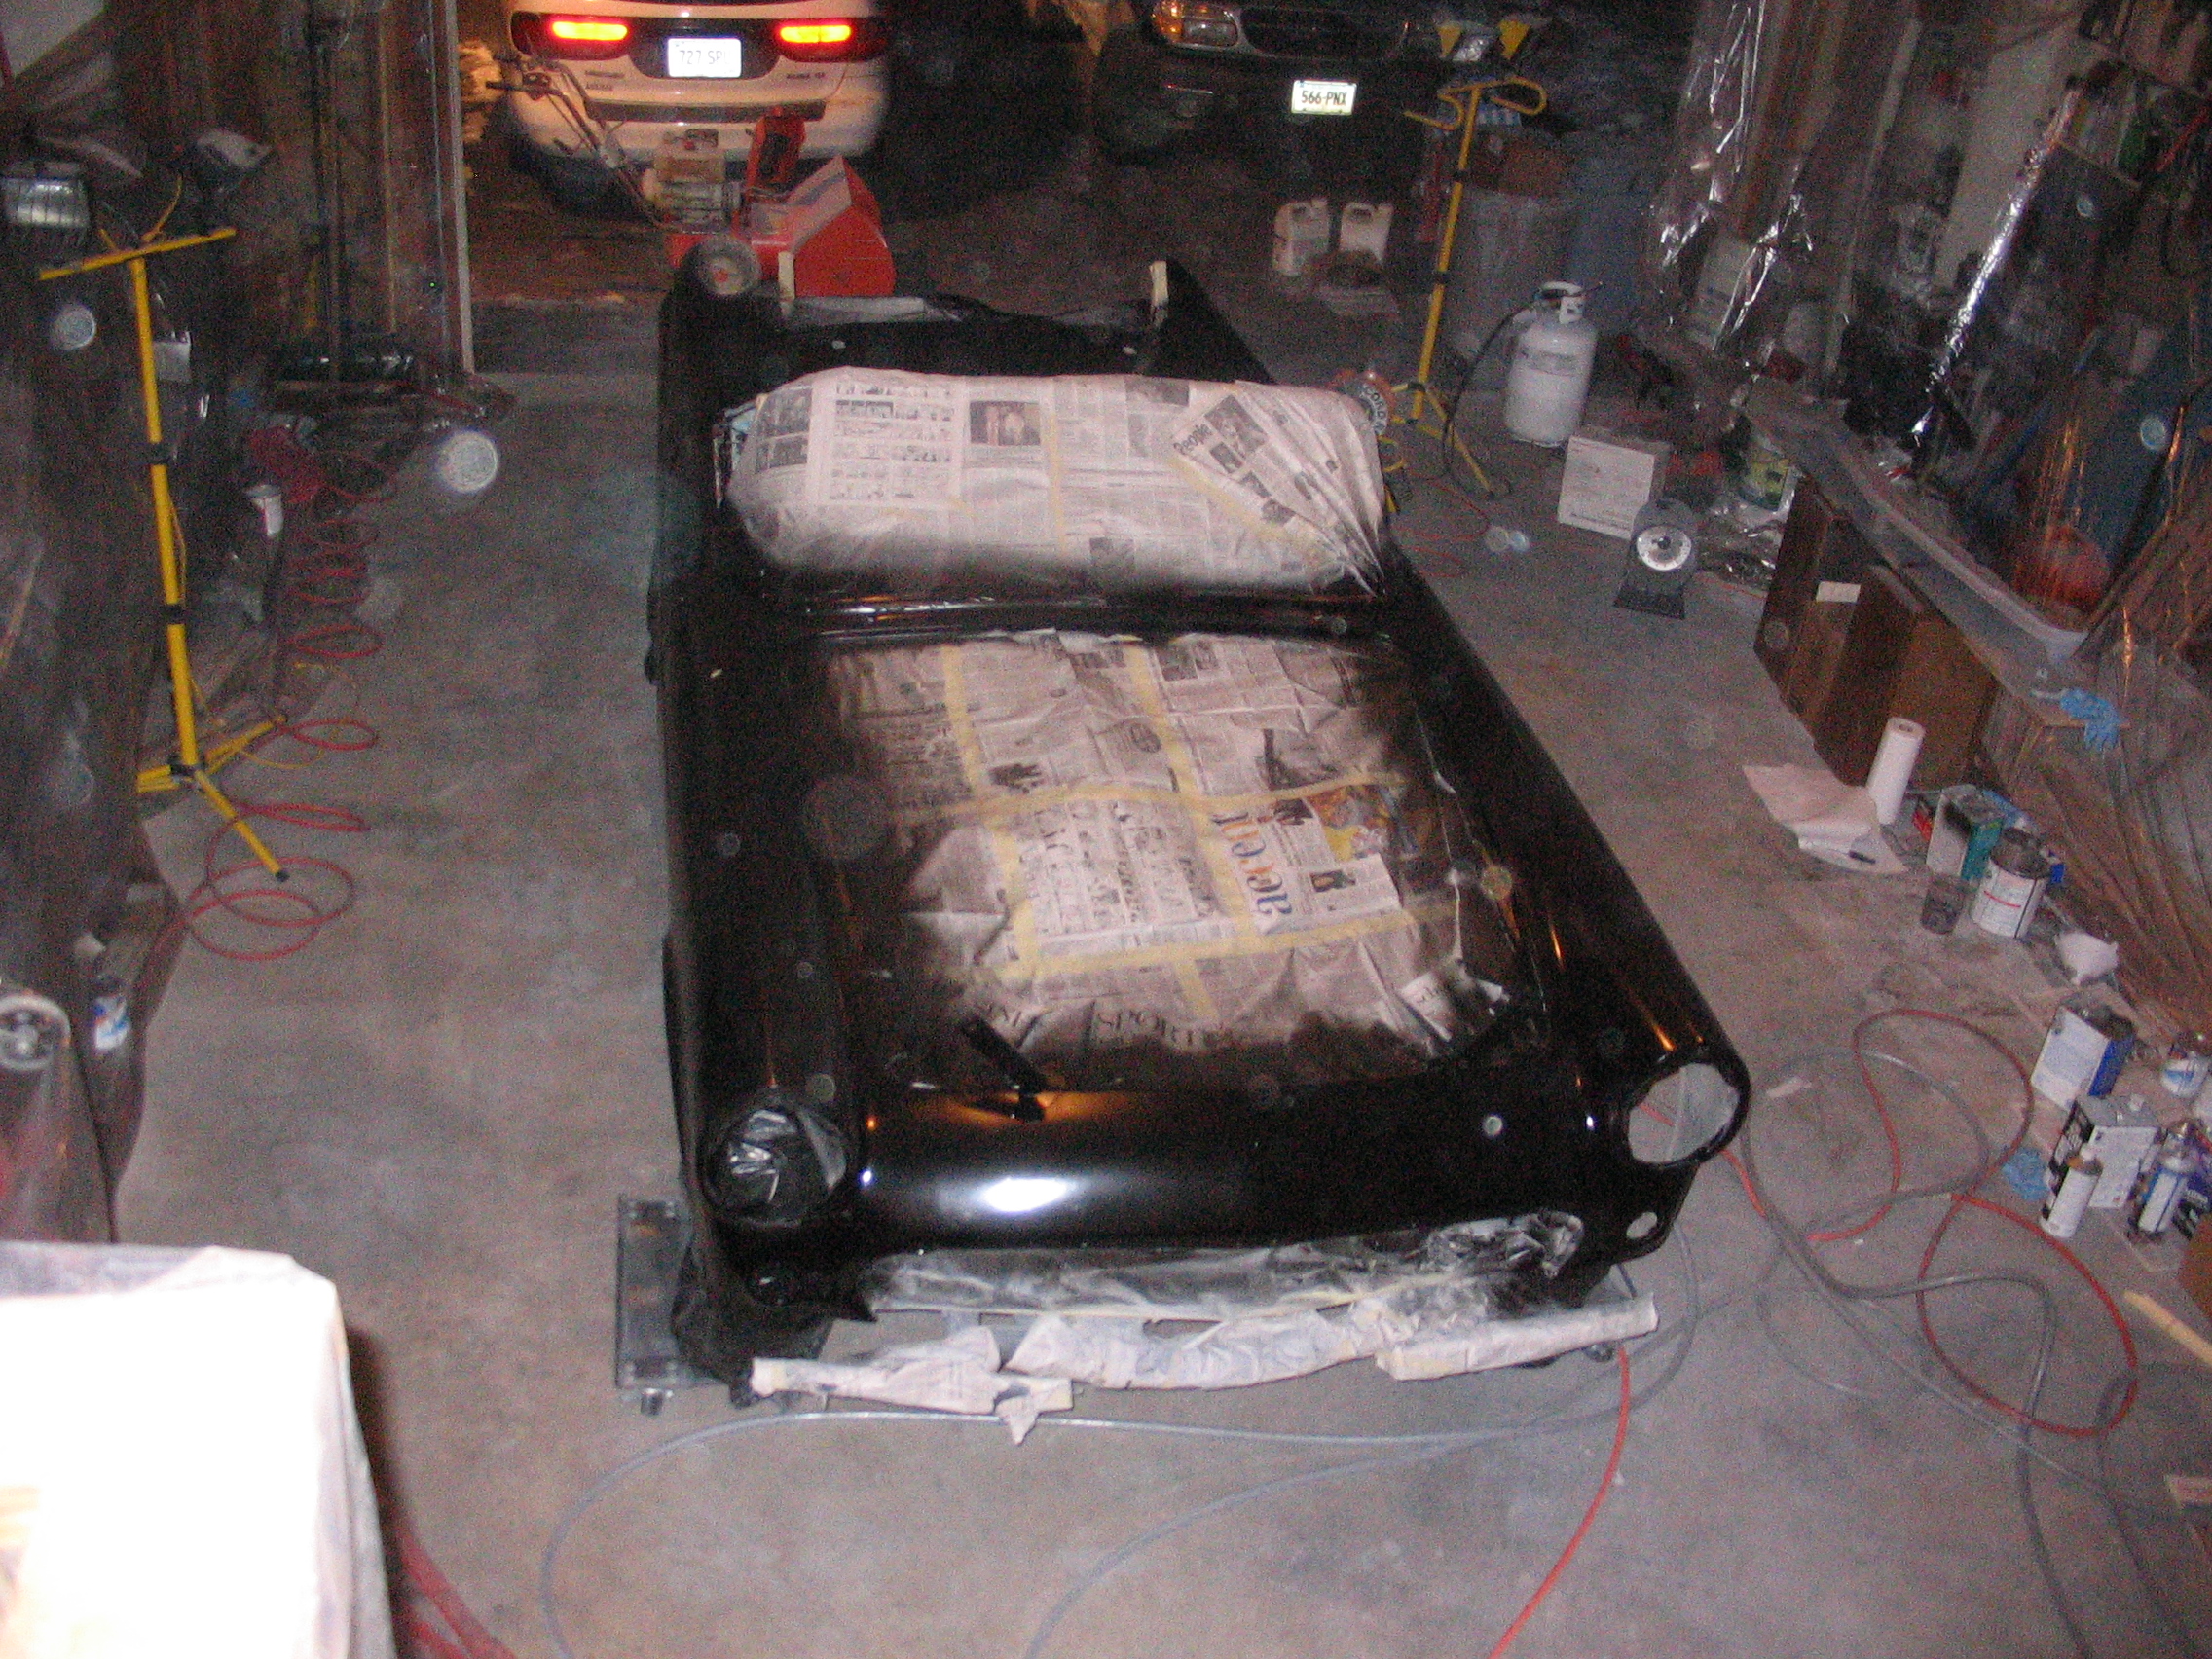
Color
53/ 56
Fender
54/ 56
Rear
55/ 56
Engine Connectins
56/ 56

Drive line
Sanding Clearcoat and Final Assembly
57/ 67
Sanding Clearcoat
58/ 67
Sanding Clearcoat
59/ 67

Clearcoat
60/ 67
Buffed out
61/ 67
Looking Good
62/ 67
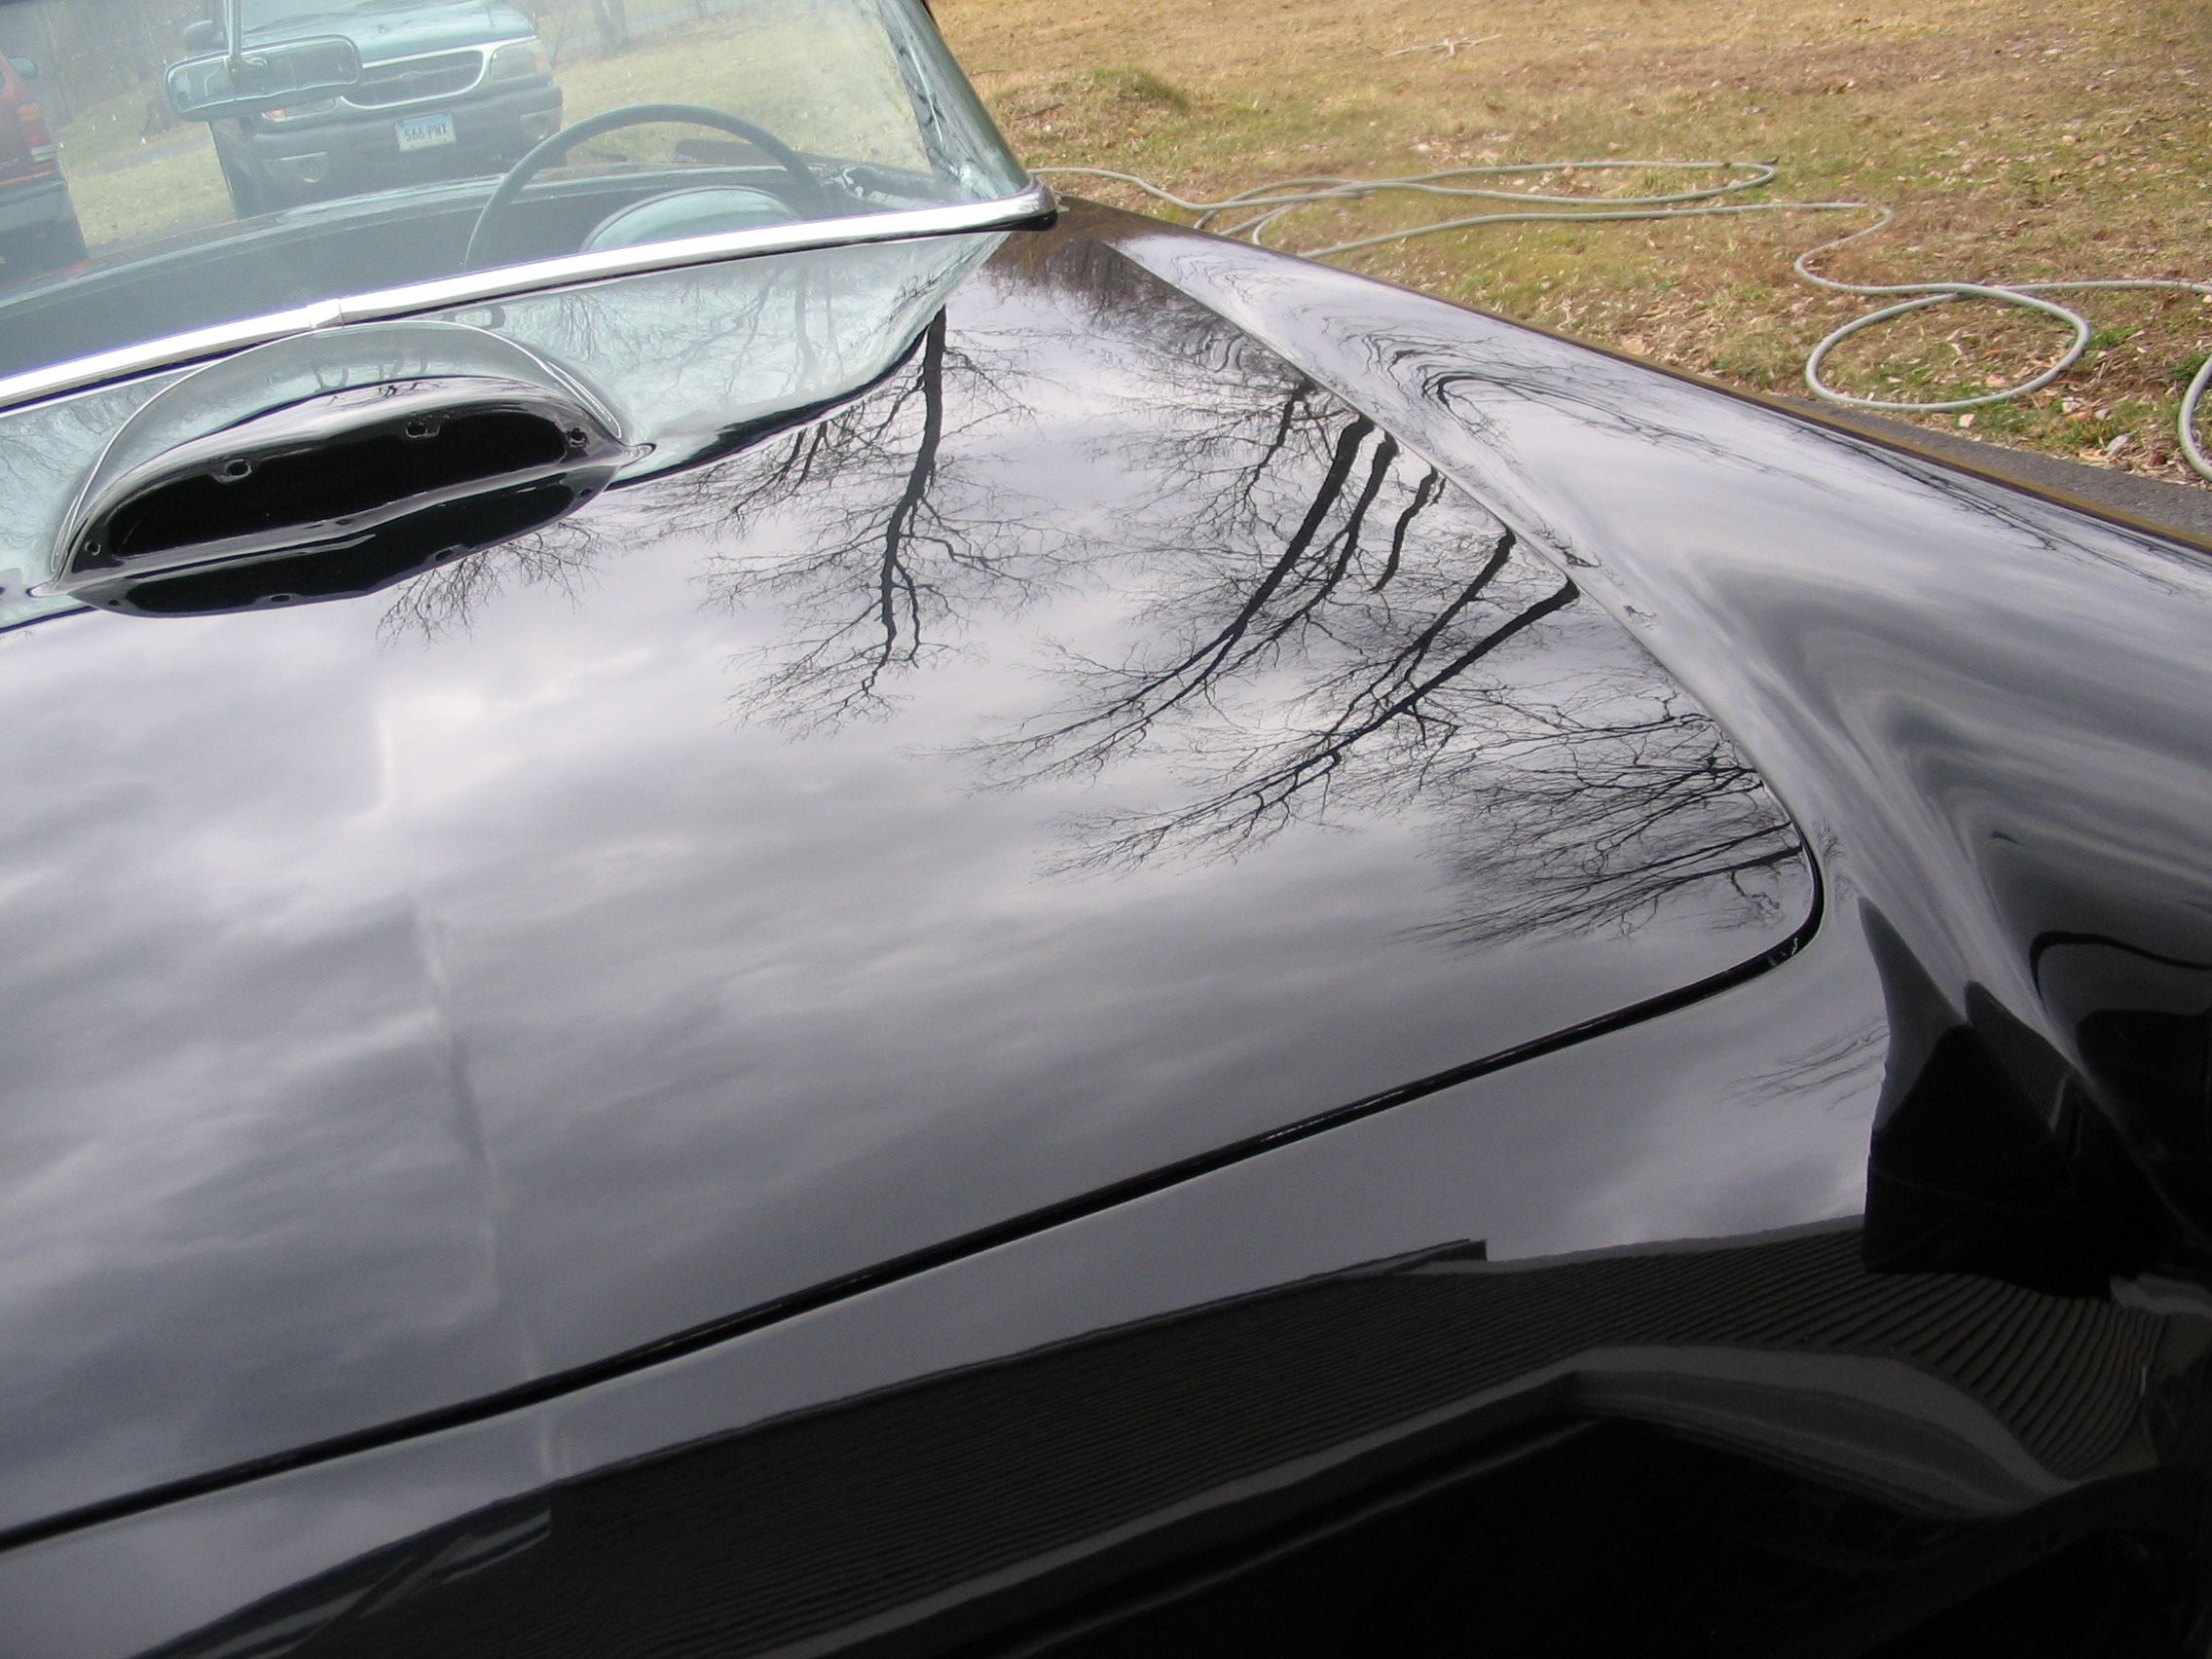
Reflection
63/ 67
Installing Bright Work
64/ 67
Rear Bright Work
65/ 67
Looking good
66/ 67
Installing Skirts
67/ 67
Beautiful
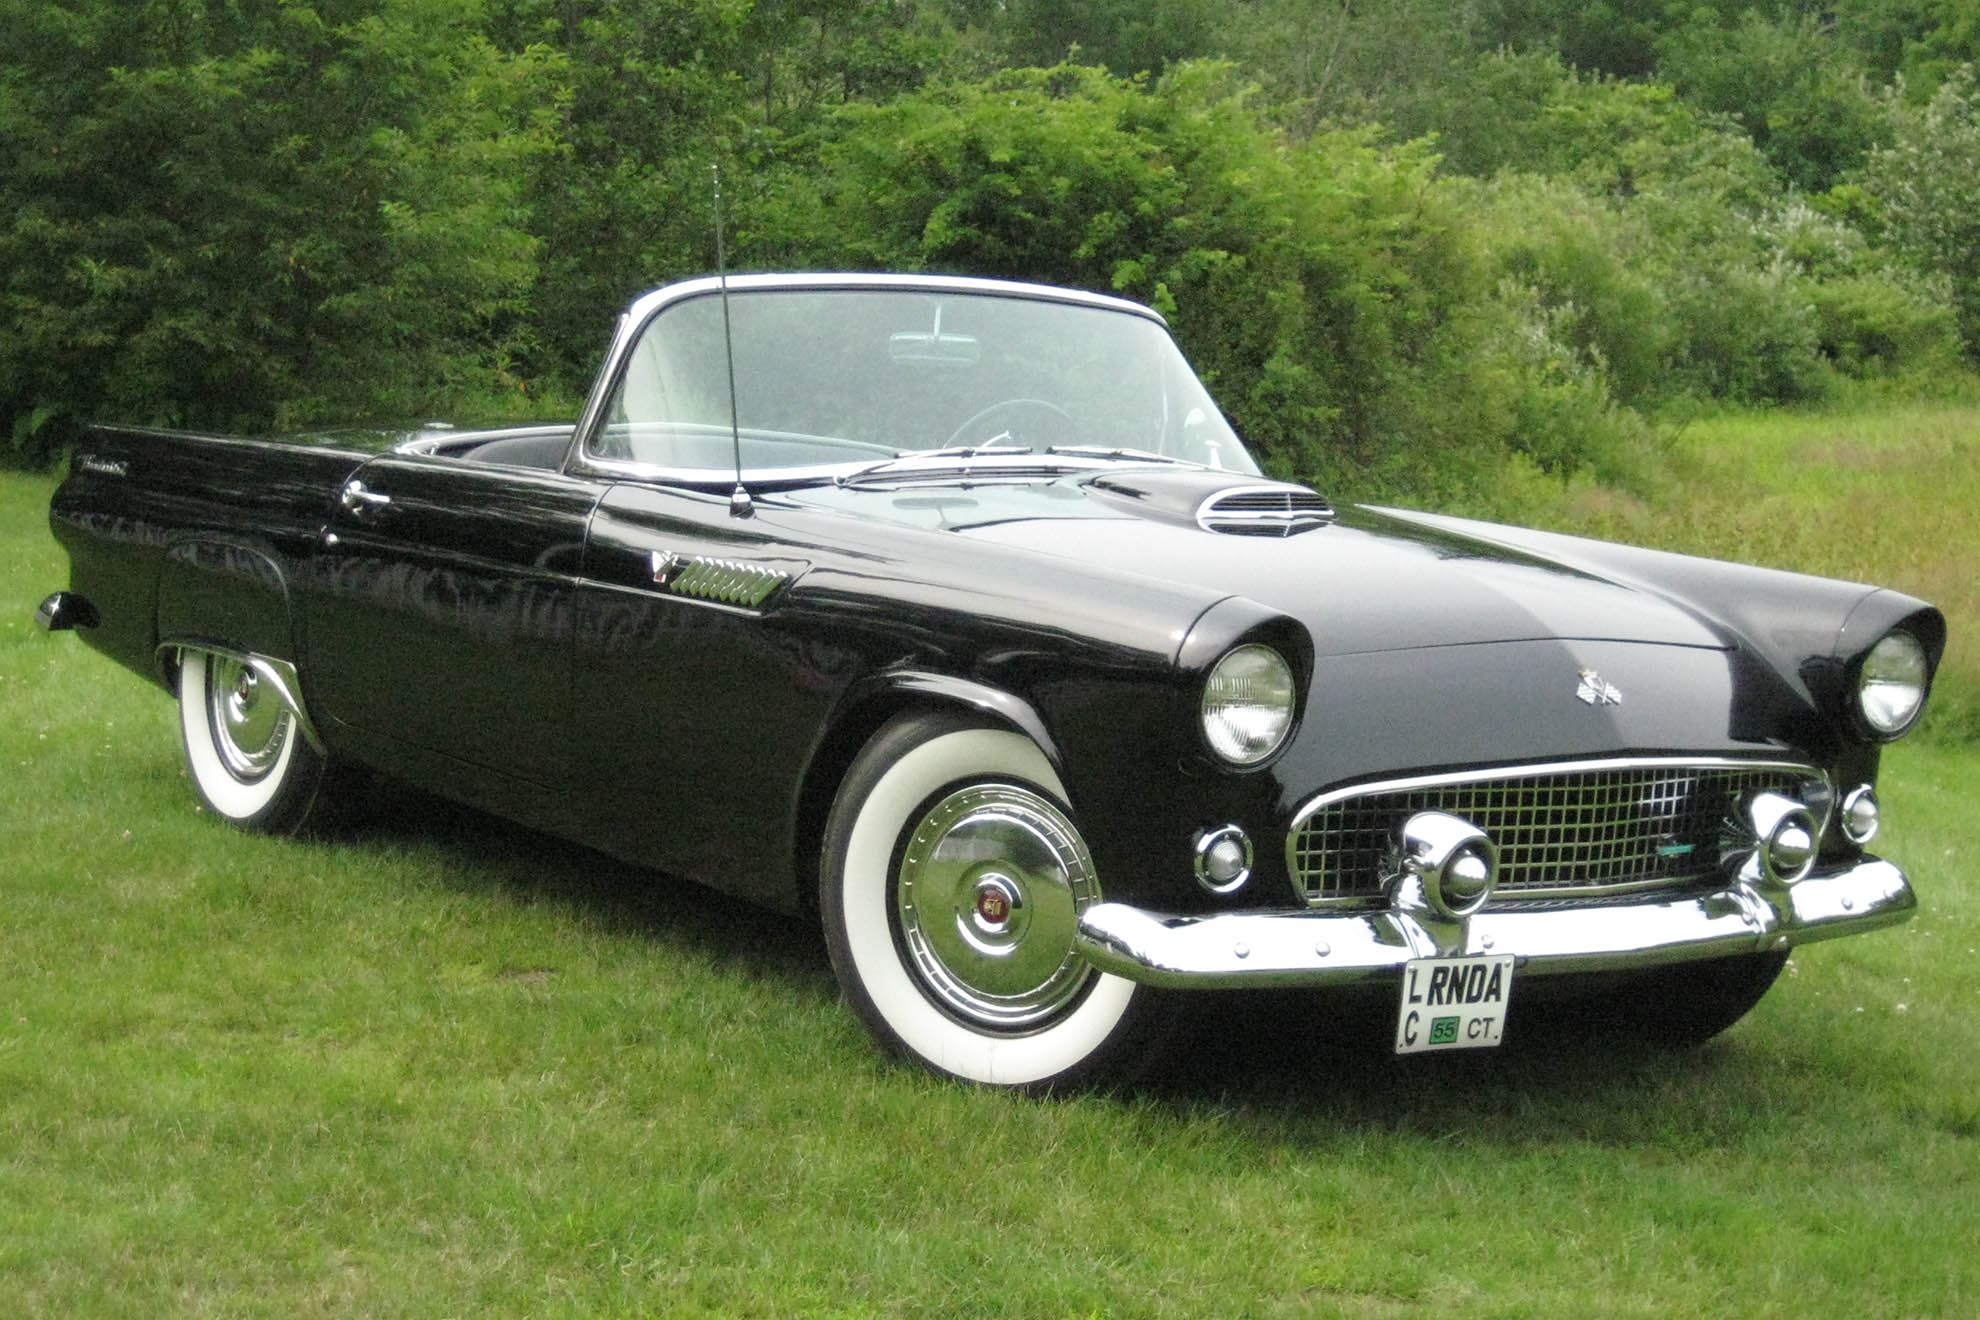
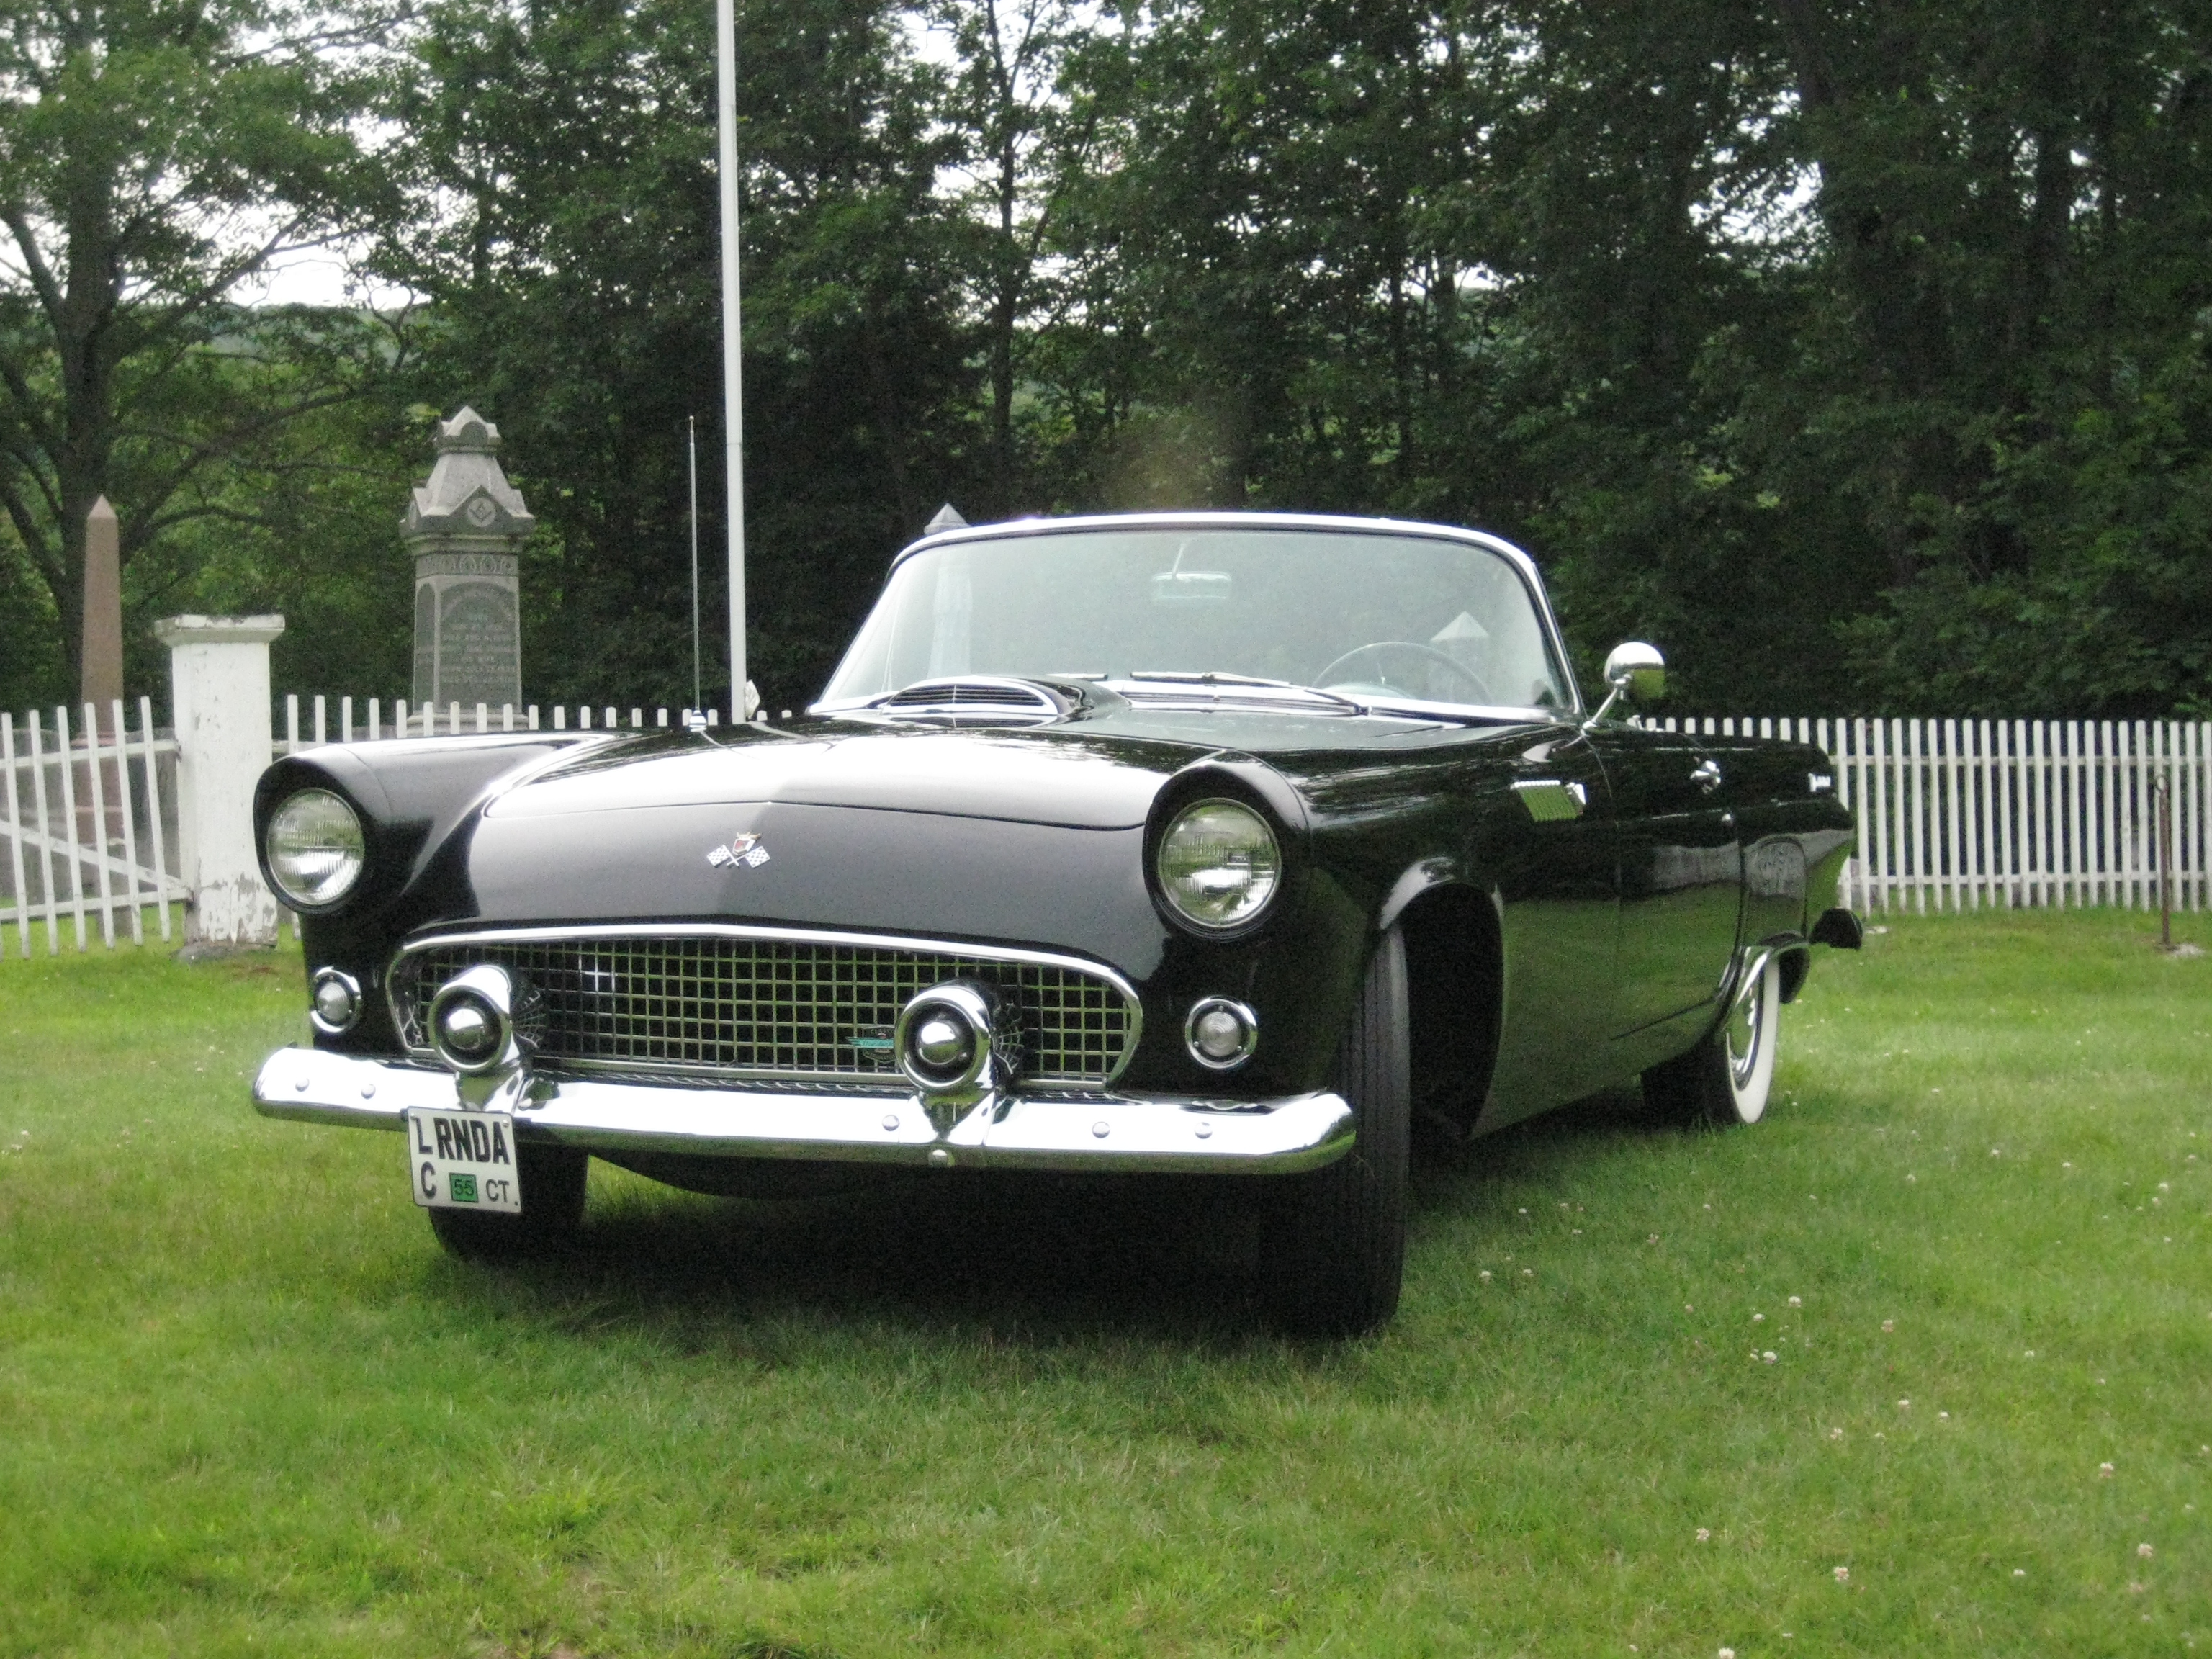
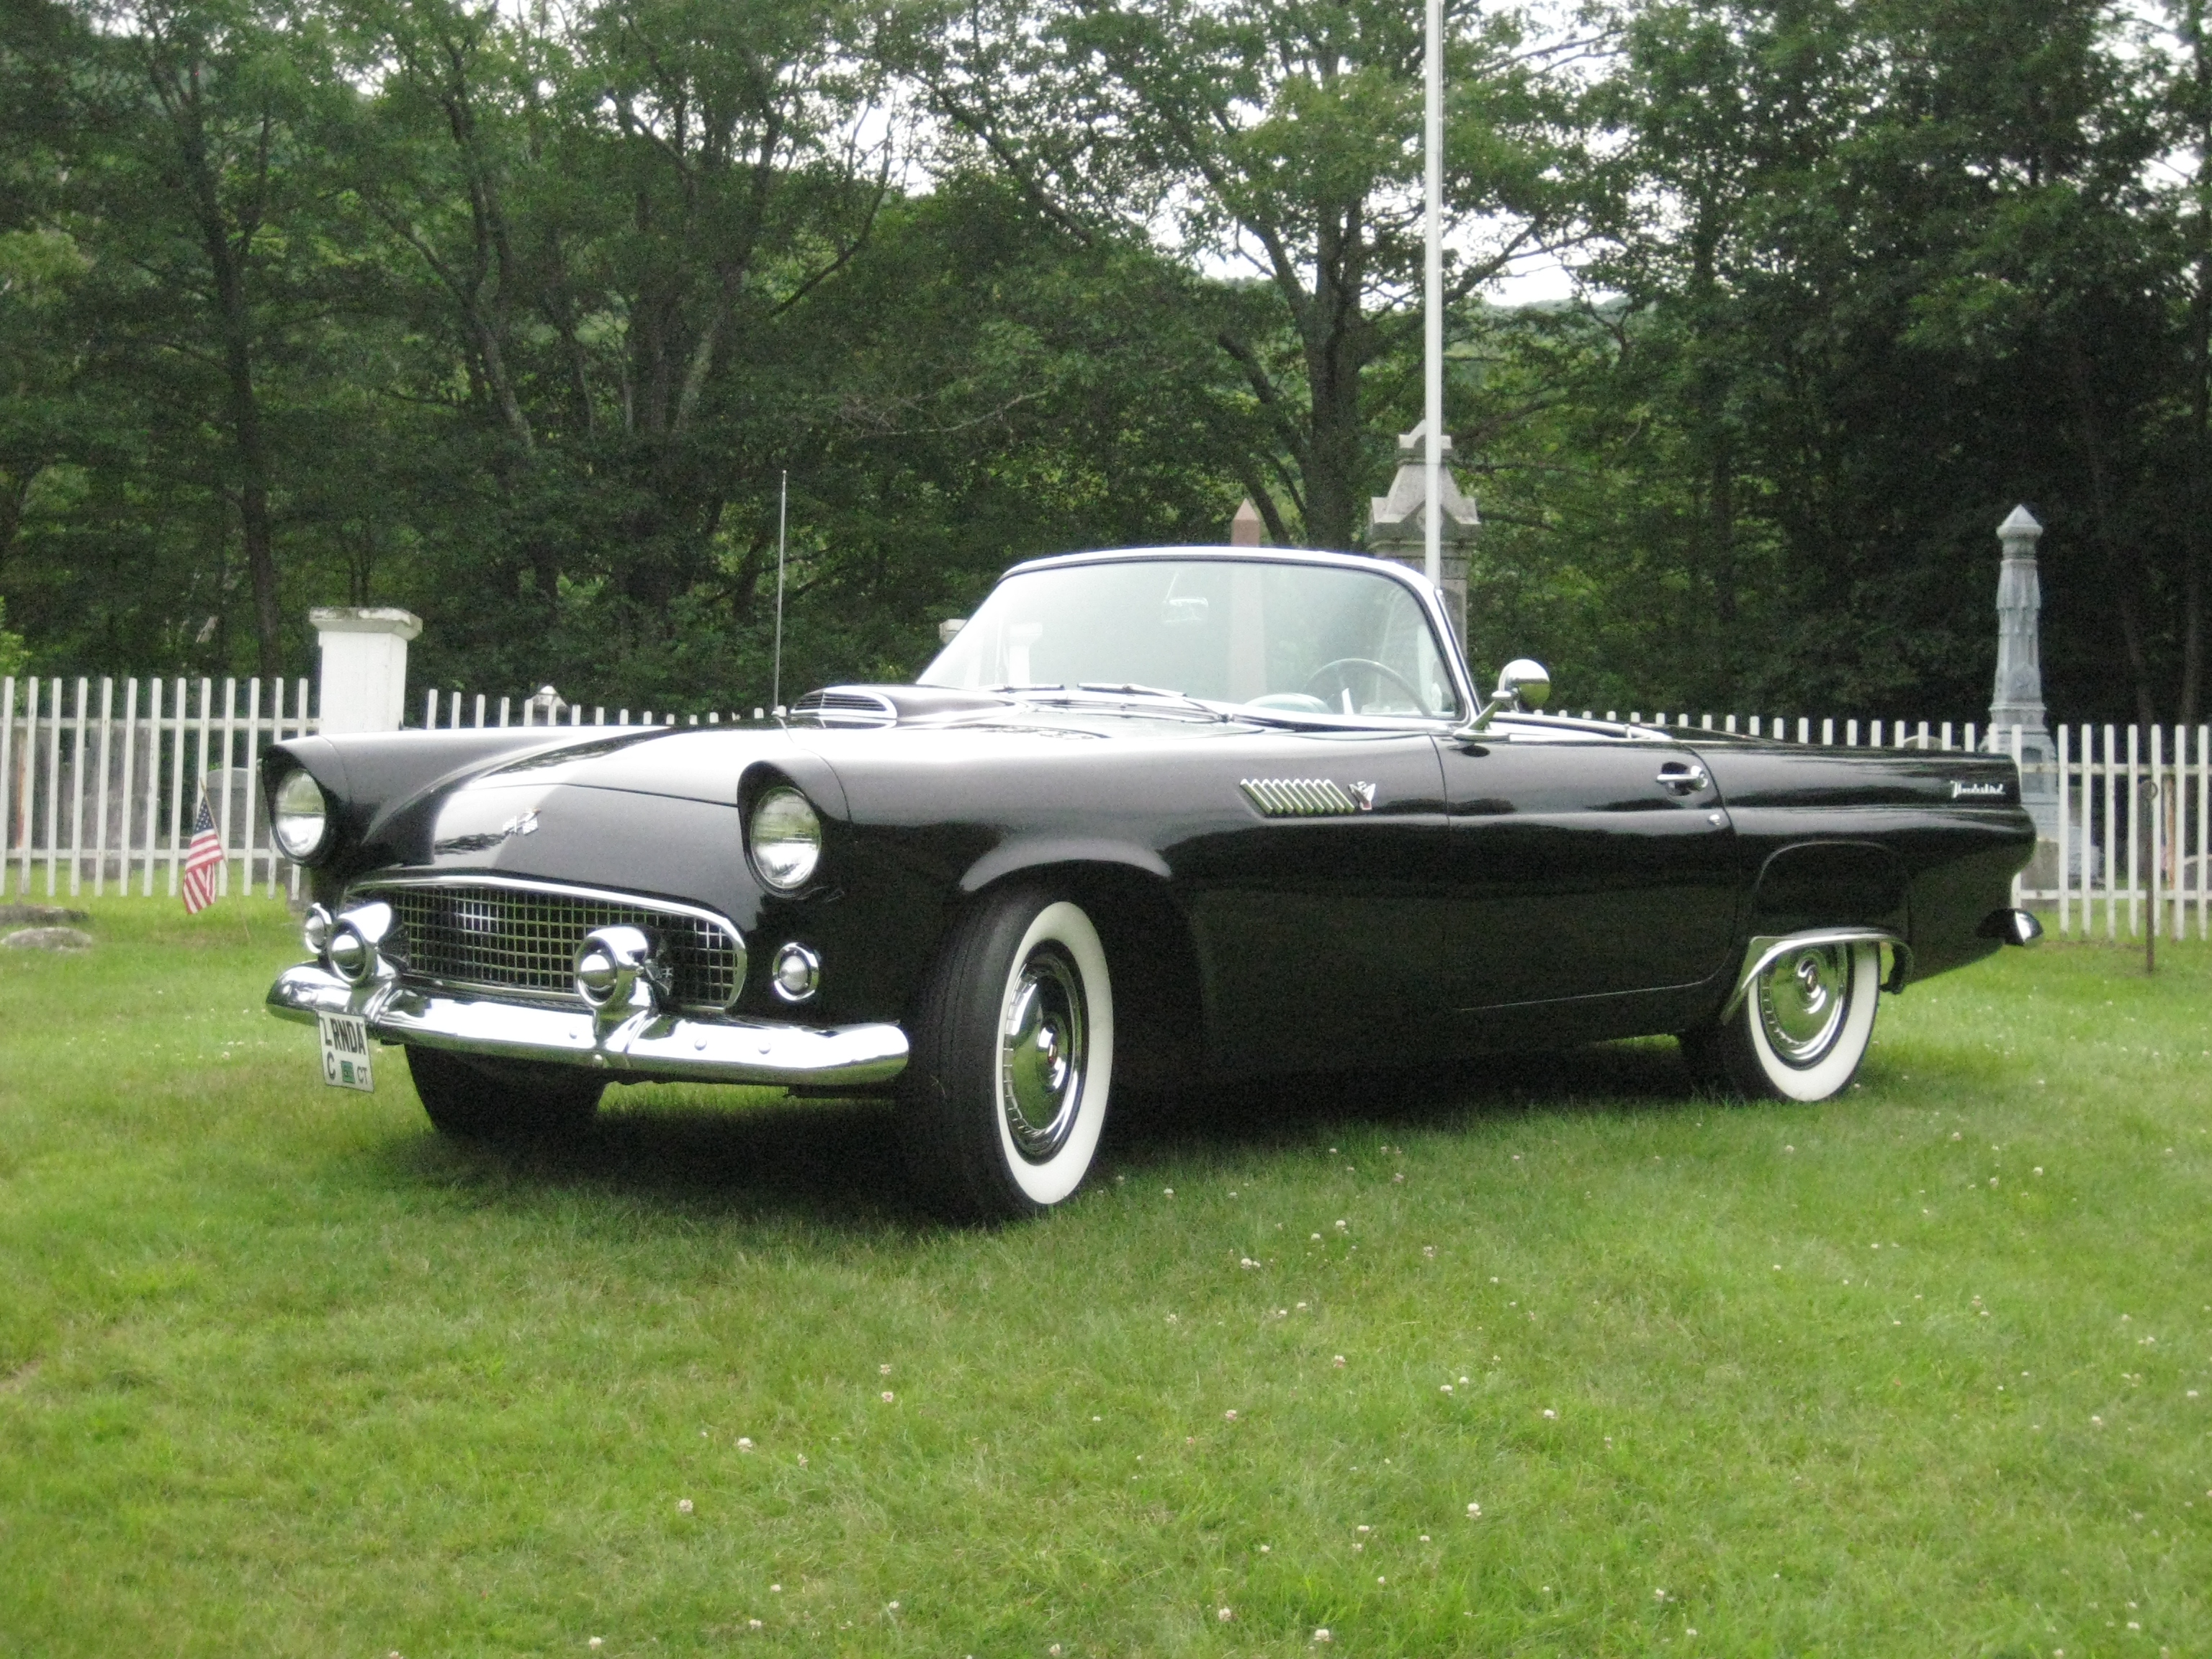
The End Result
68/ 77
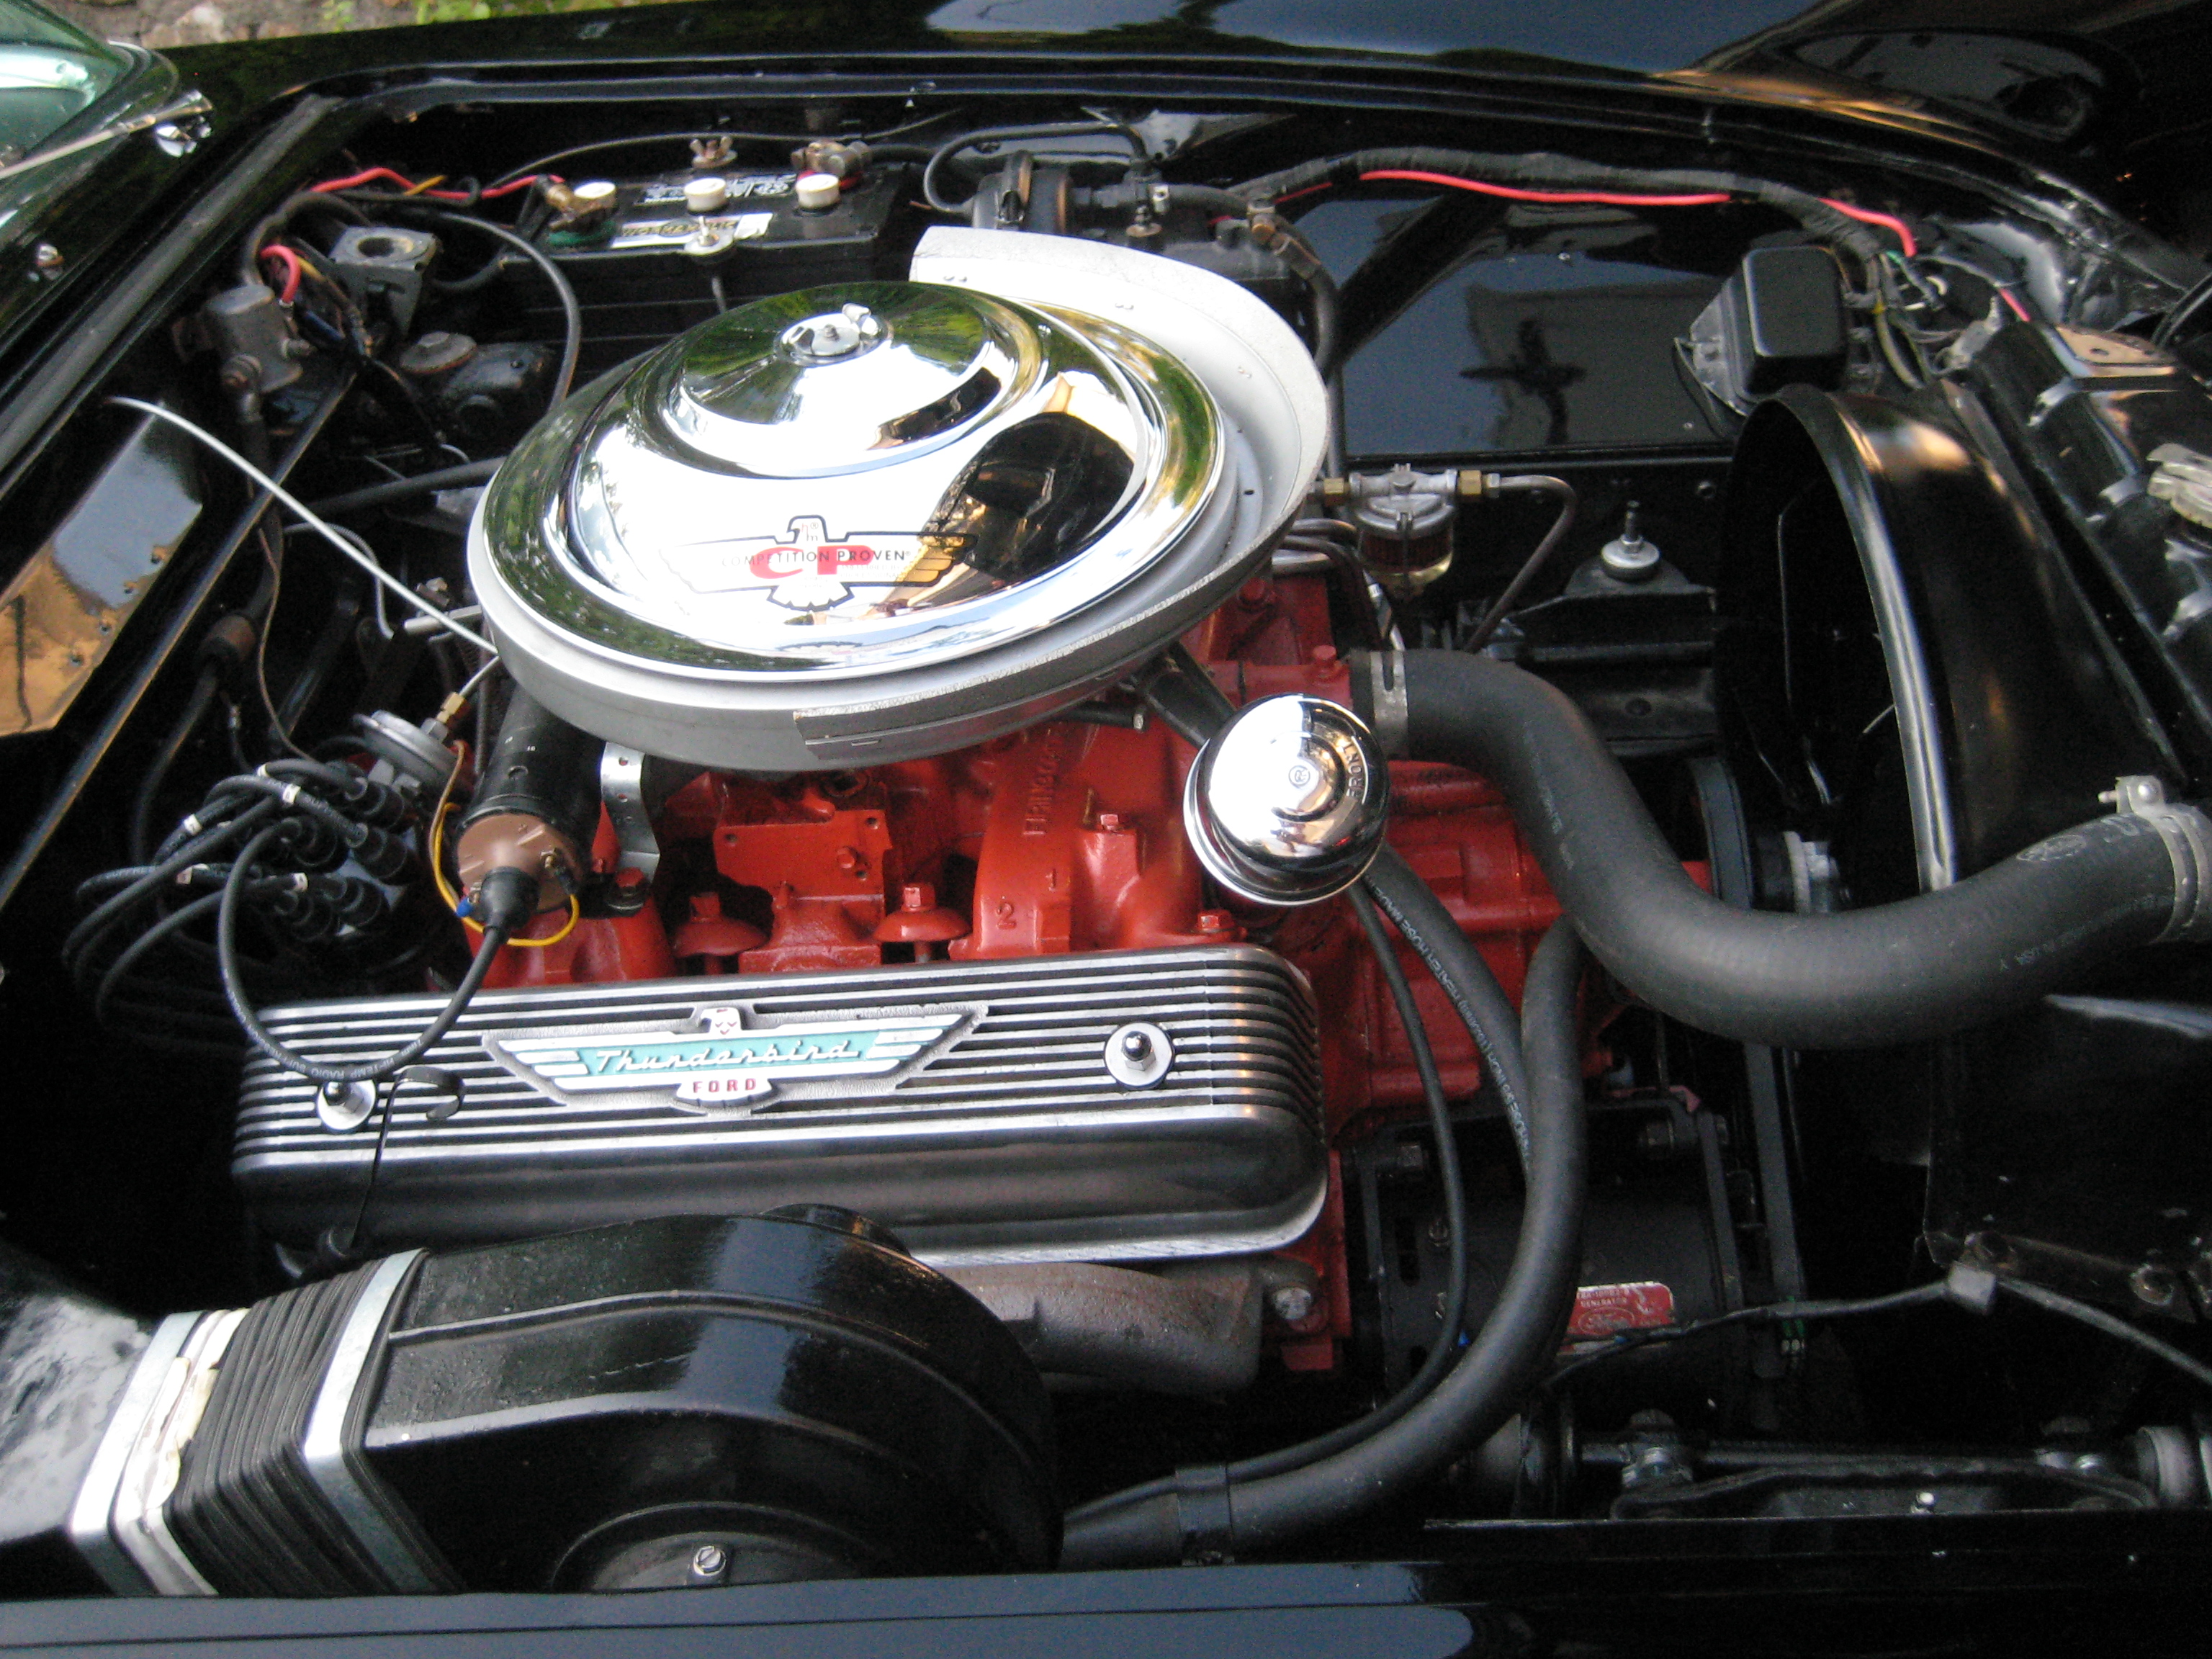
Engine
69/ 77
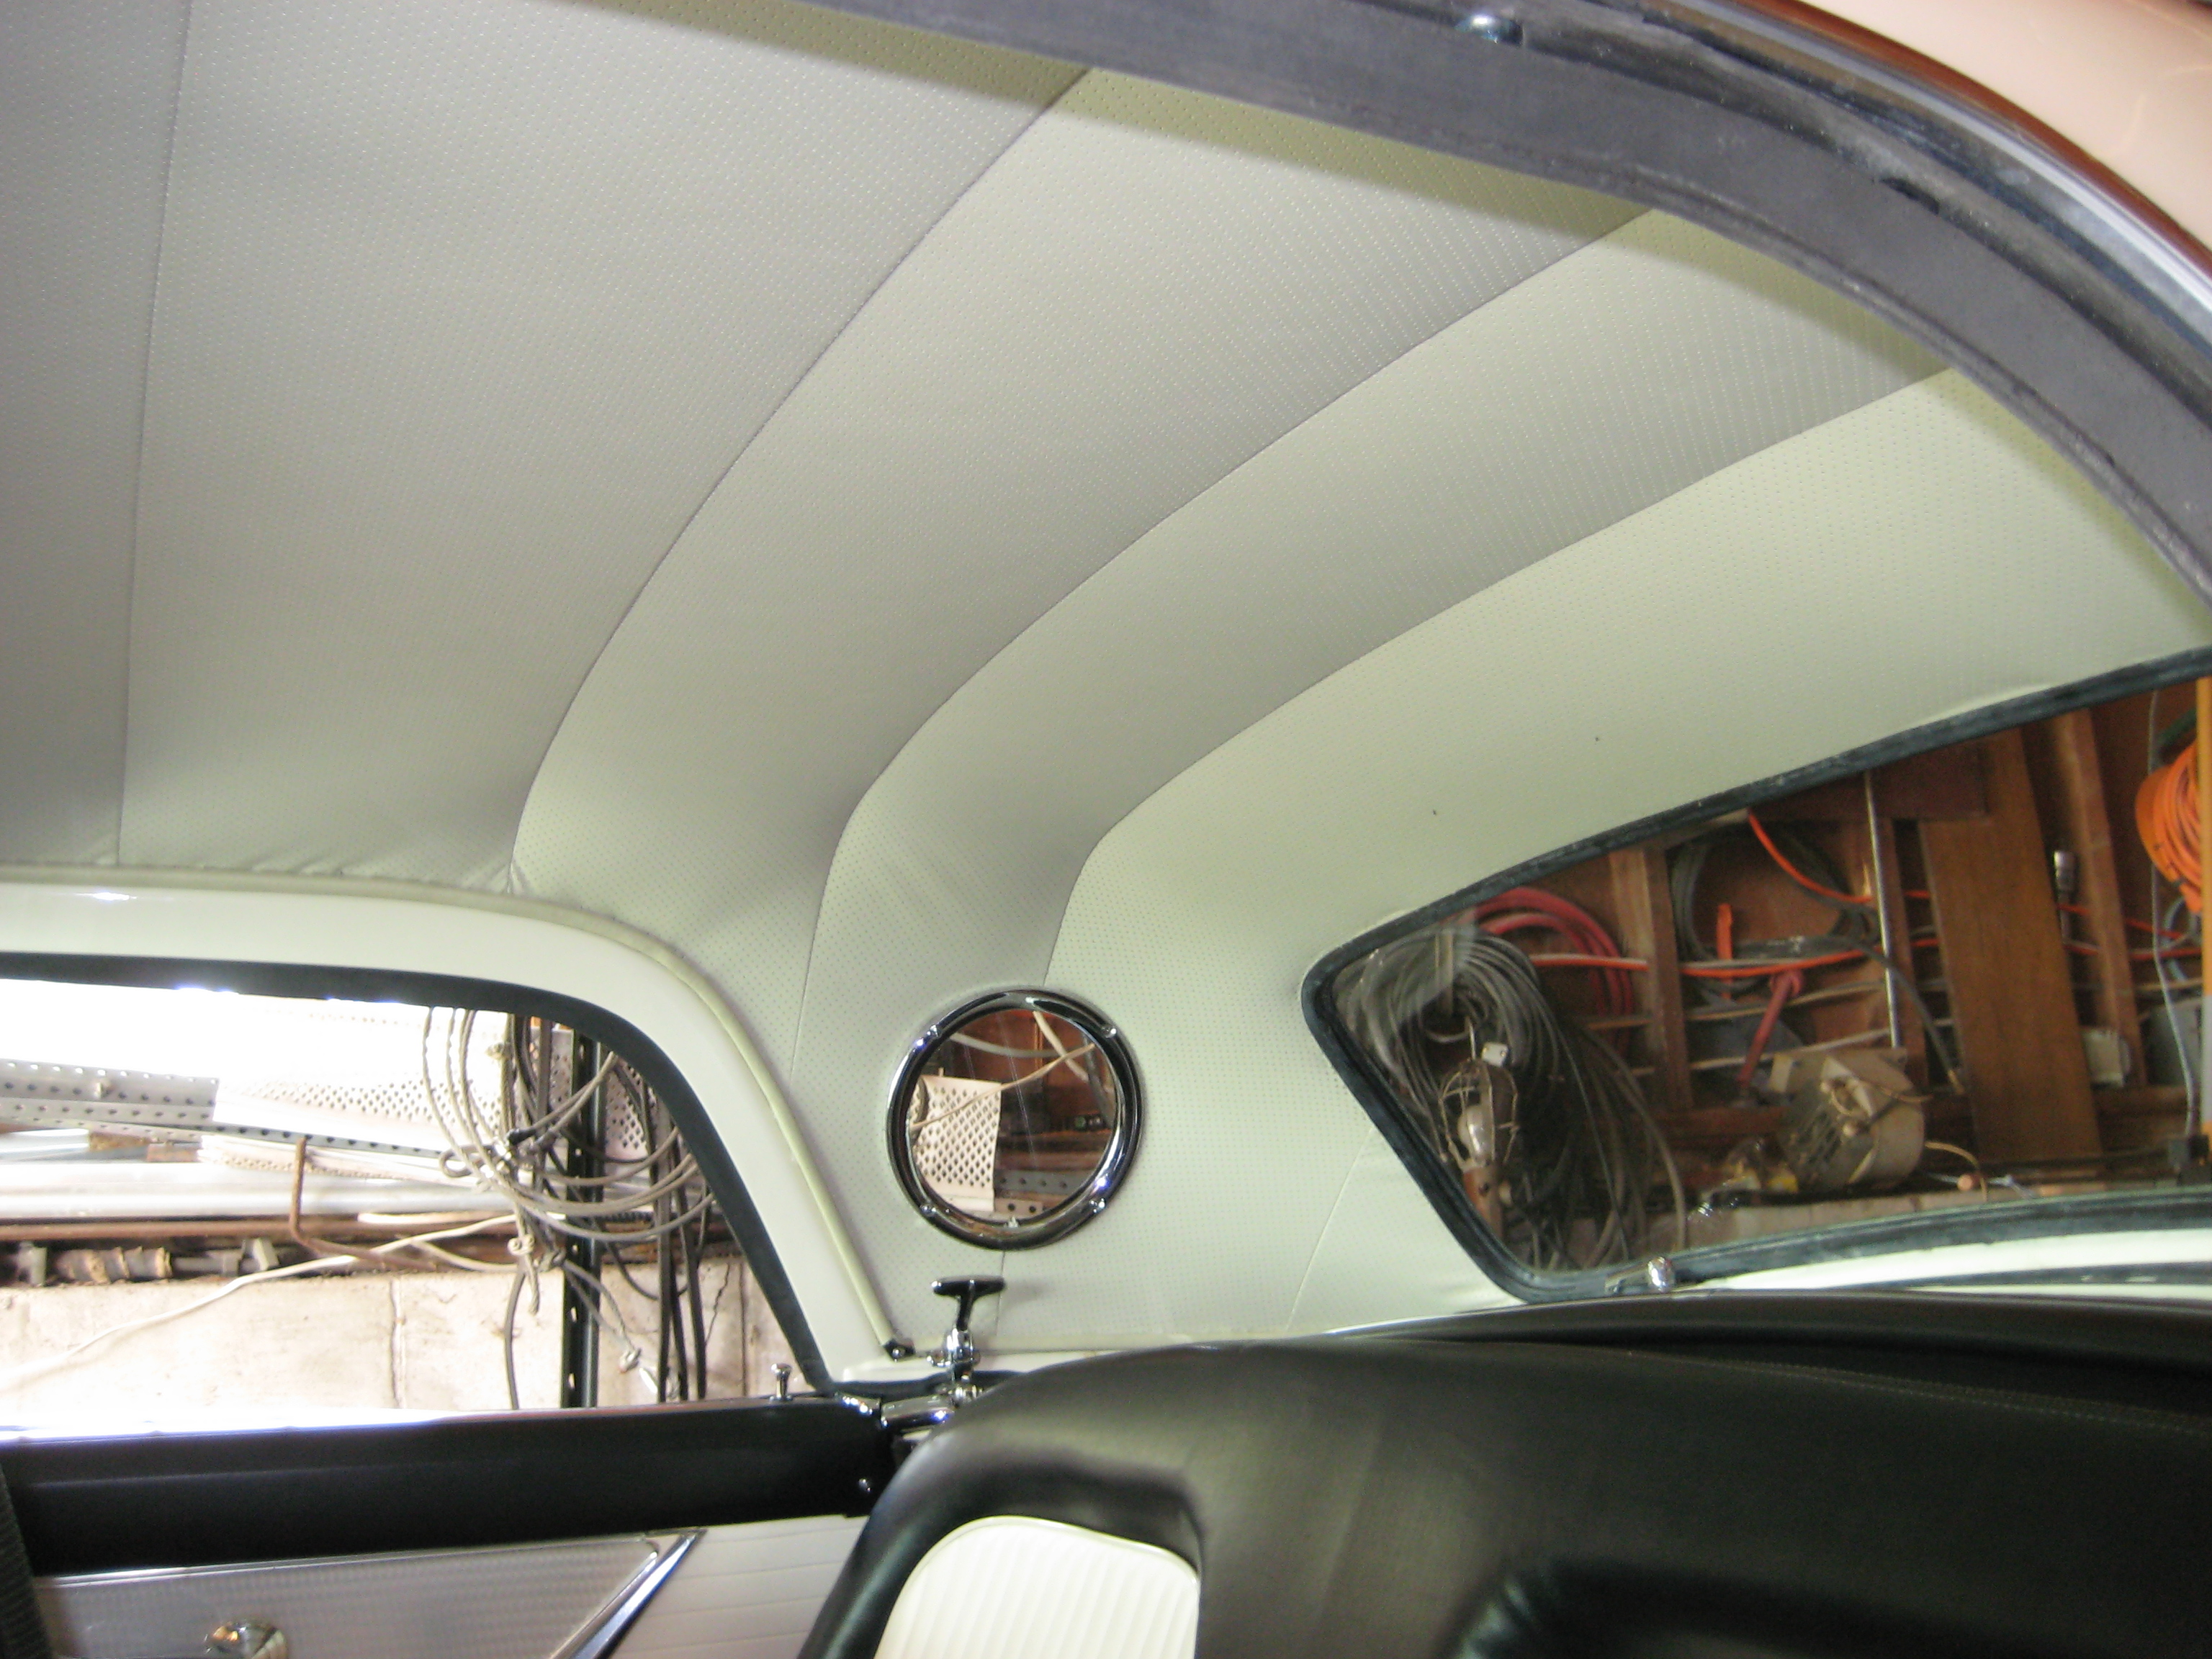
Hardtop inside
70/ 77
Hash
71/ 77
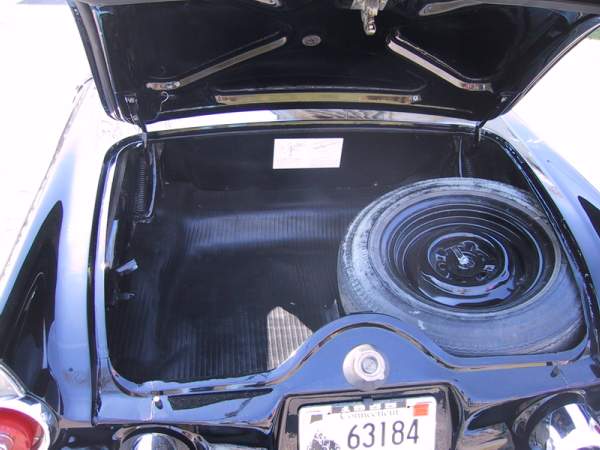
Trunk
72/ 77
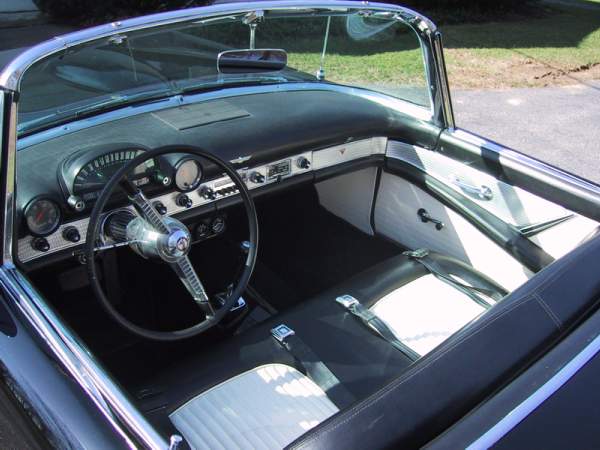
Cockpit
73/ 77
Hood
74/ 77
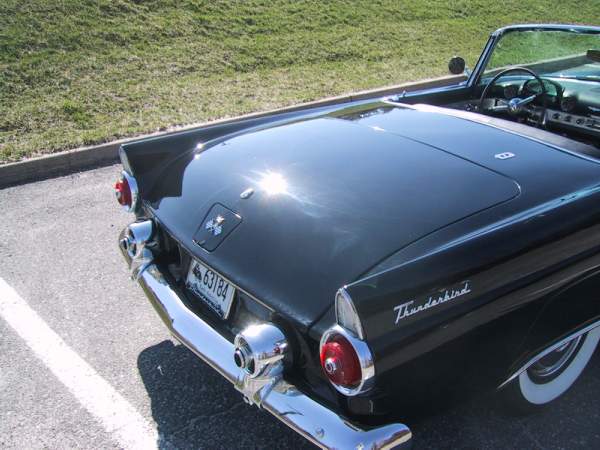
Rear
75/ 77
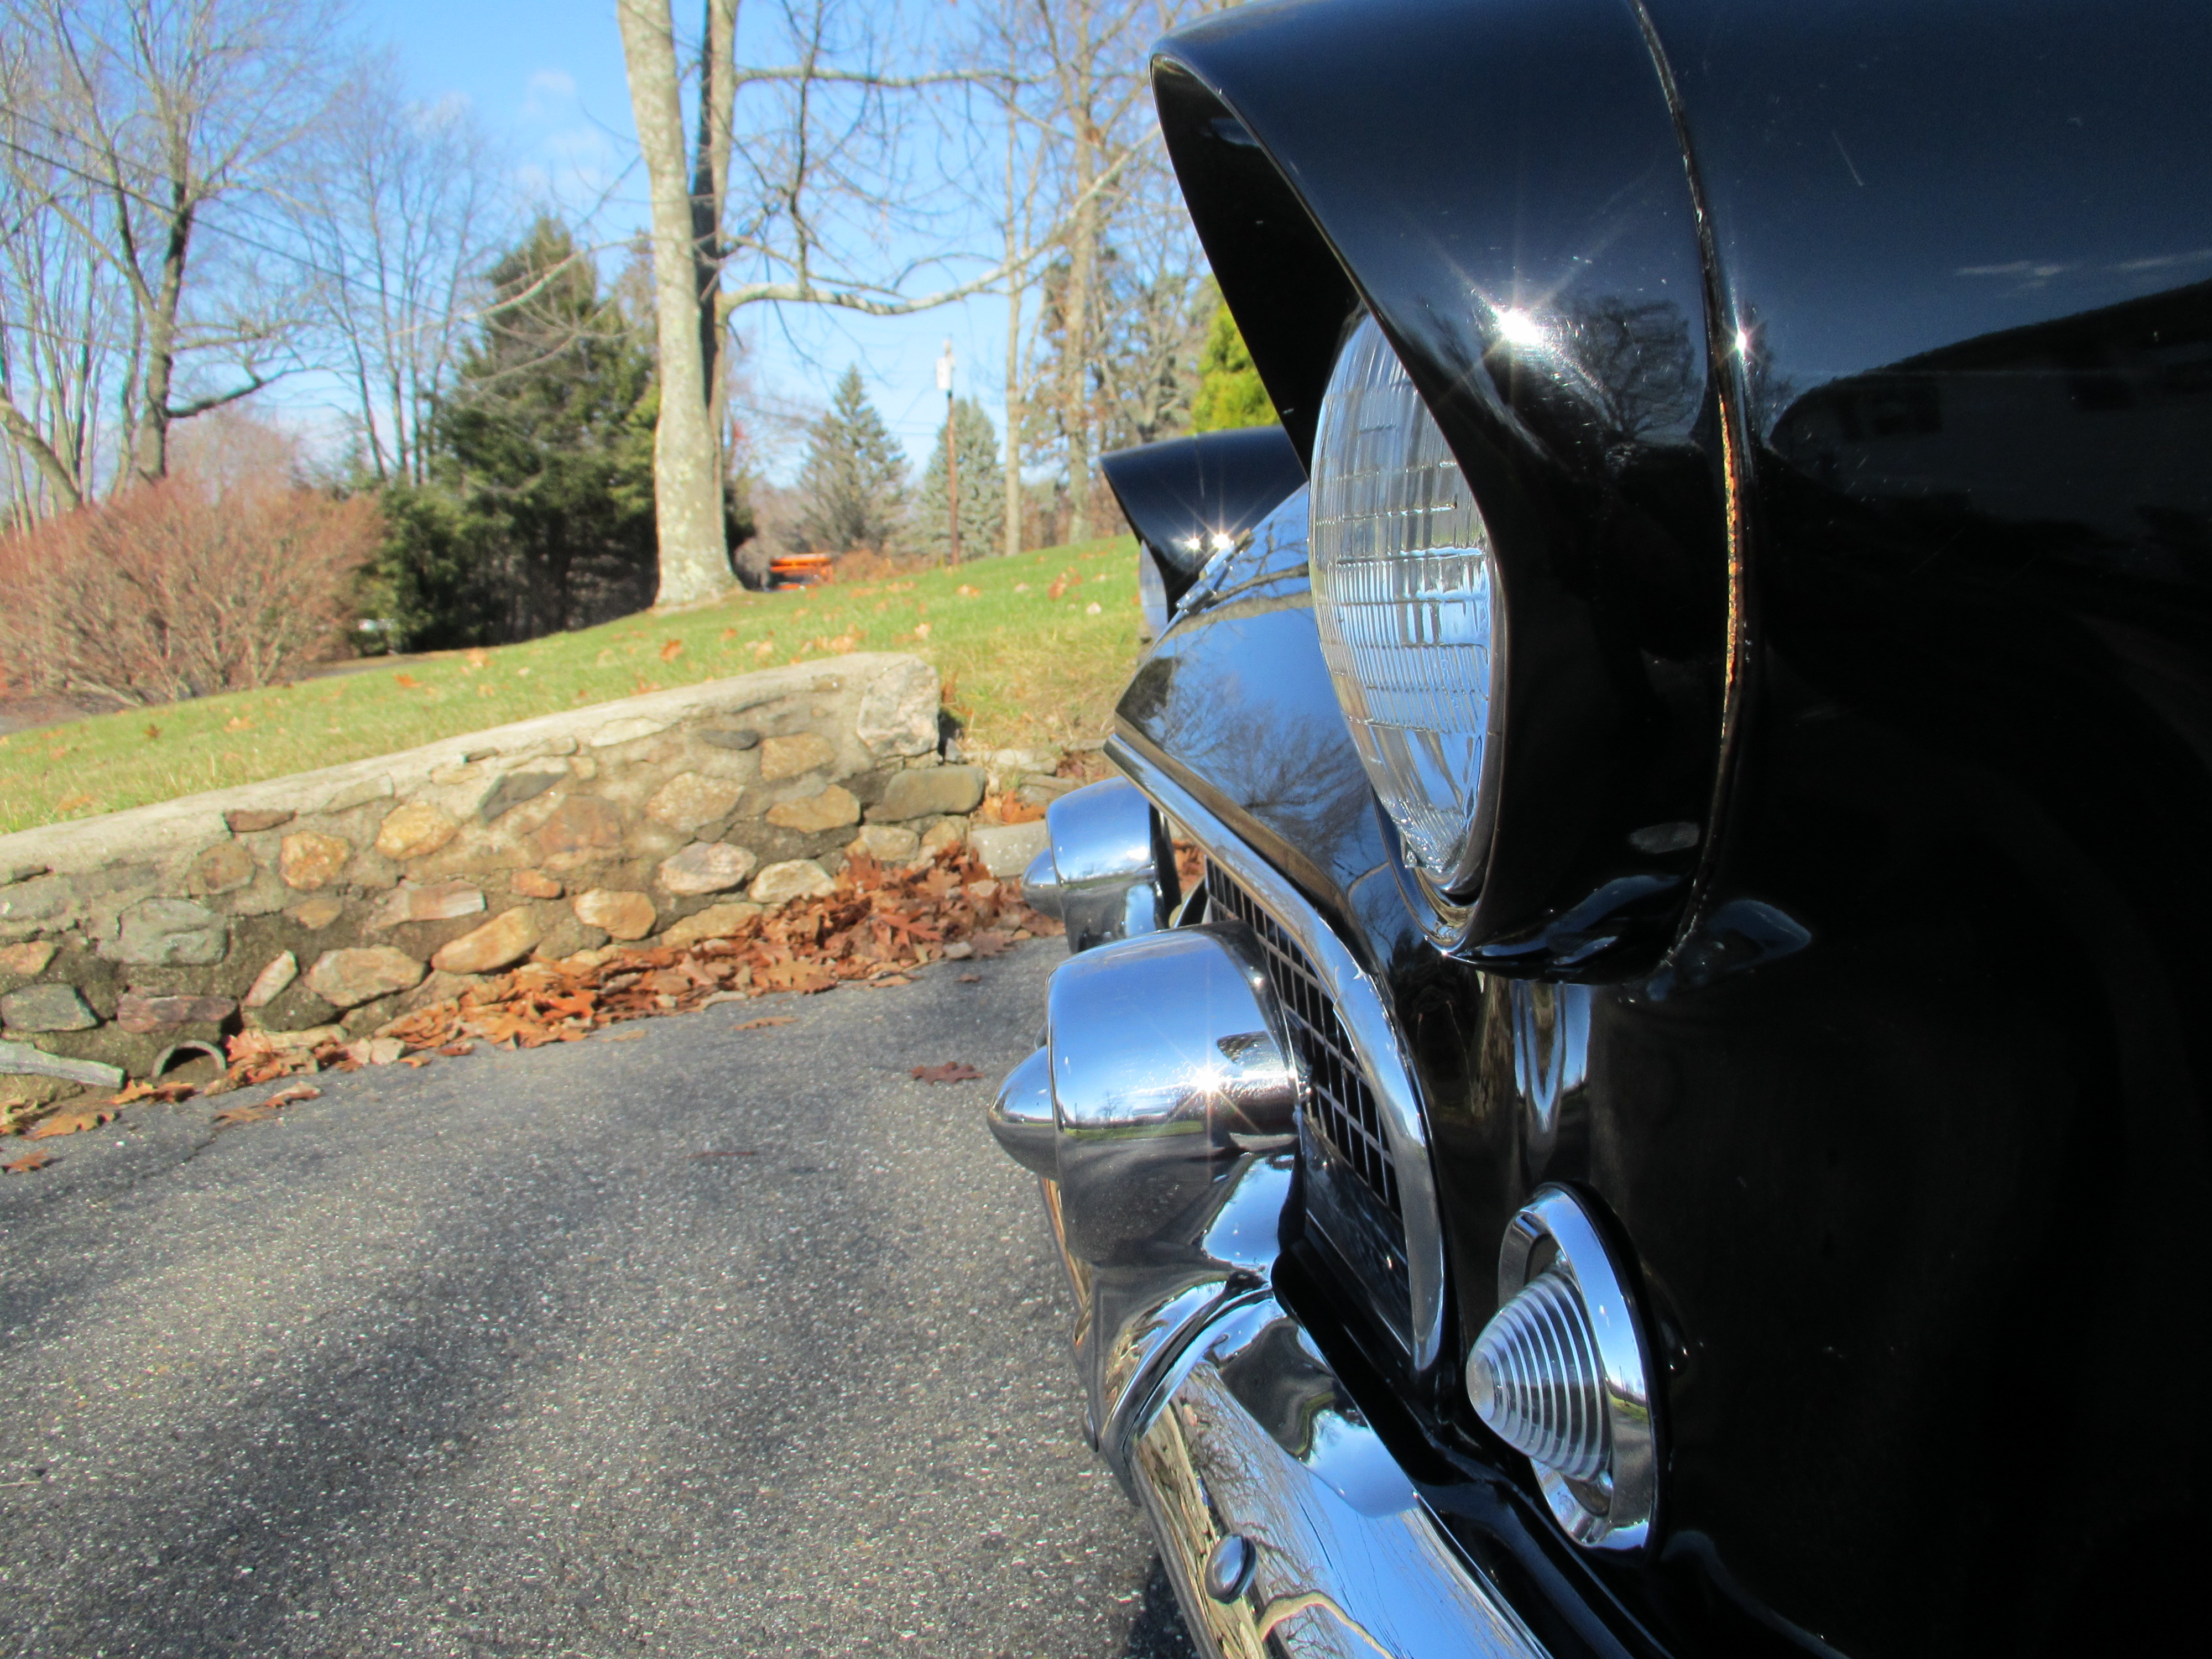
Nose
76/ 77
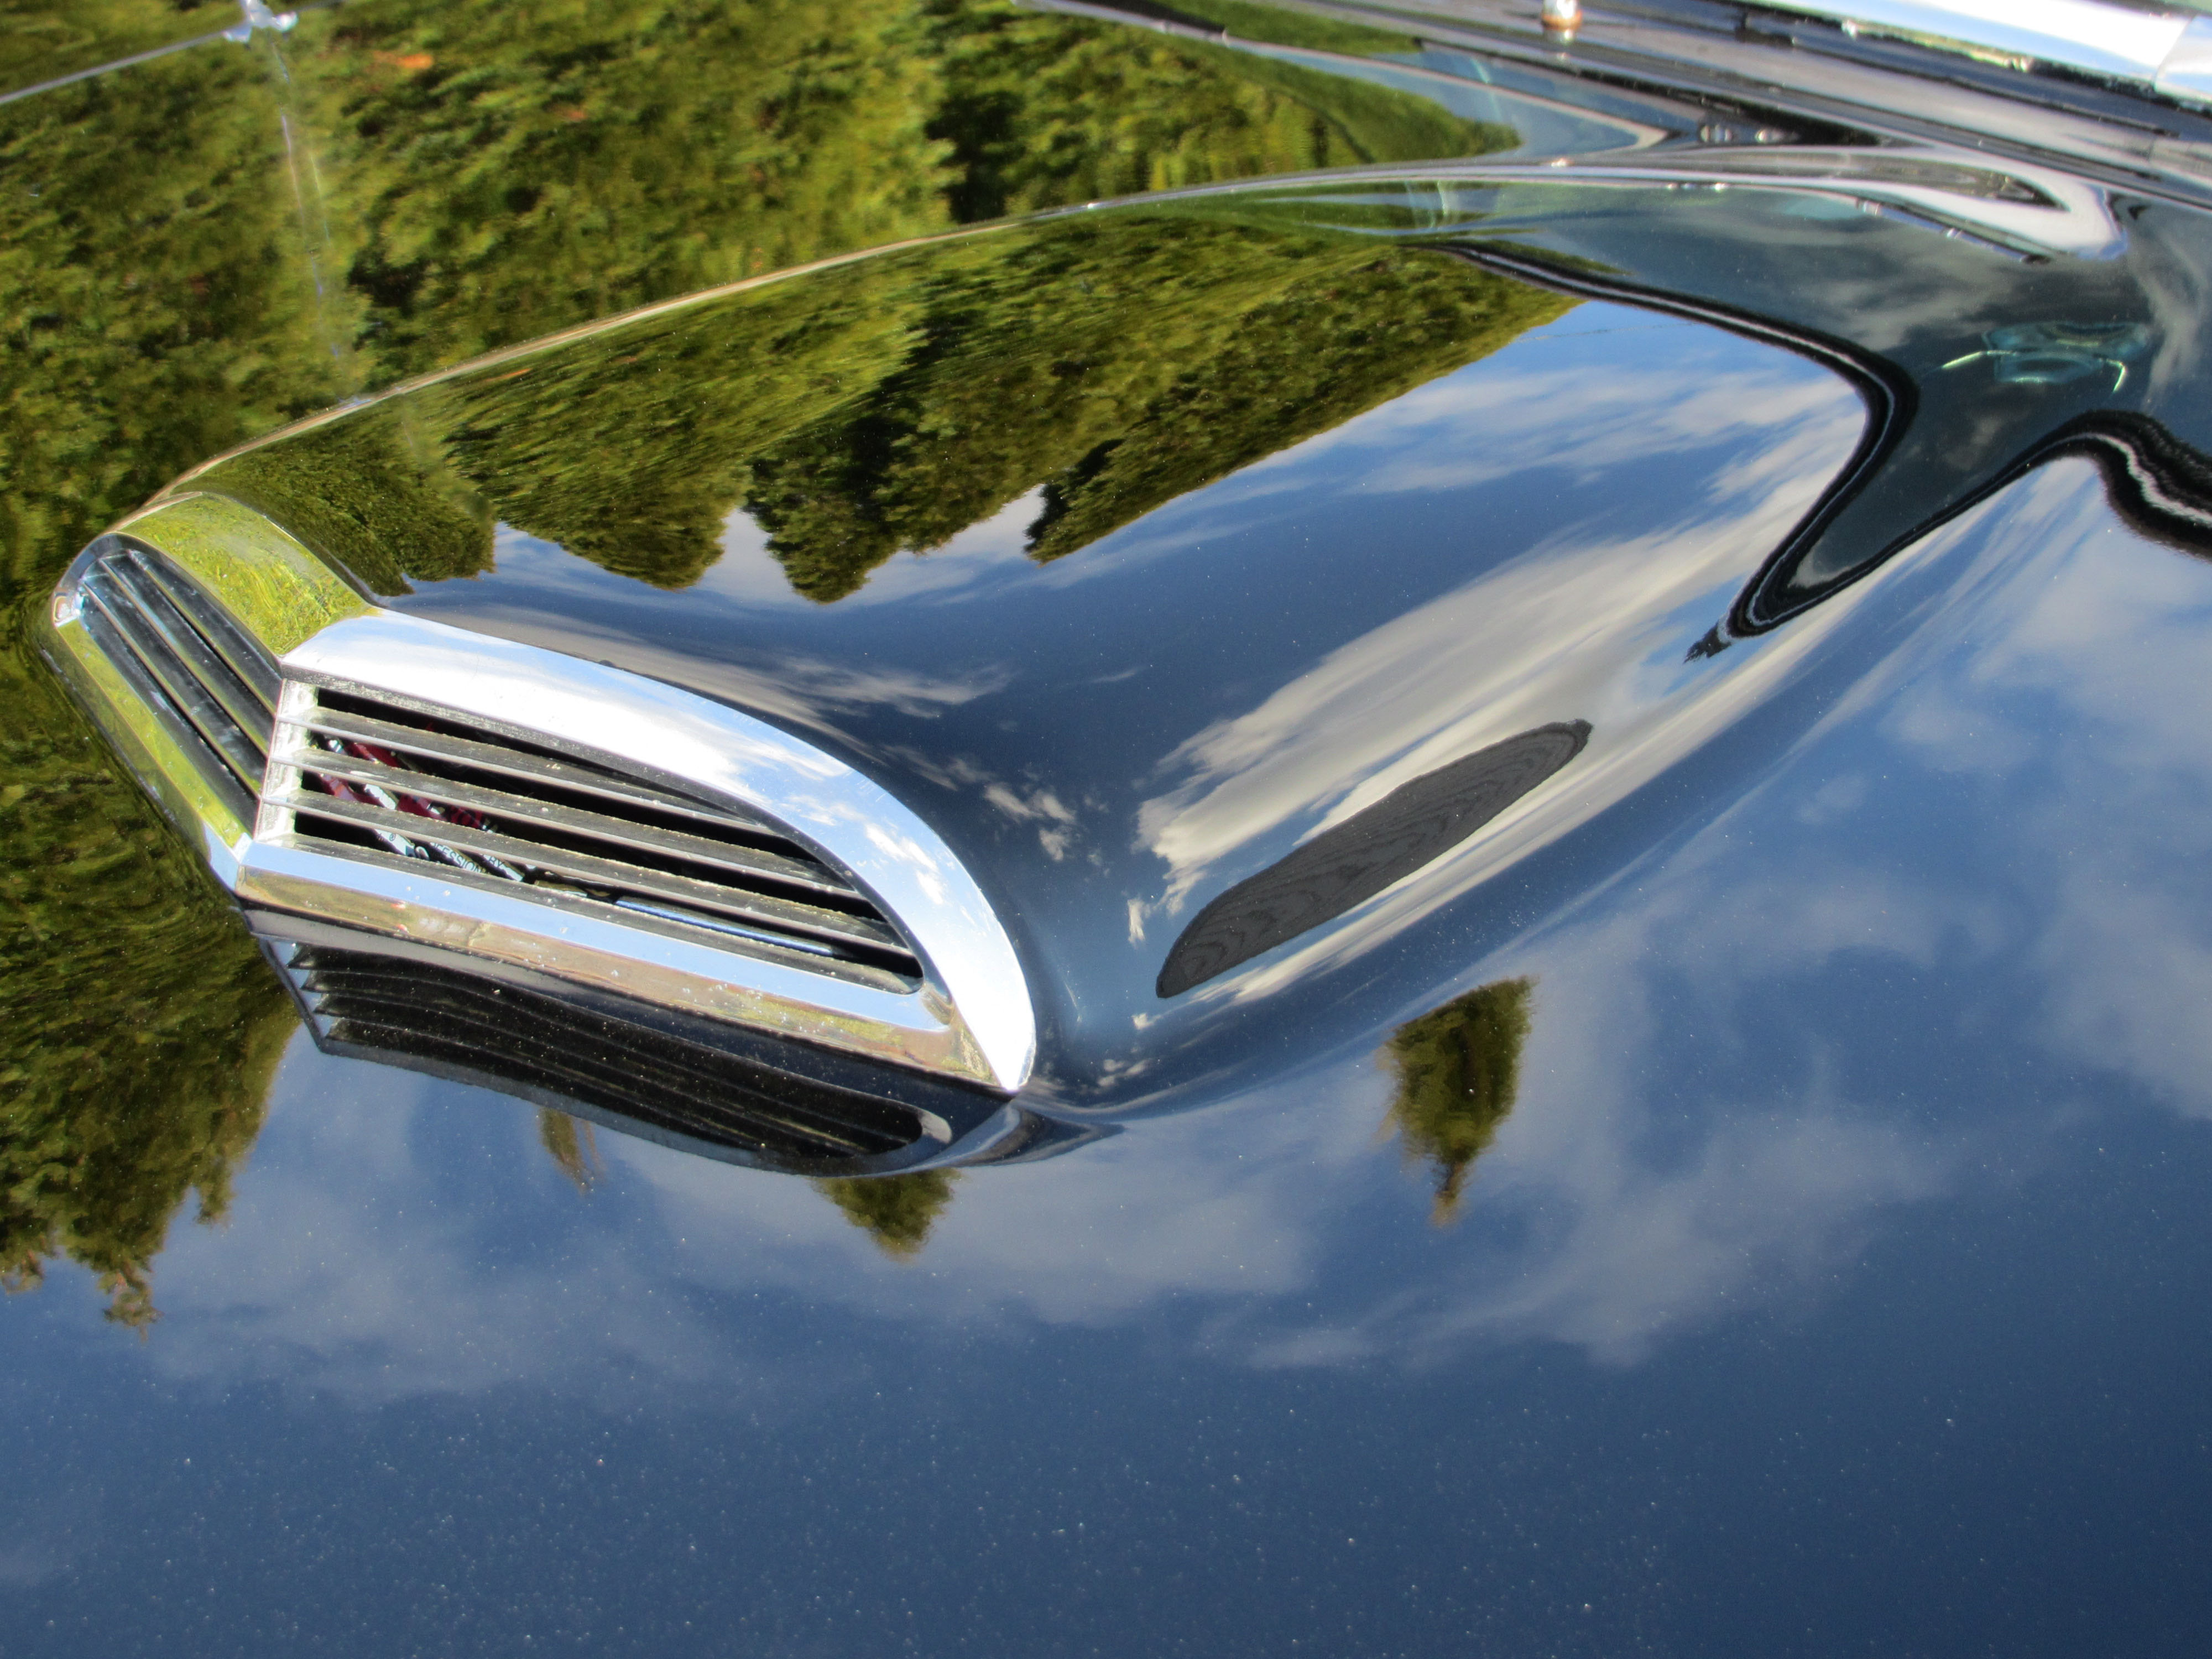
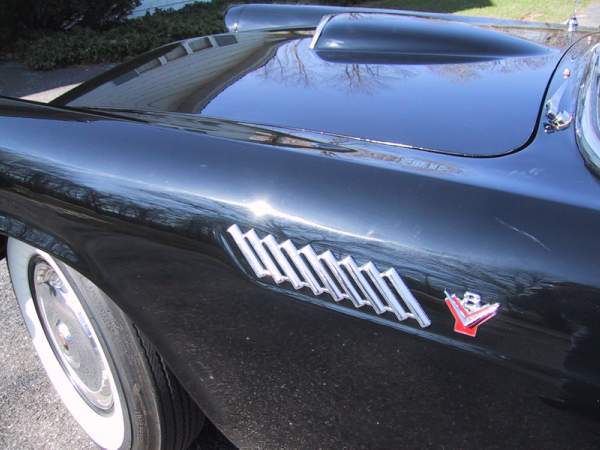
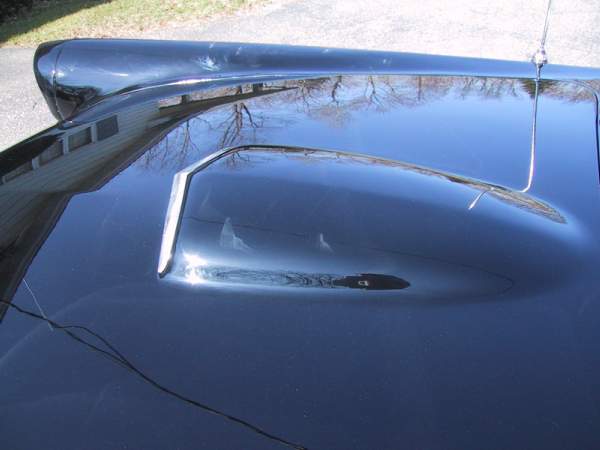
Scoop
77/ 77
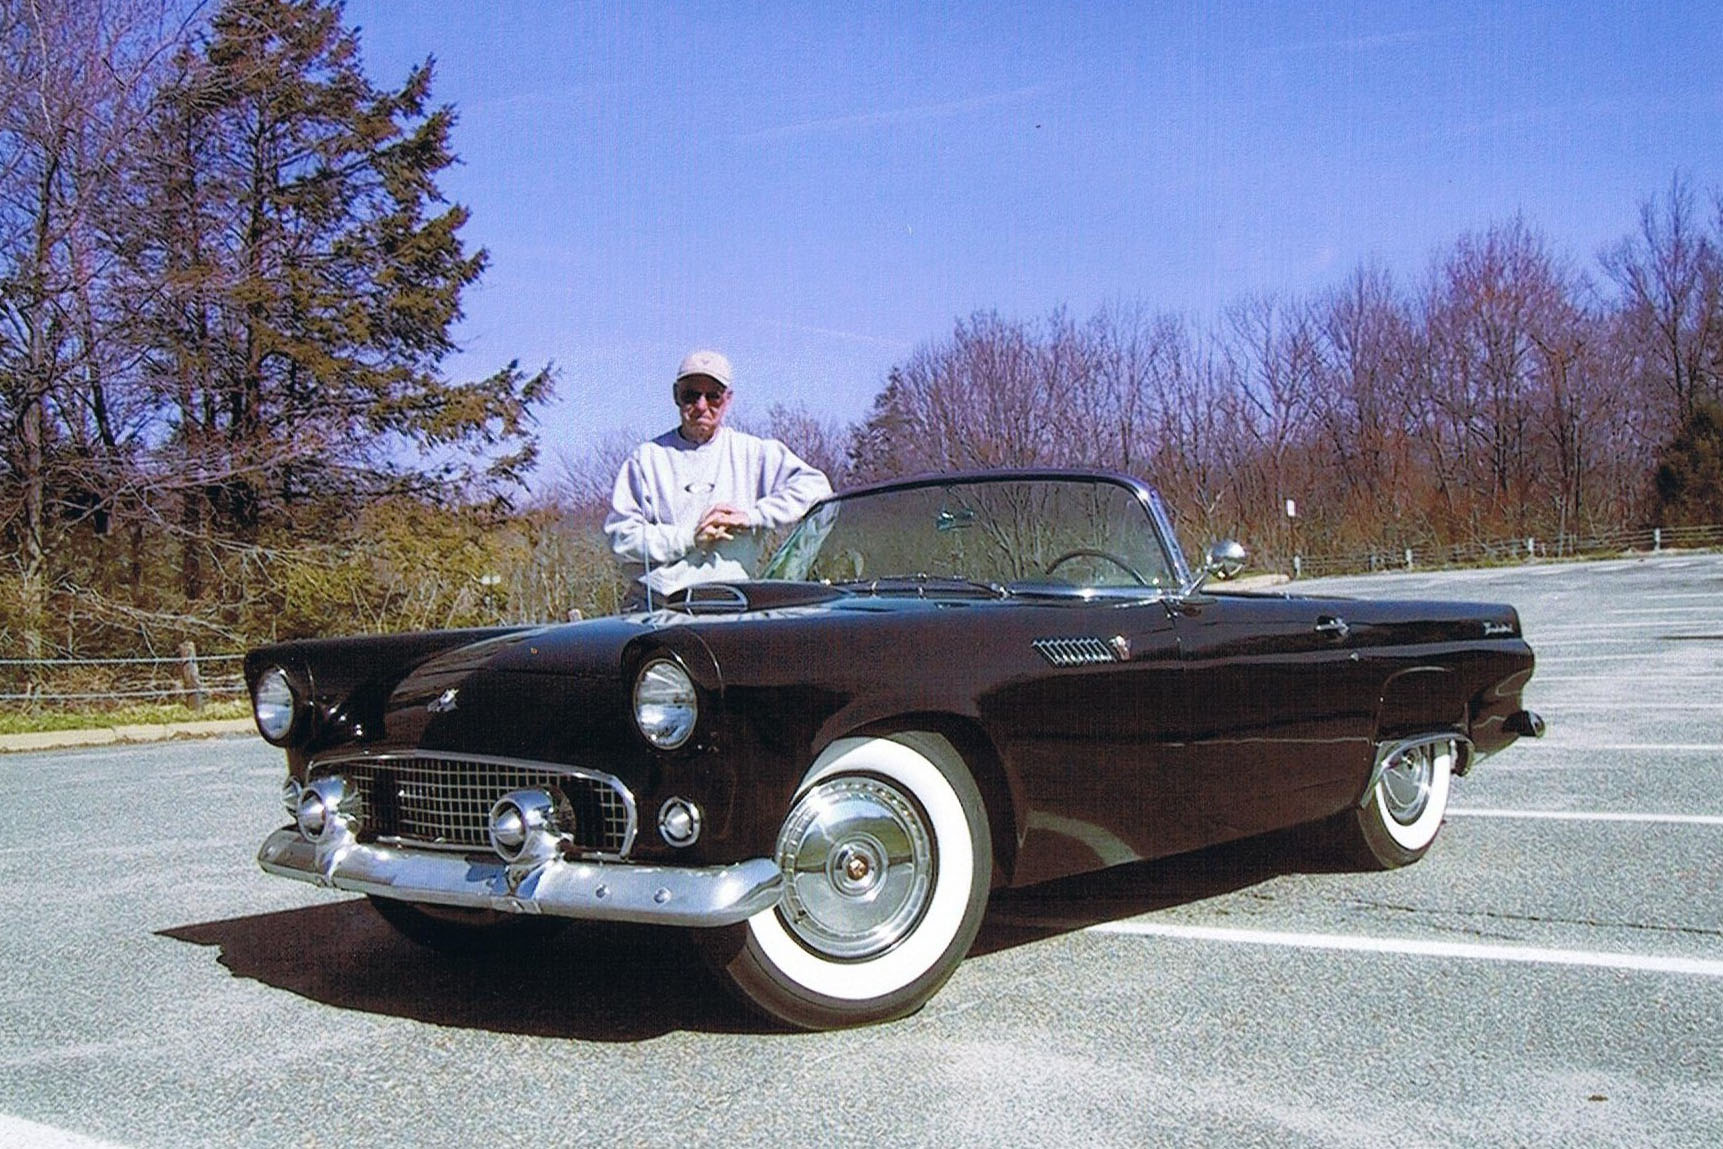
Me and my Bird
Memorabilia
78/ 89
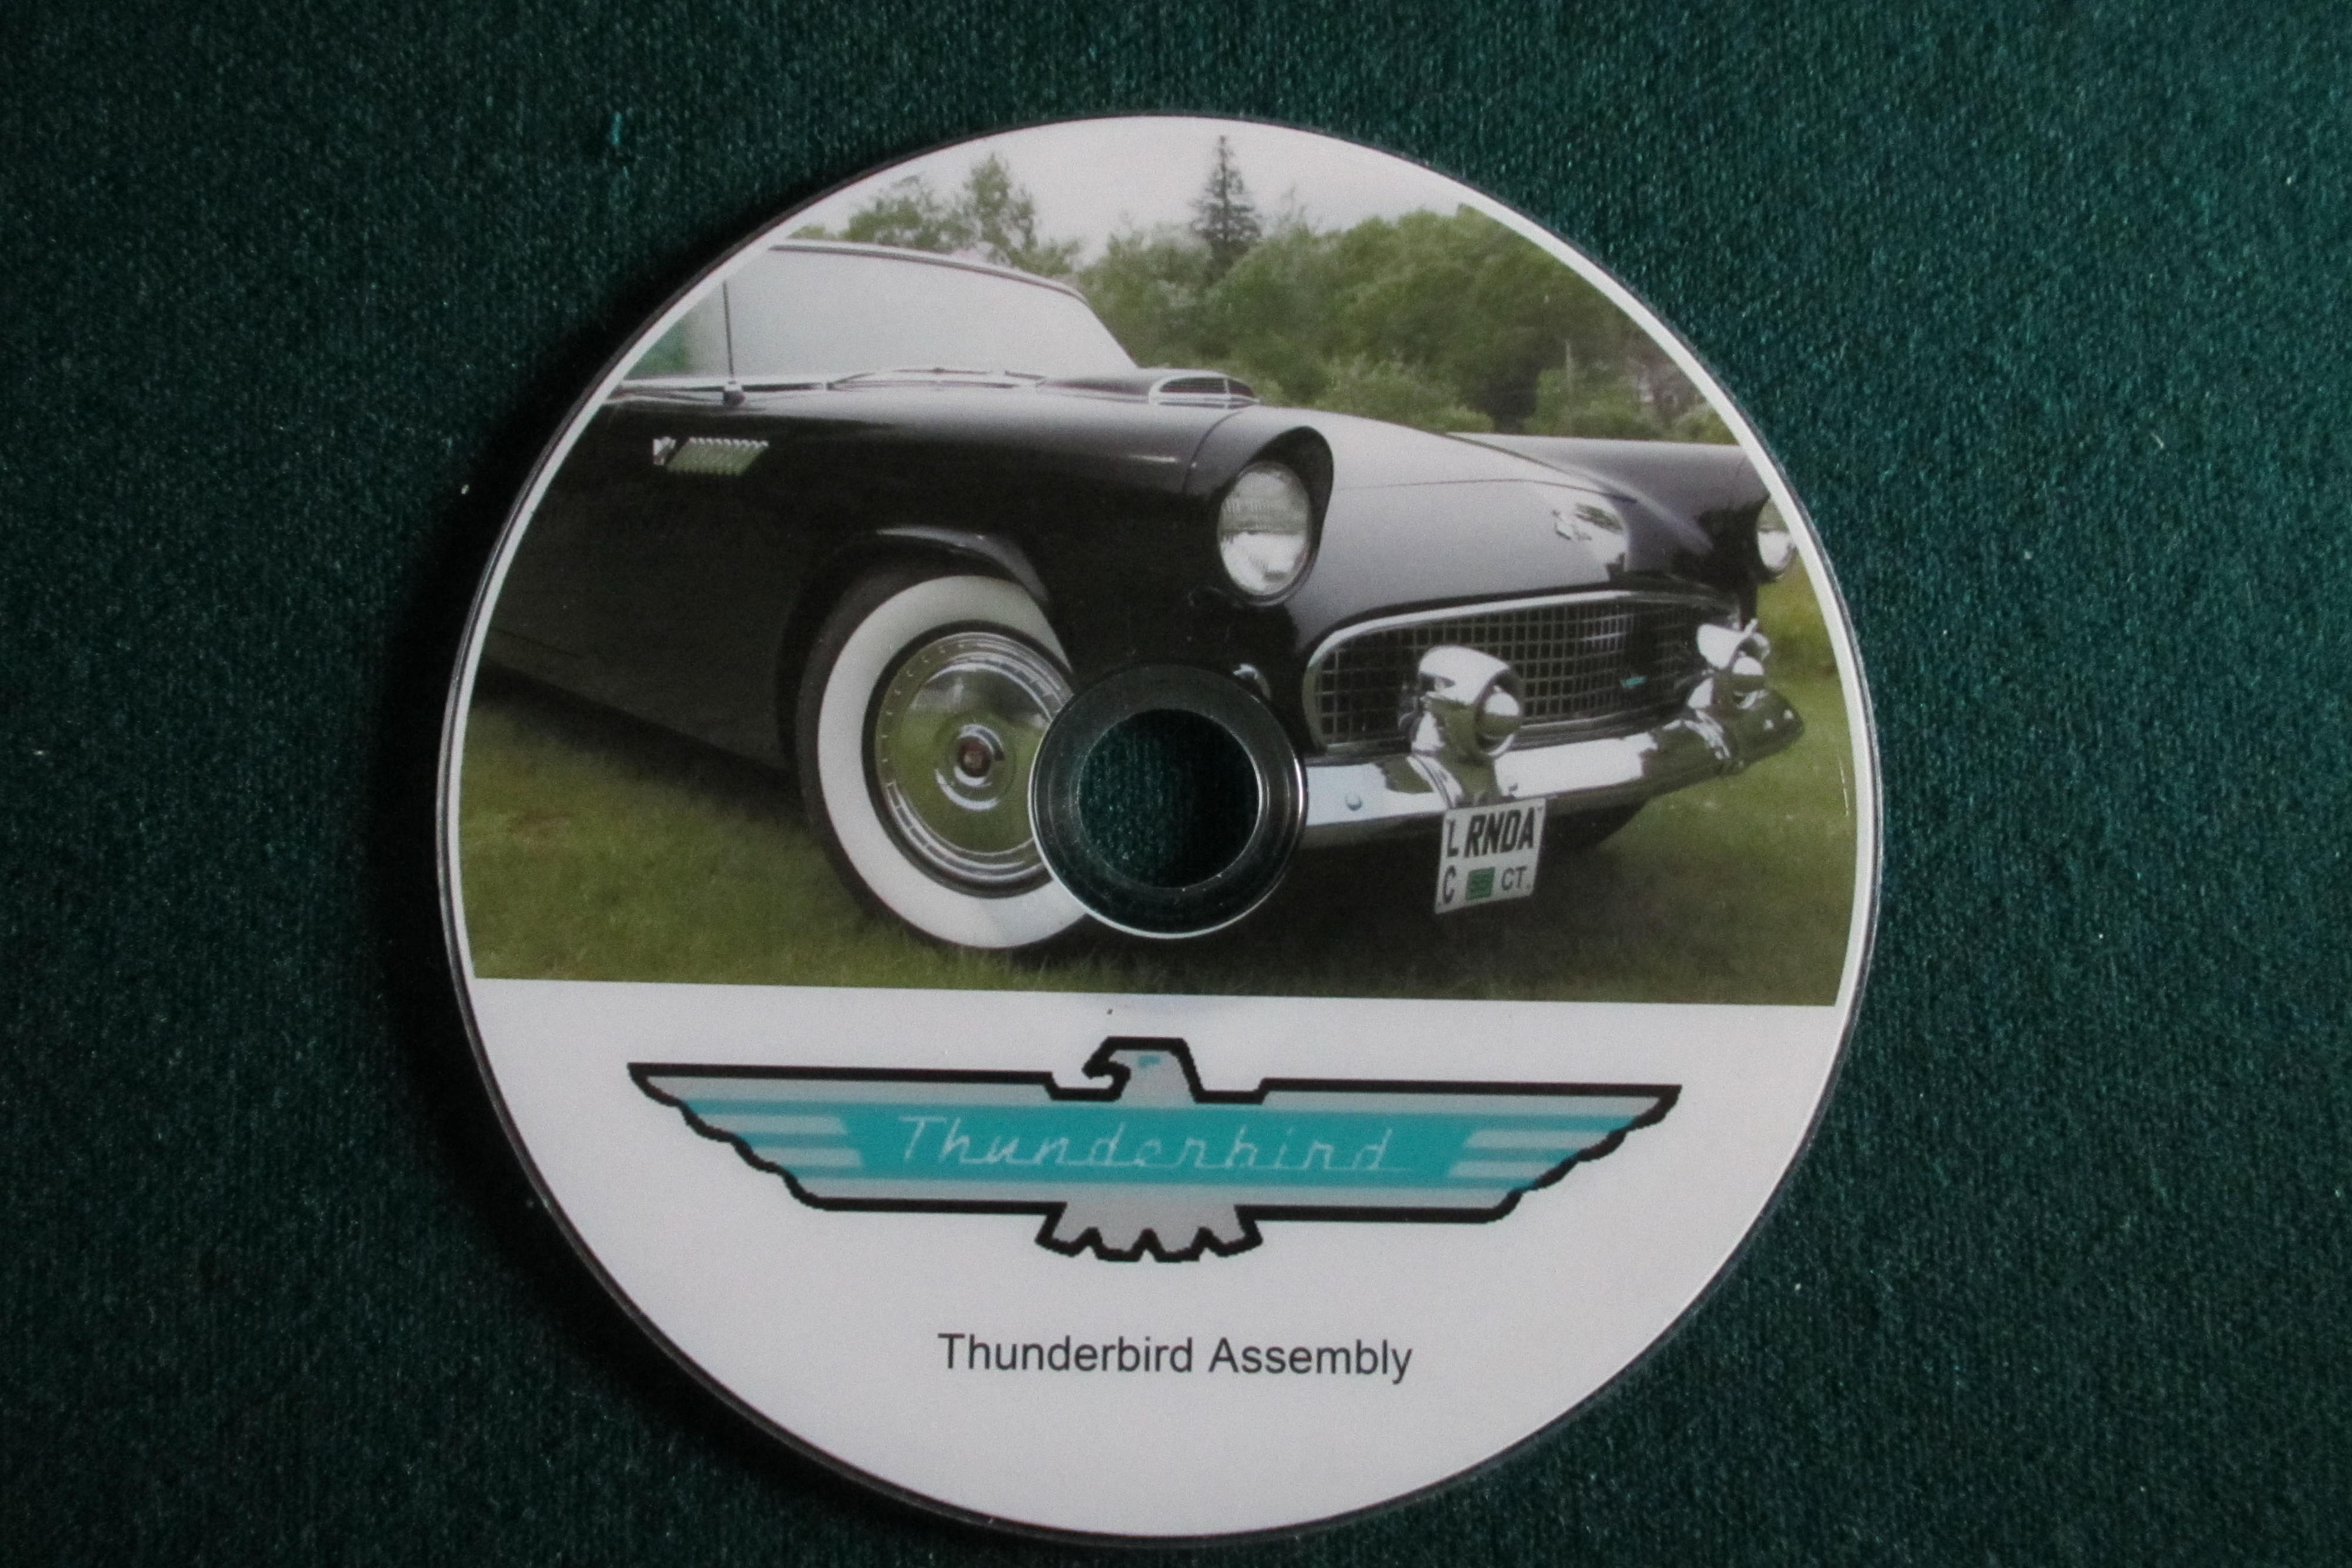
DVD
79/ 89

Granite Paper Weight
80/ 89
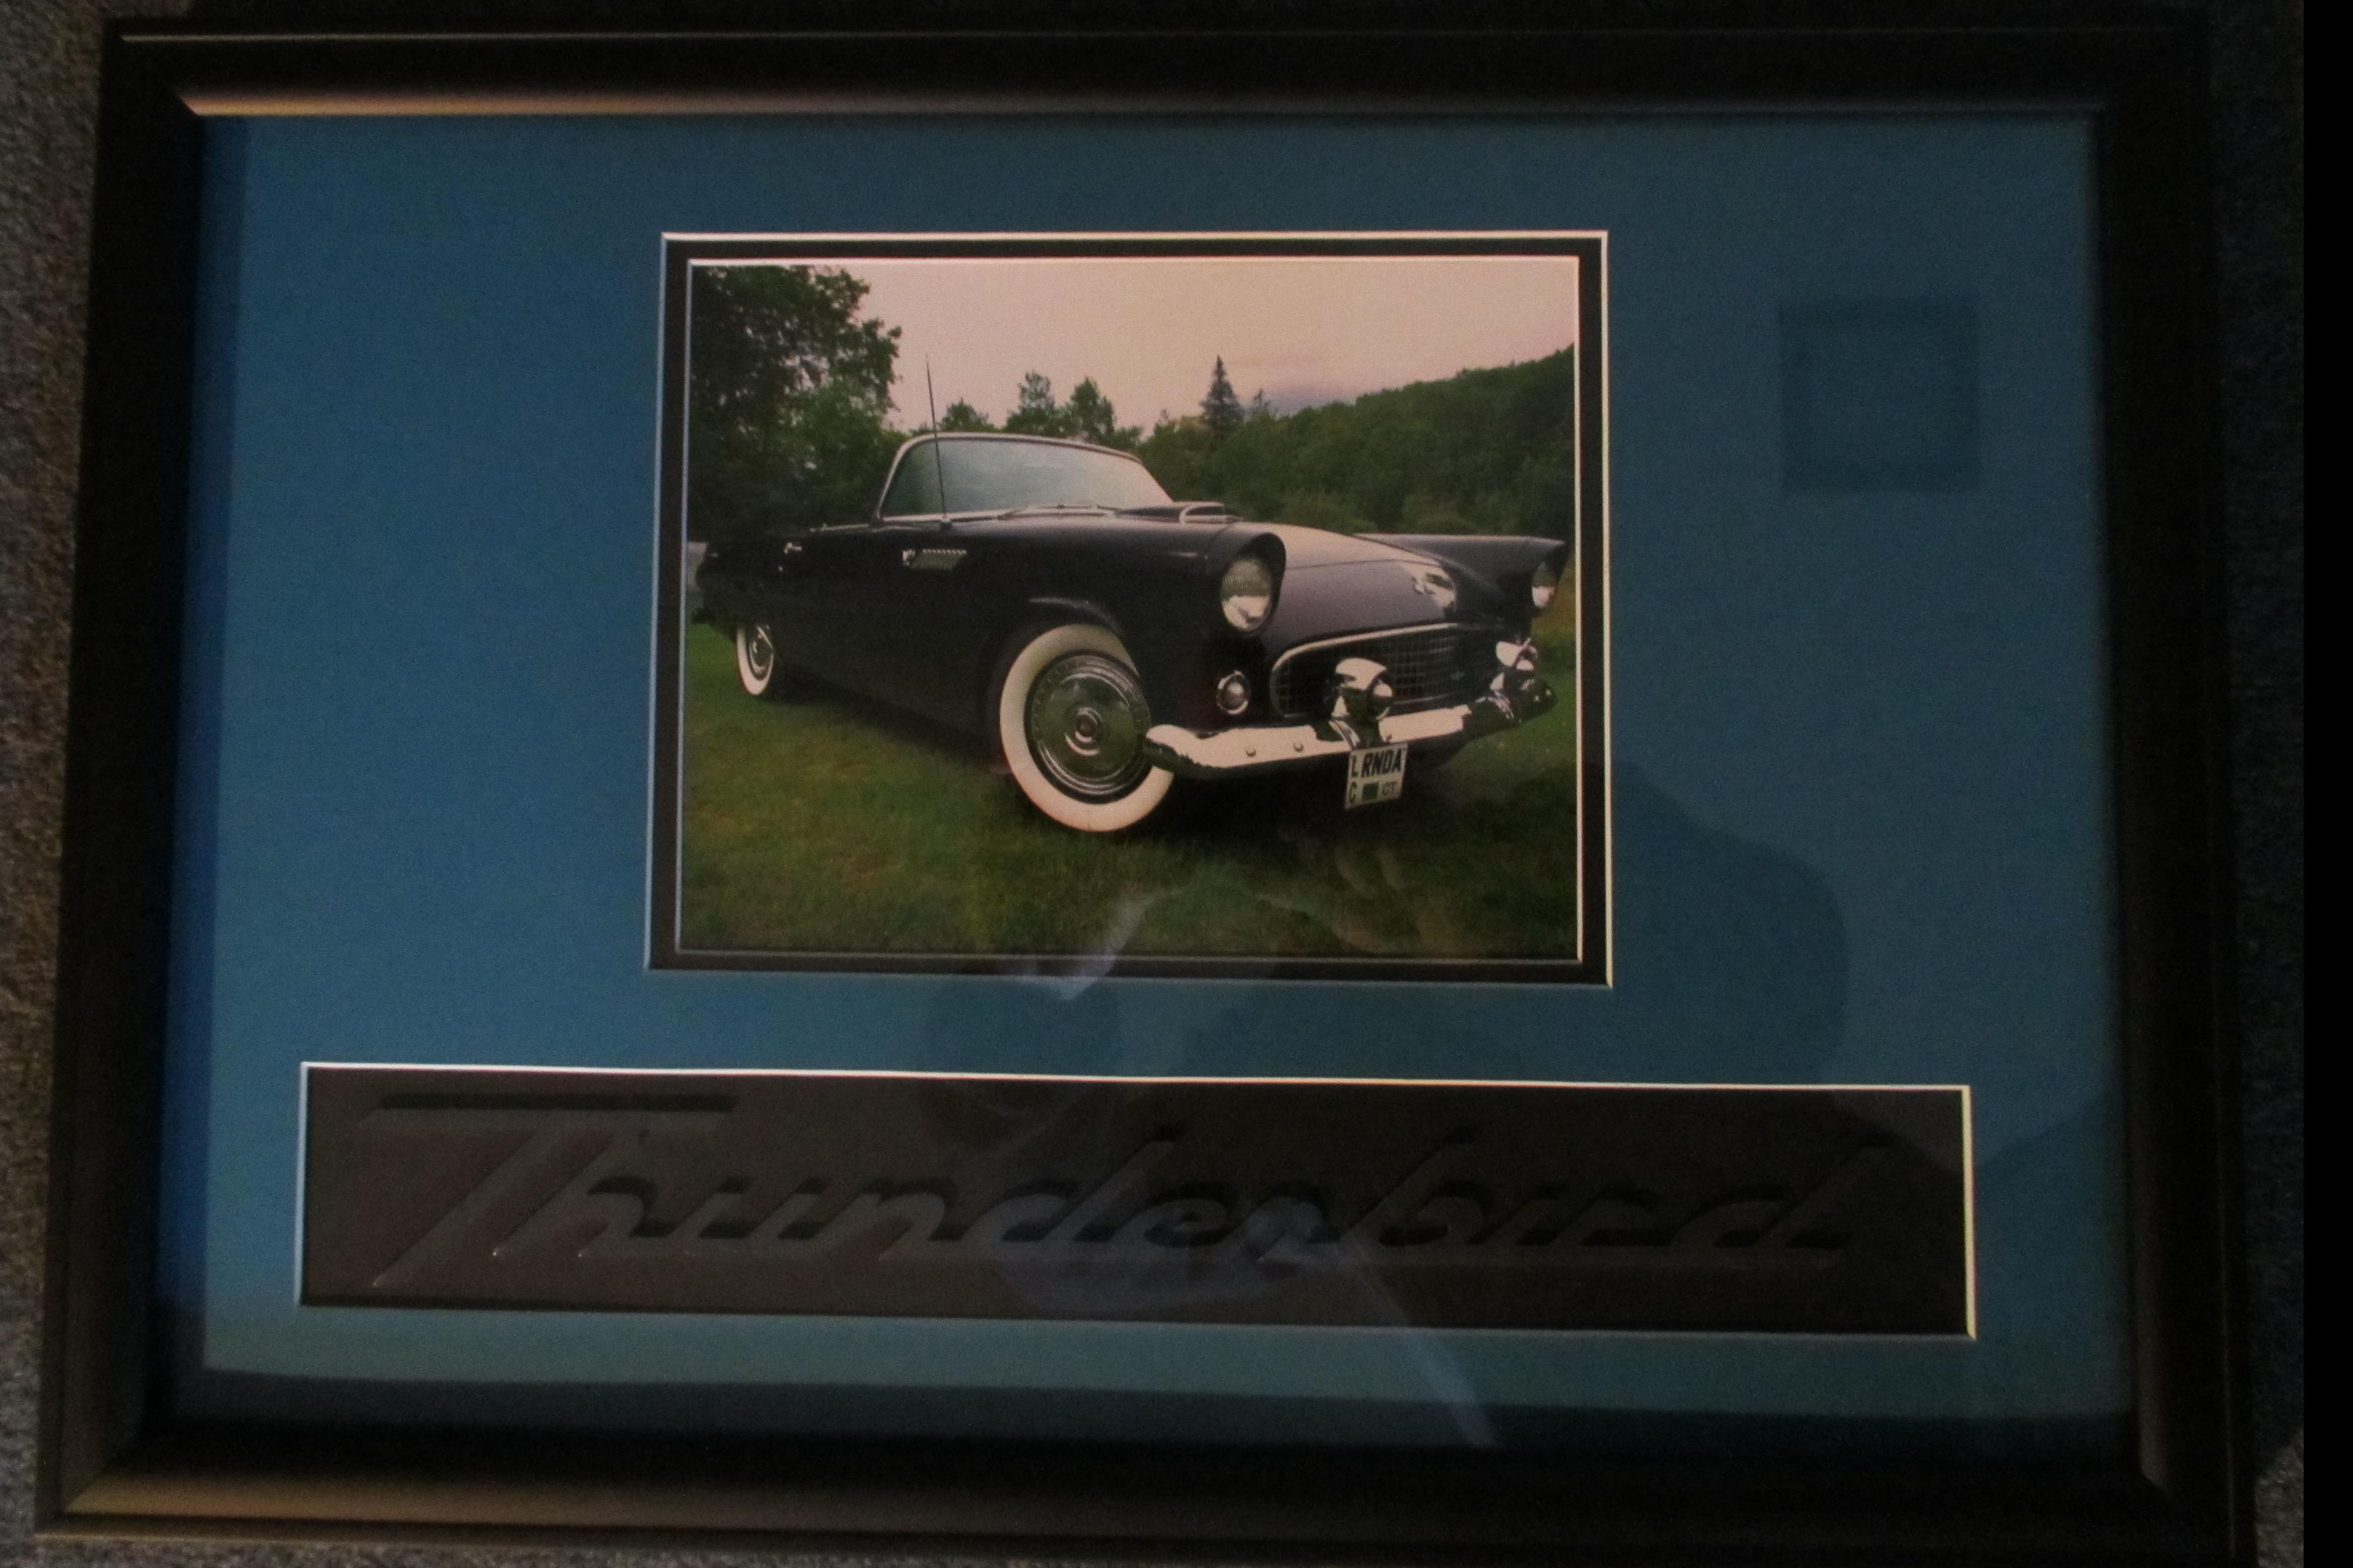
16 x 23 picture with Script
81/ 89
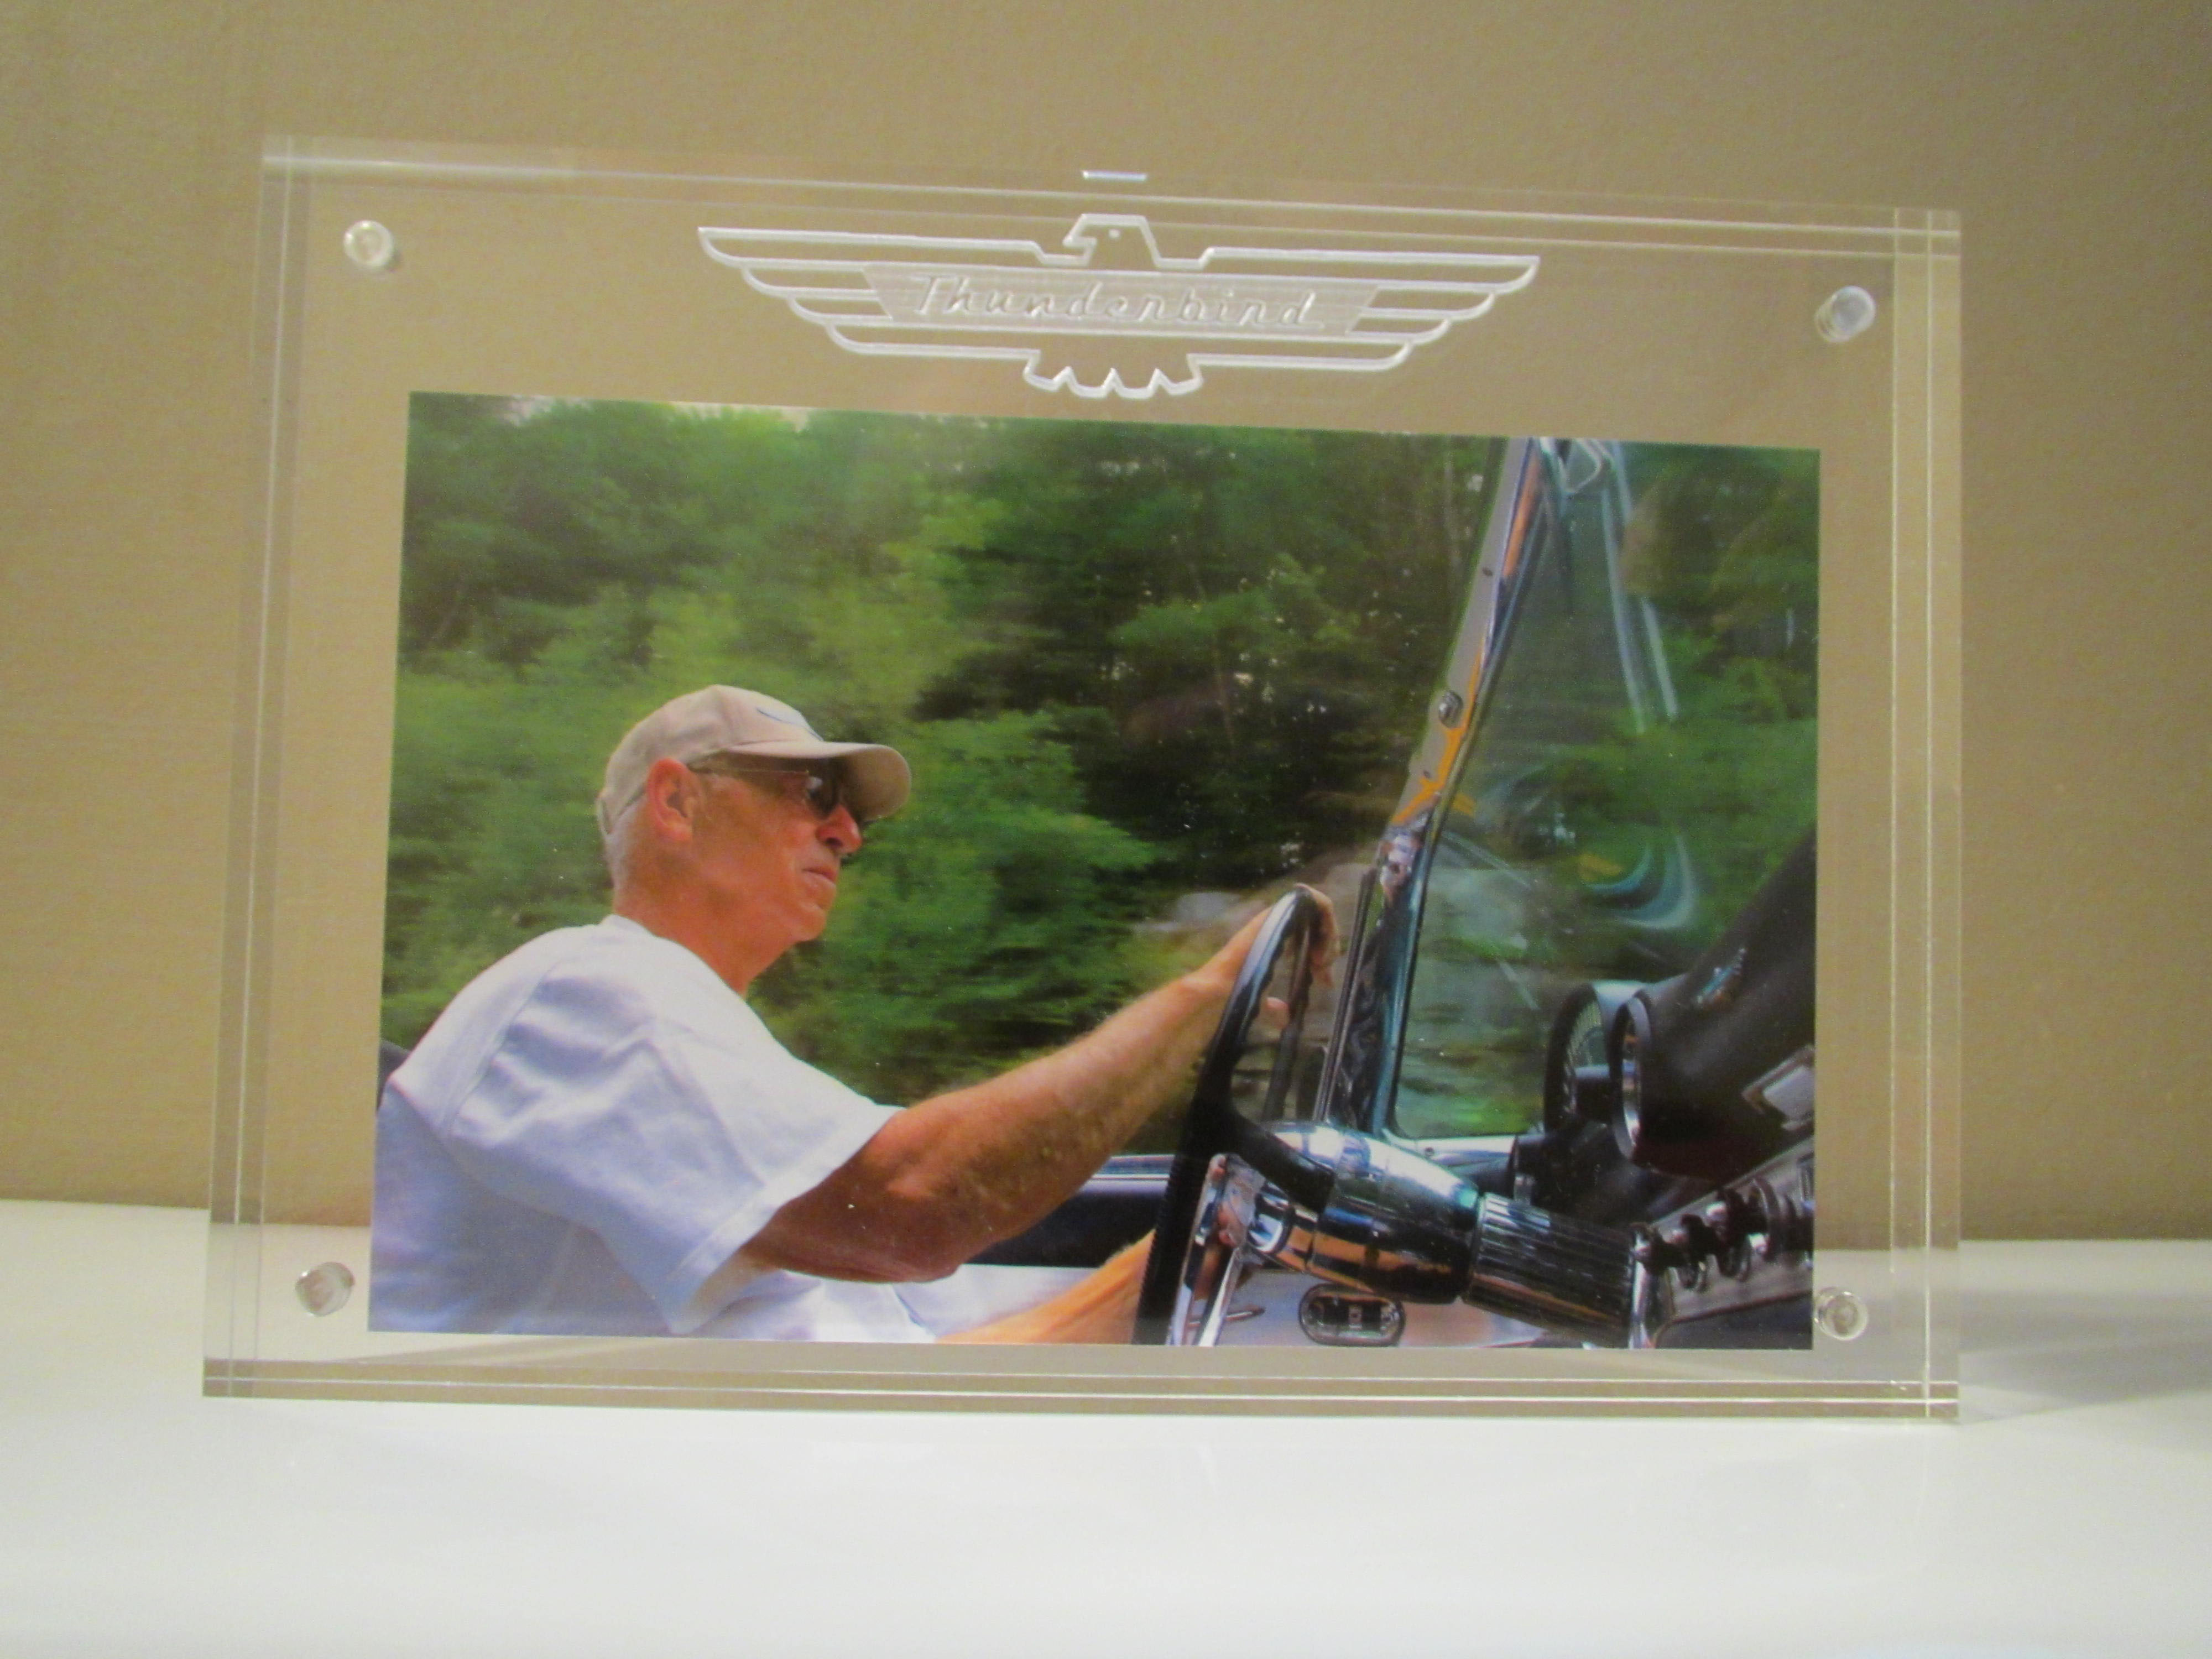
5 x 7 Magnetic Picture Frame
82/ 89

Metal Tag
83/ 89
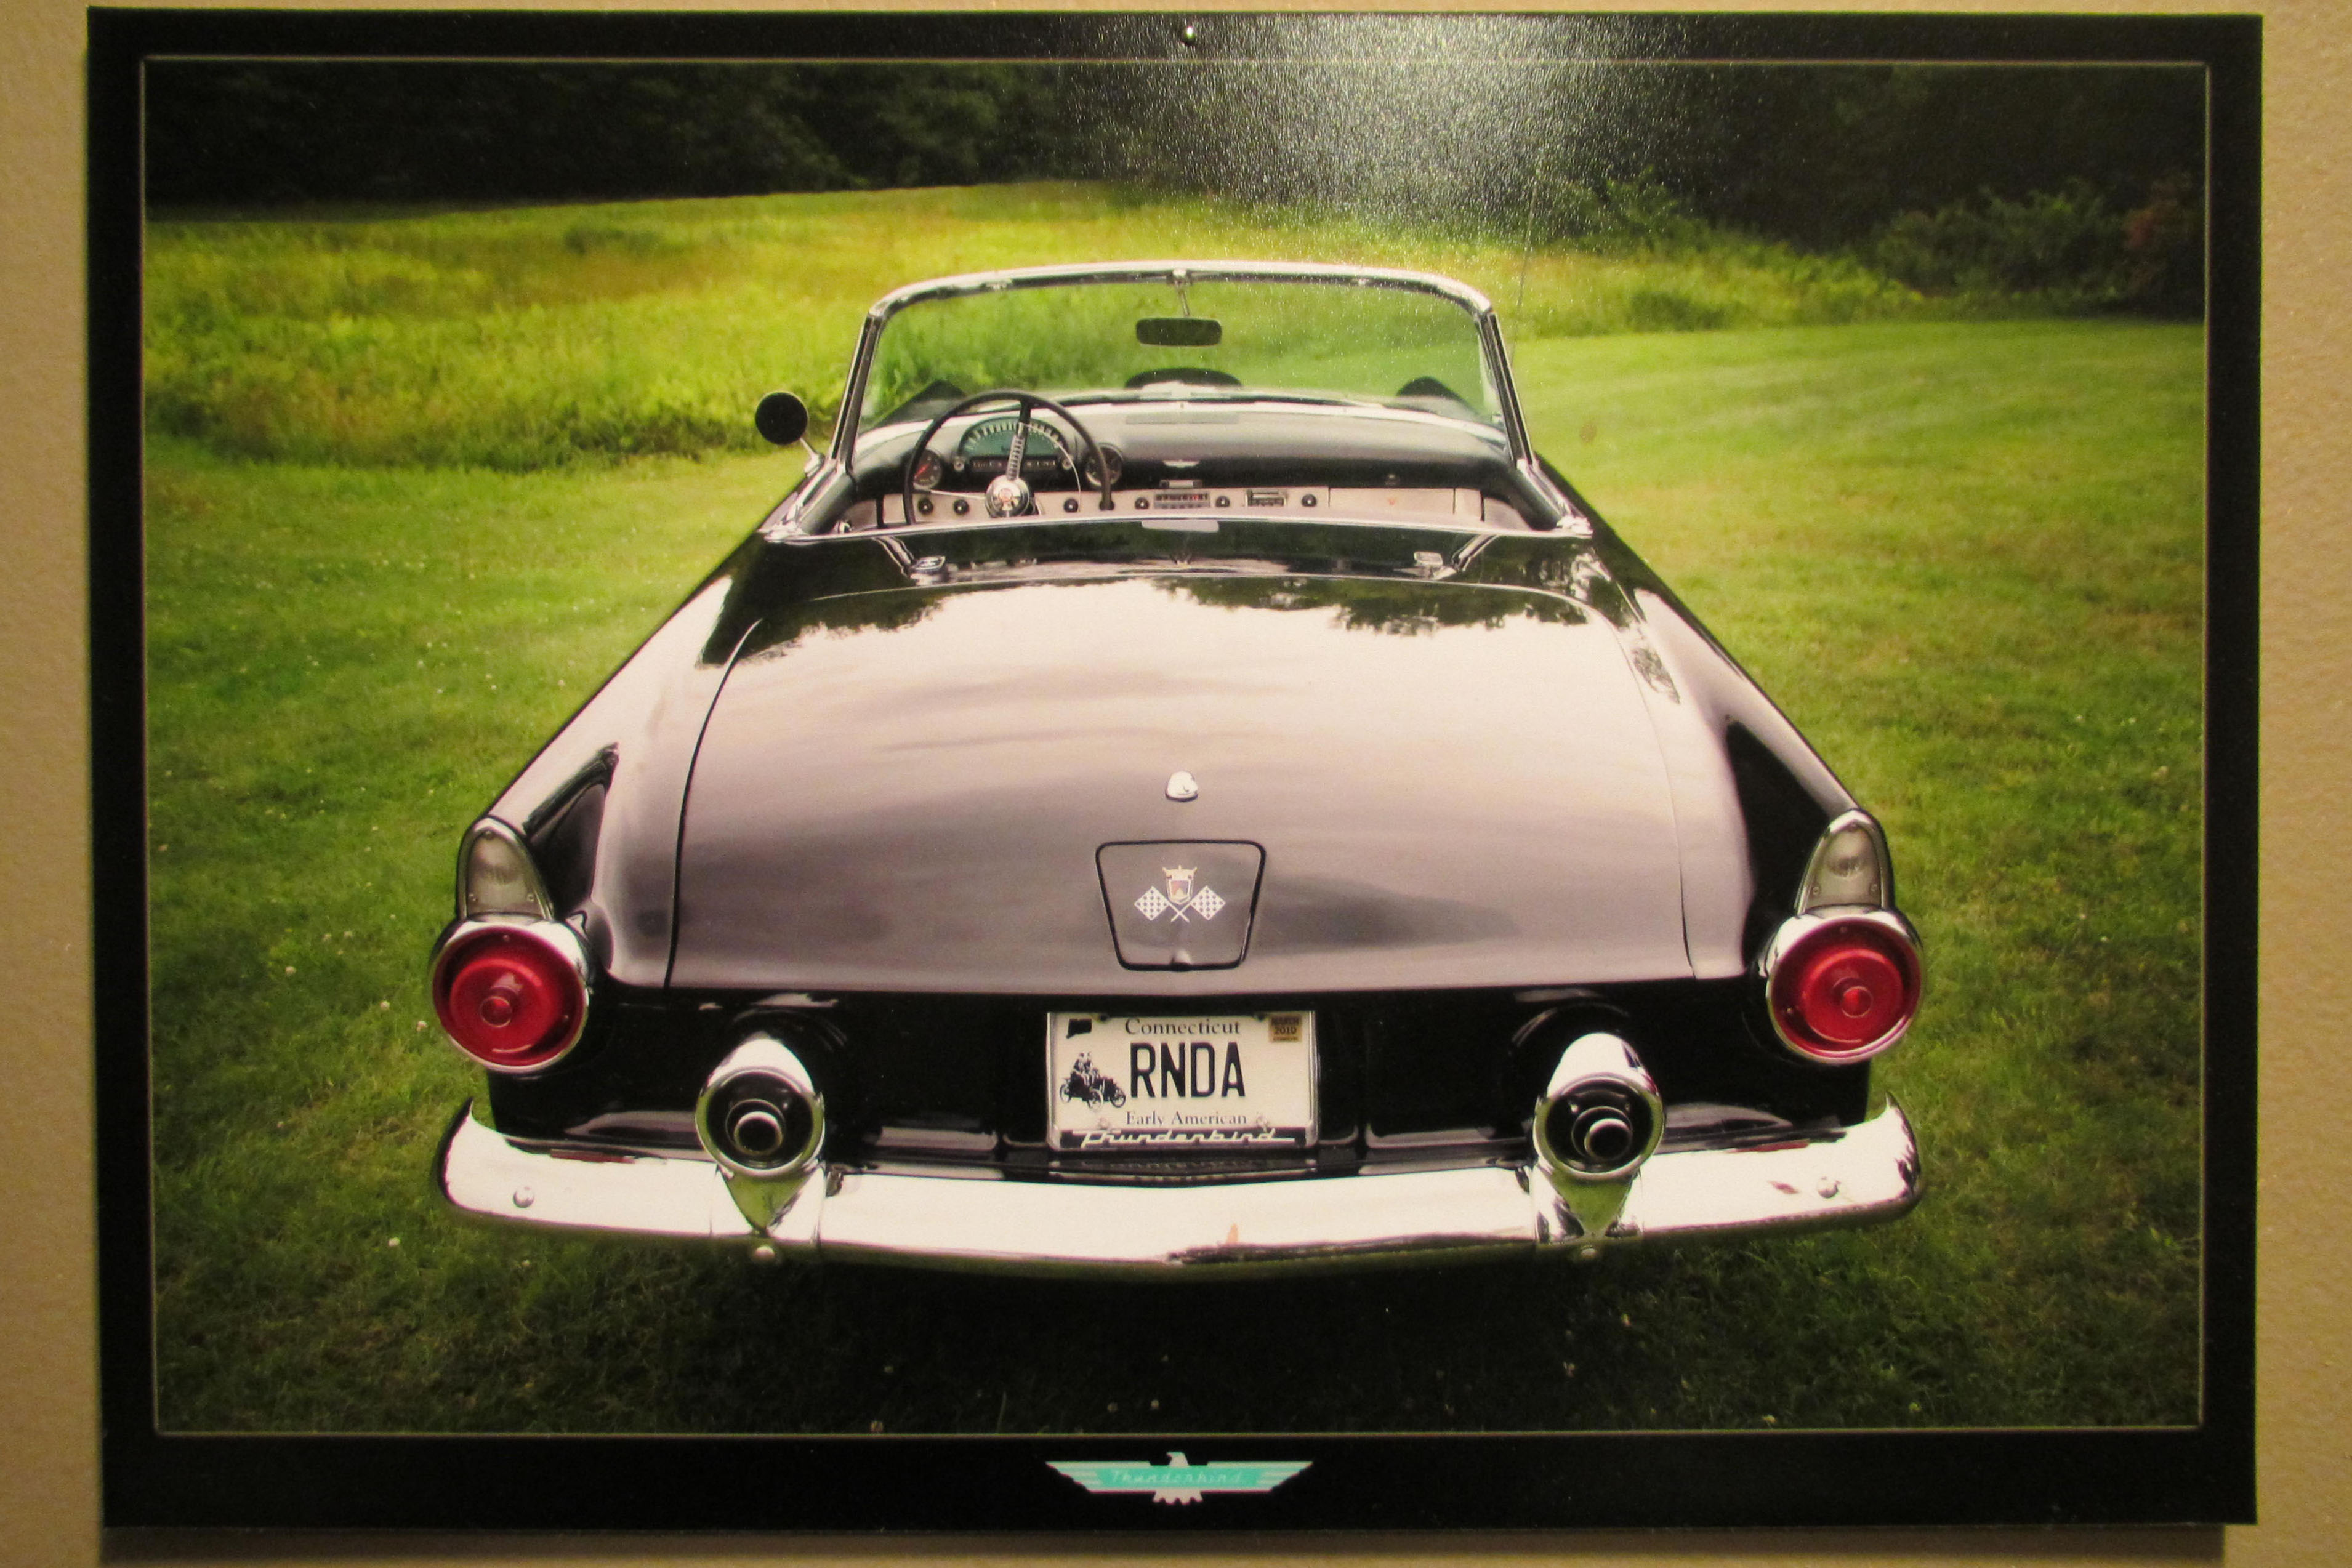
7 x 10 Picture with Logo
84/ 89
Transparent Wood
85/ 89
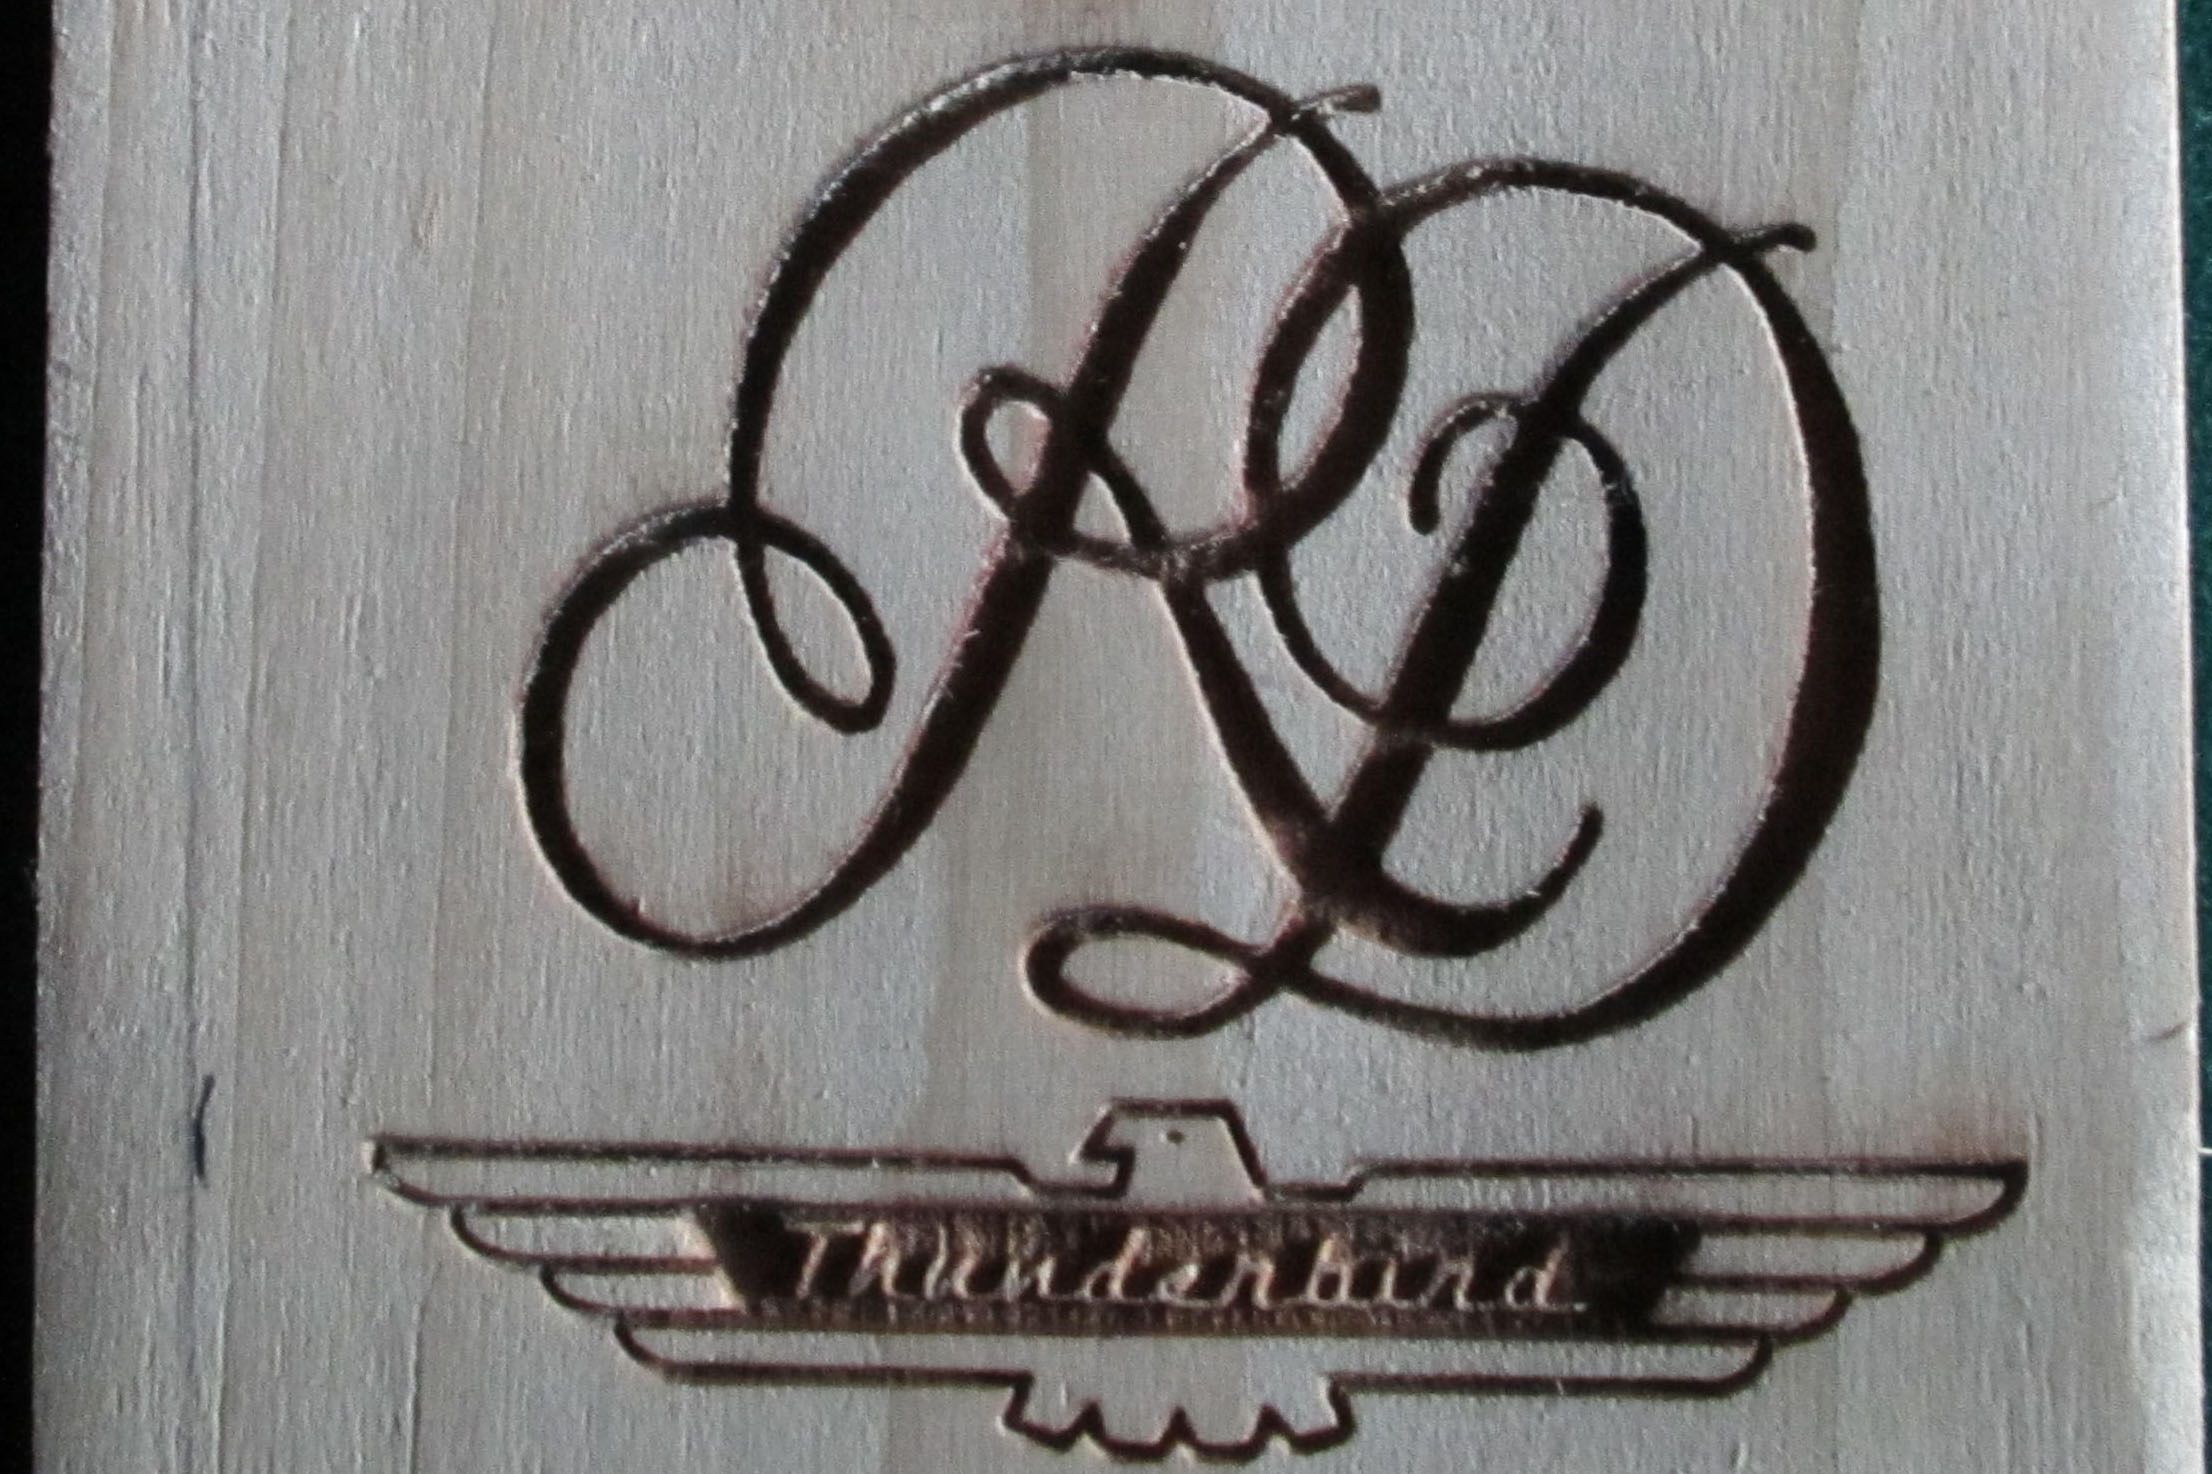
Wood Burning
86/ 89
Mug
87/ 89
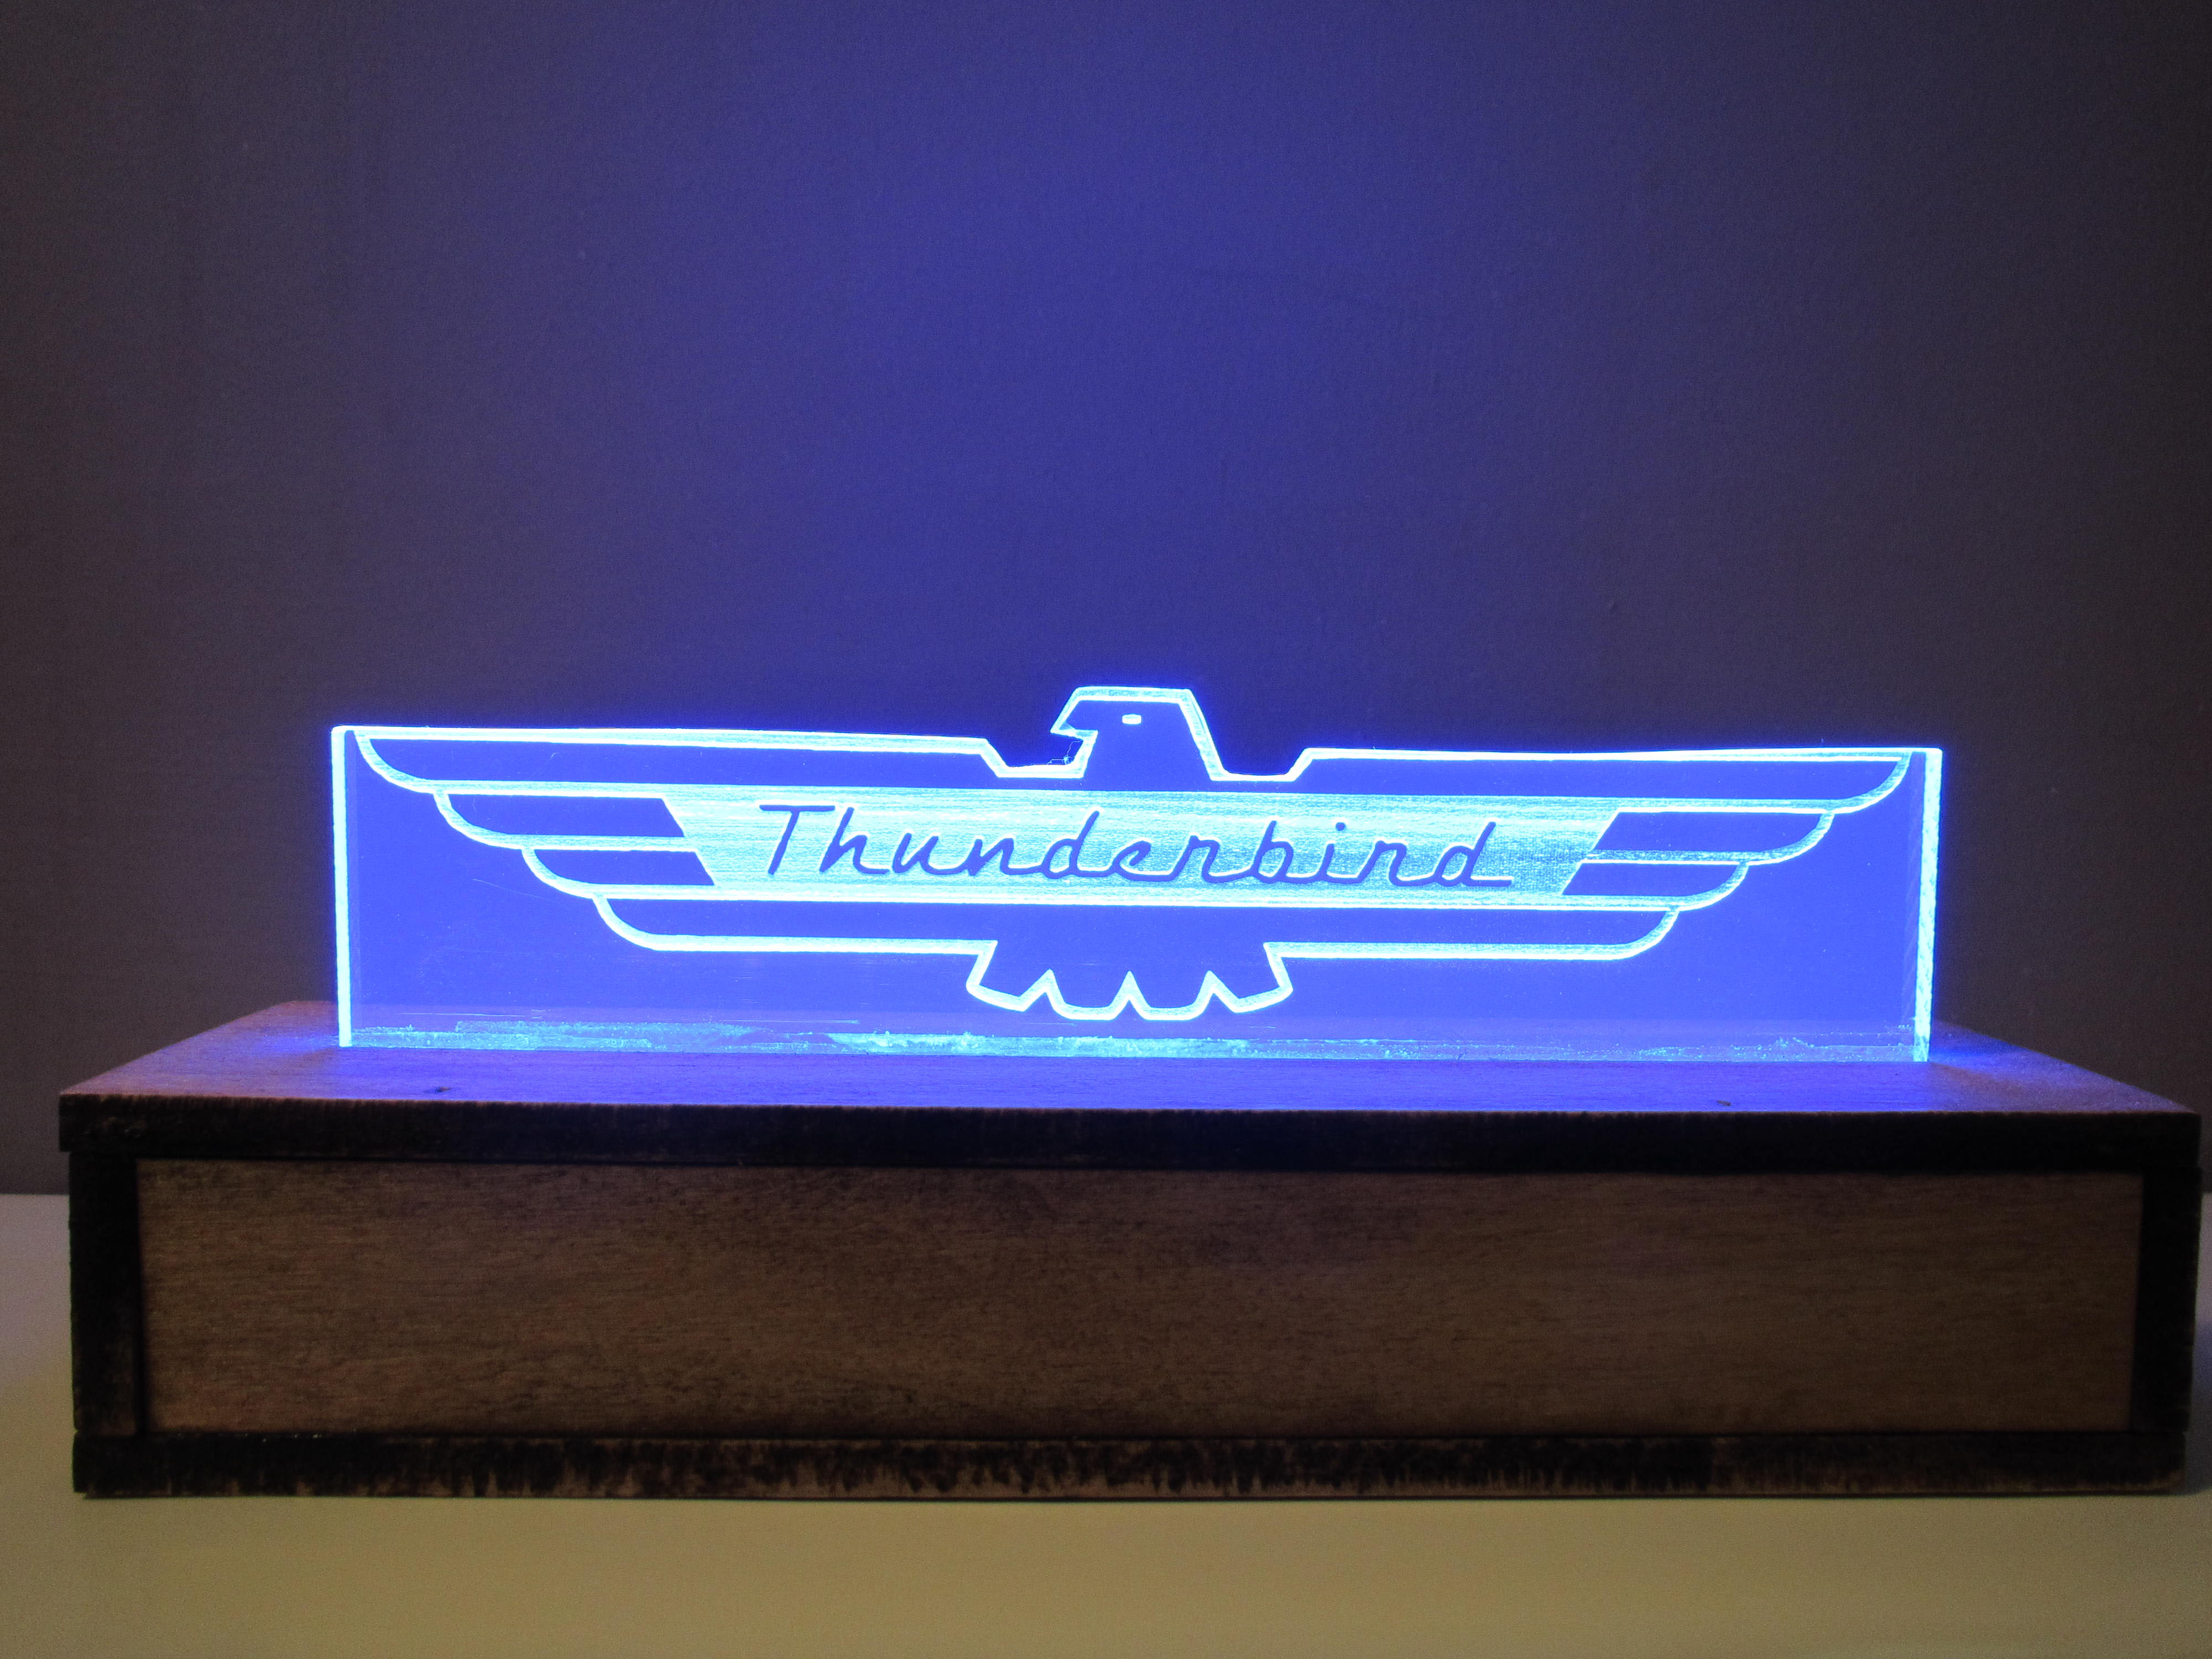
Illuminated Logo
88/ 89

Glass Block
89/ 89

Frame 6.5x8
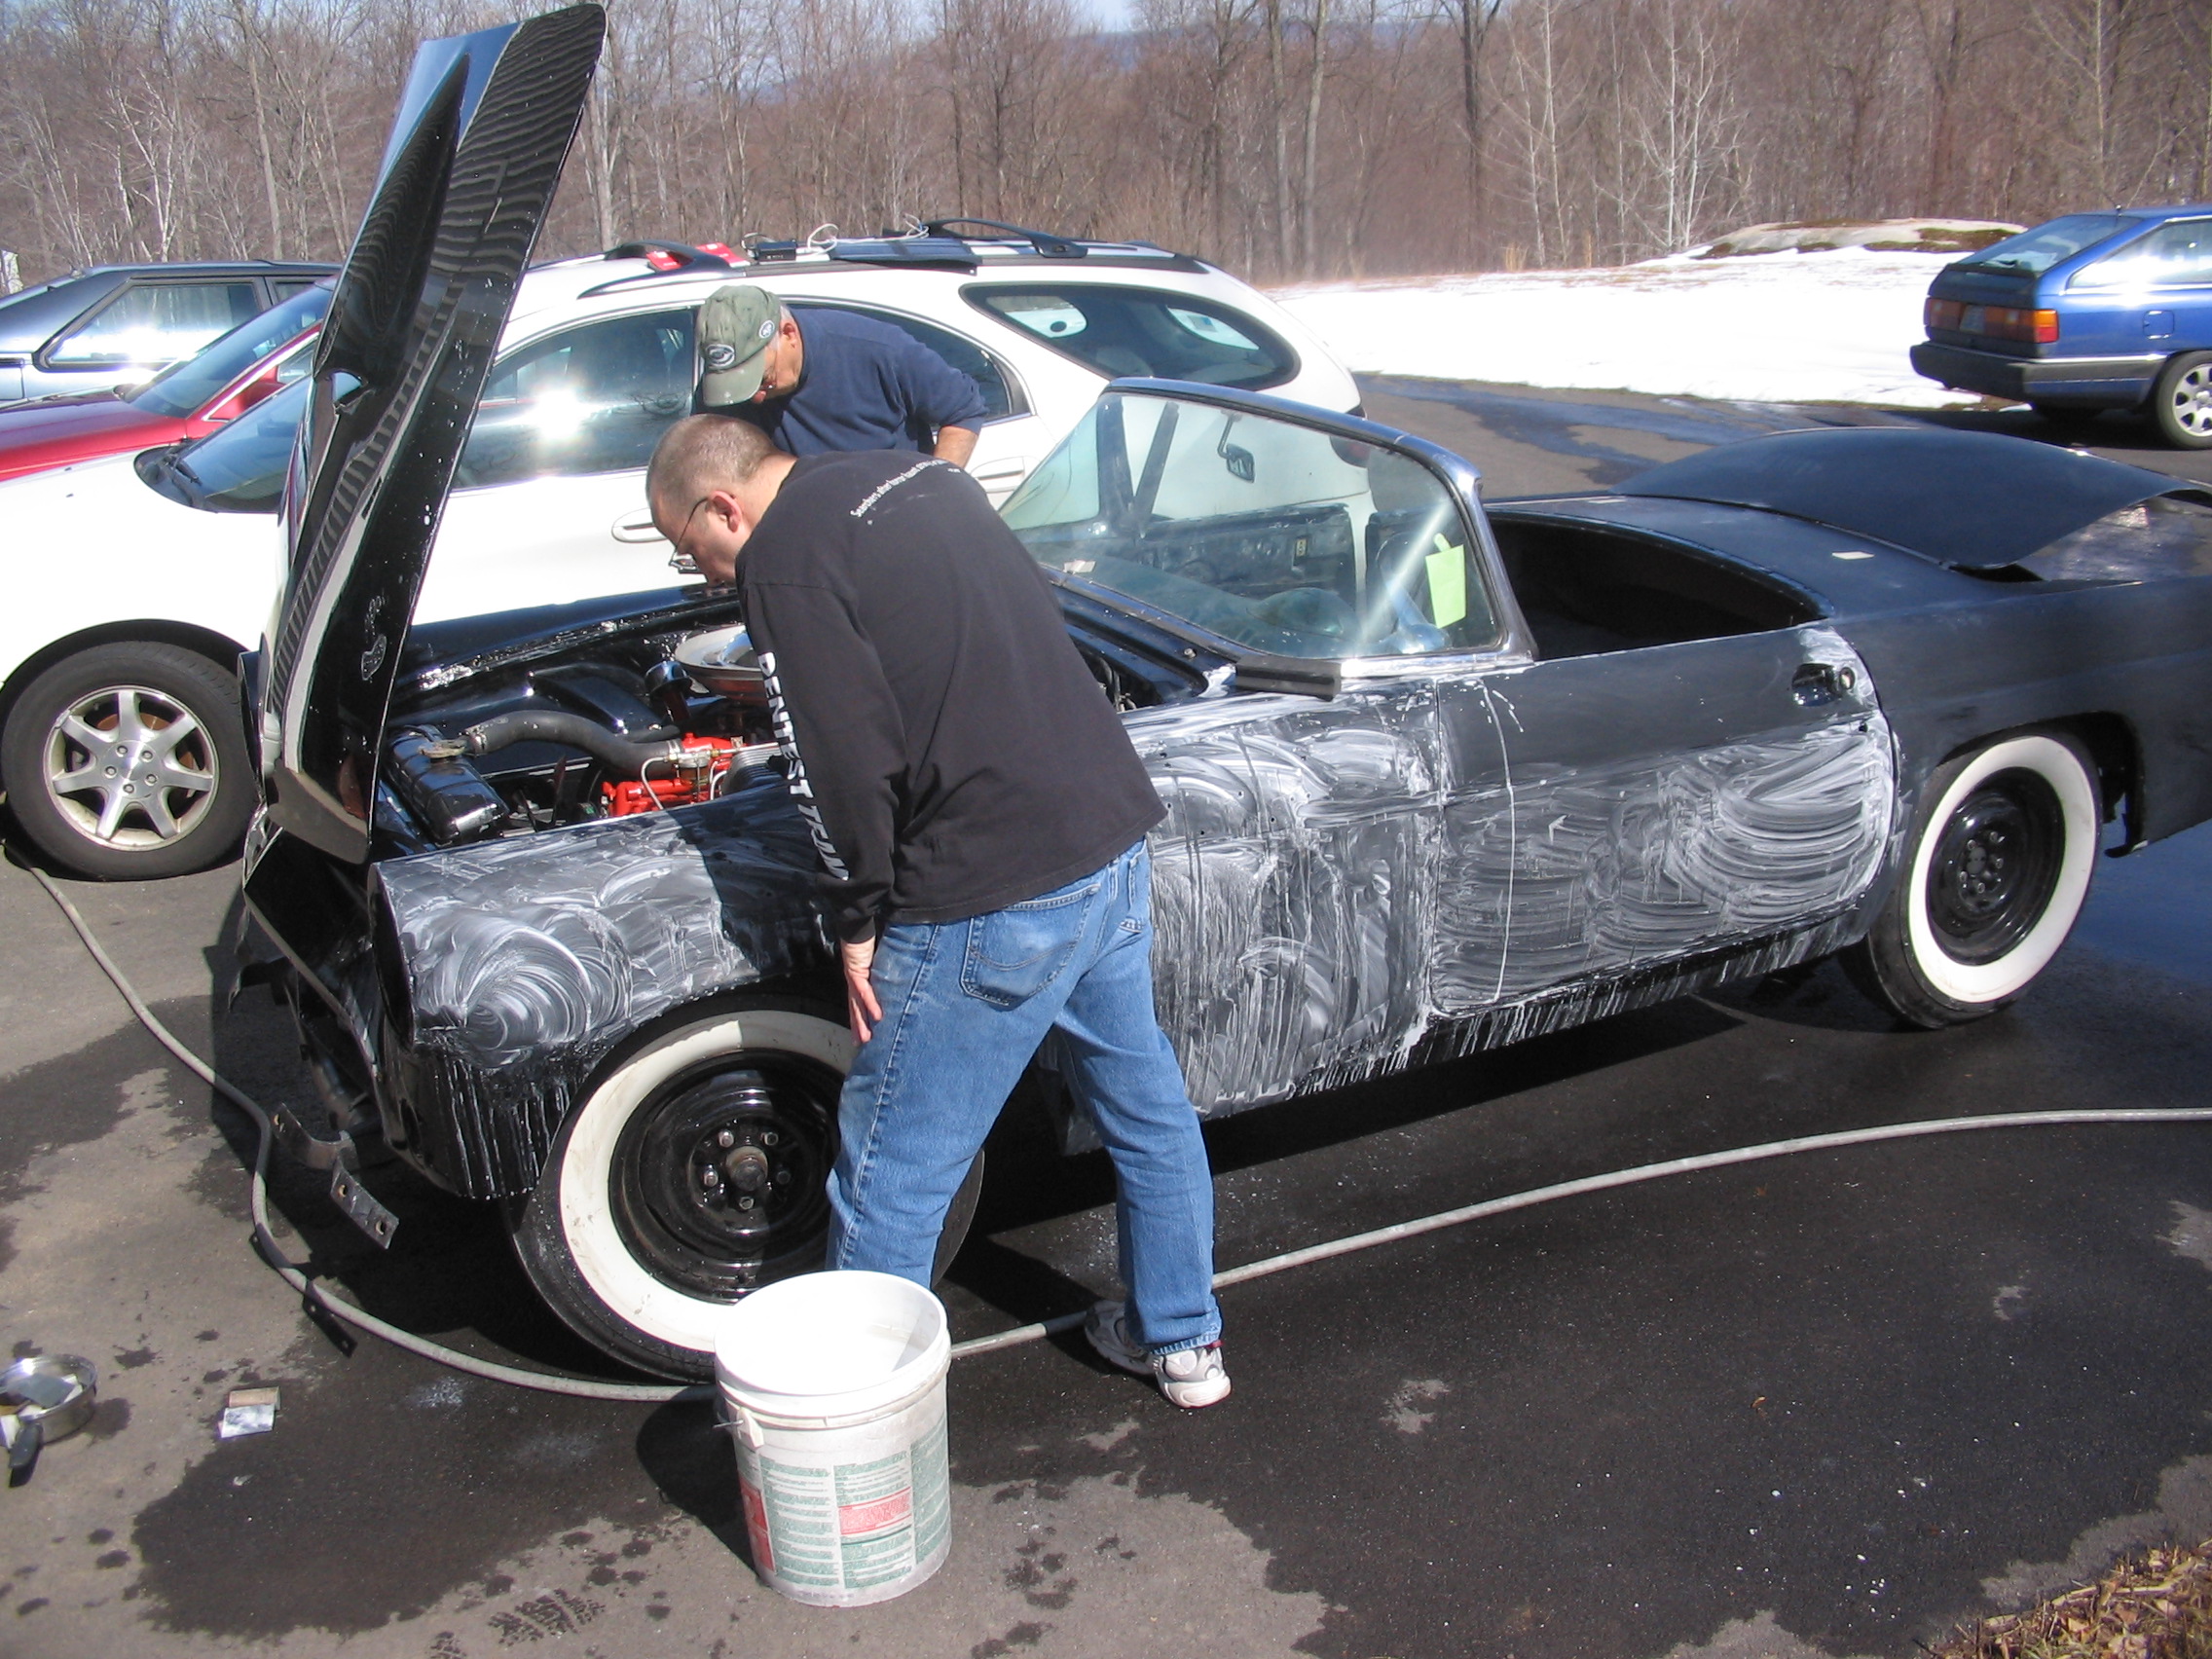
FIRST START
After several months of restoring the car, we finally got the rebuilt engine installed. This is how it went:
--------------------------------------------------------------------------
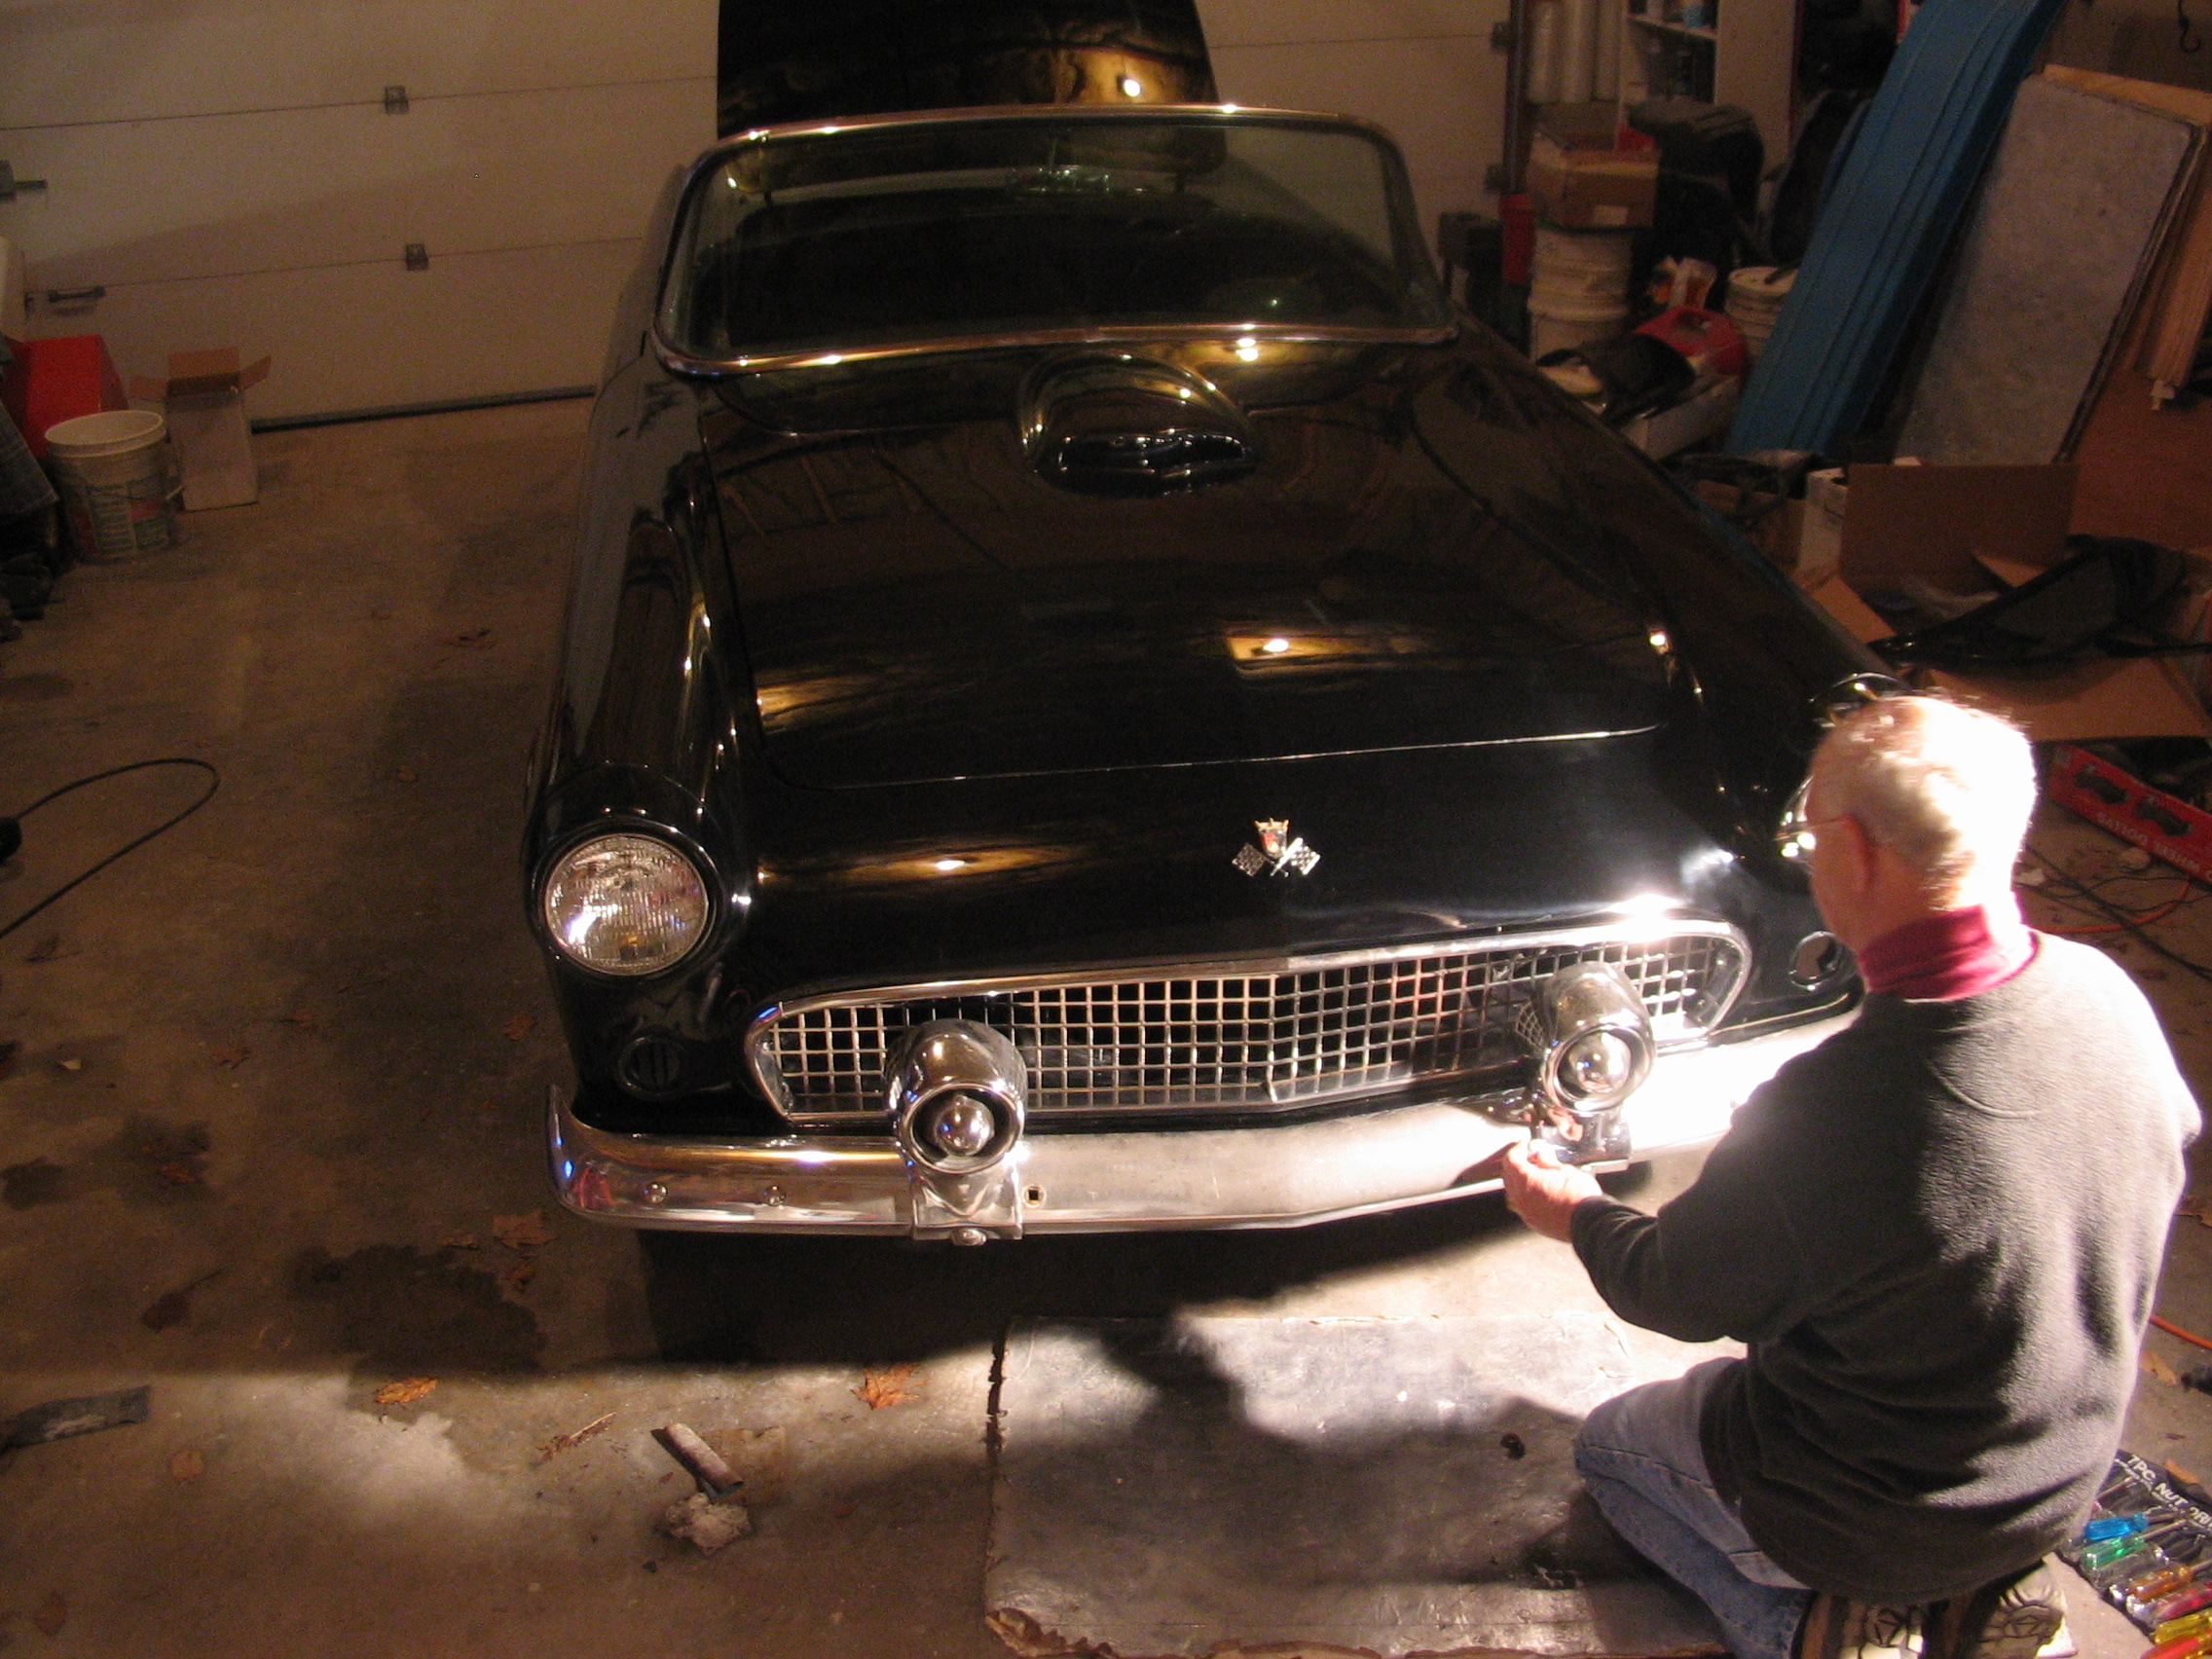
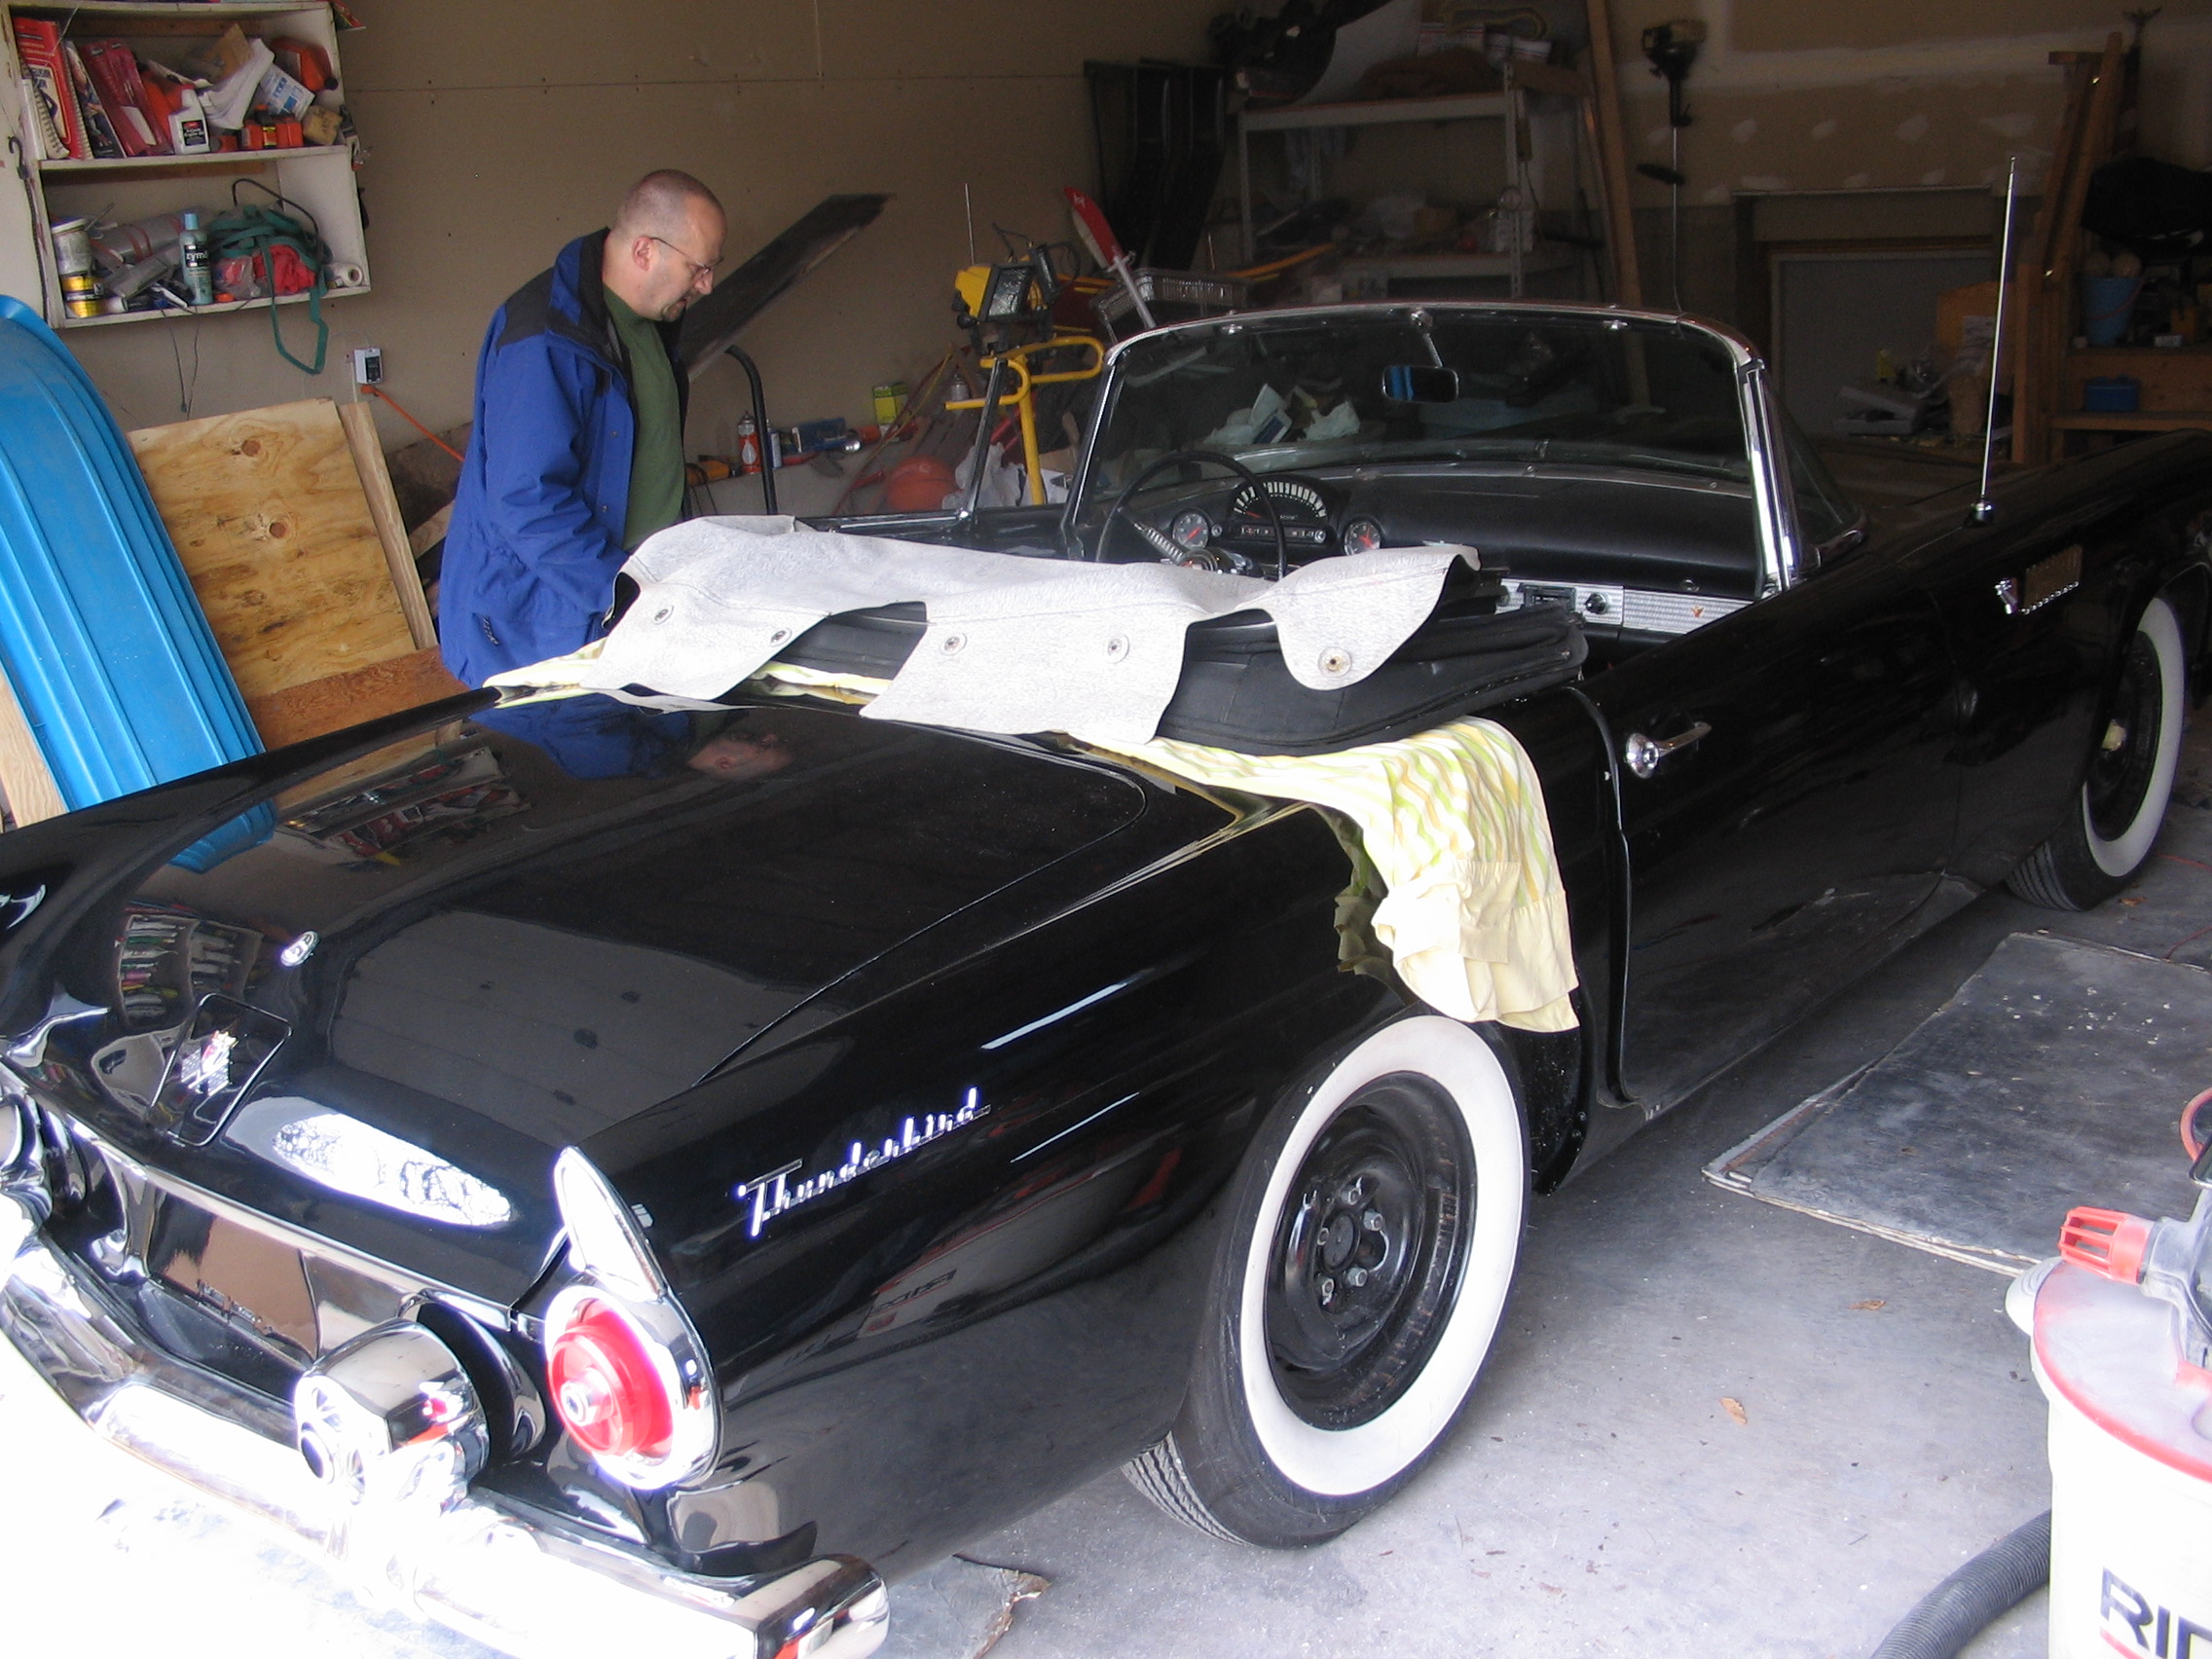
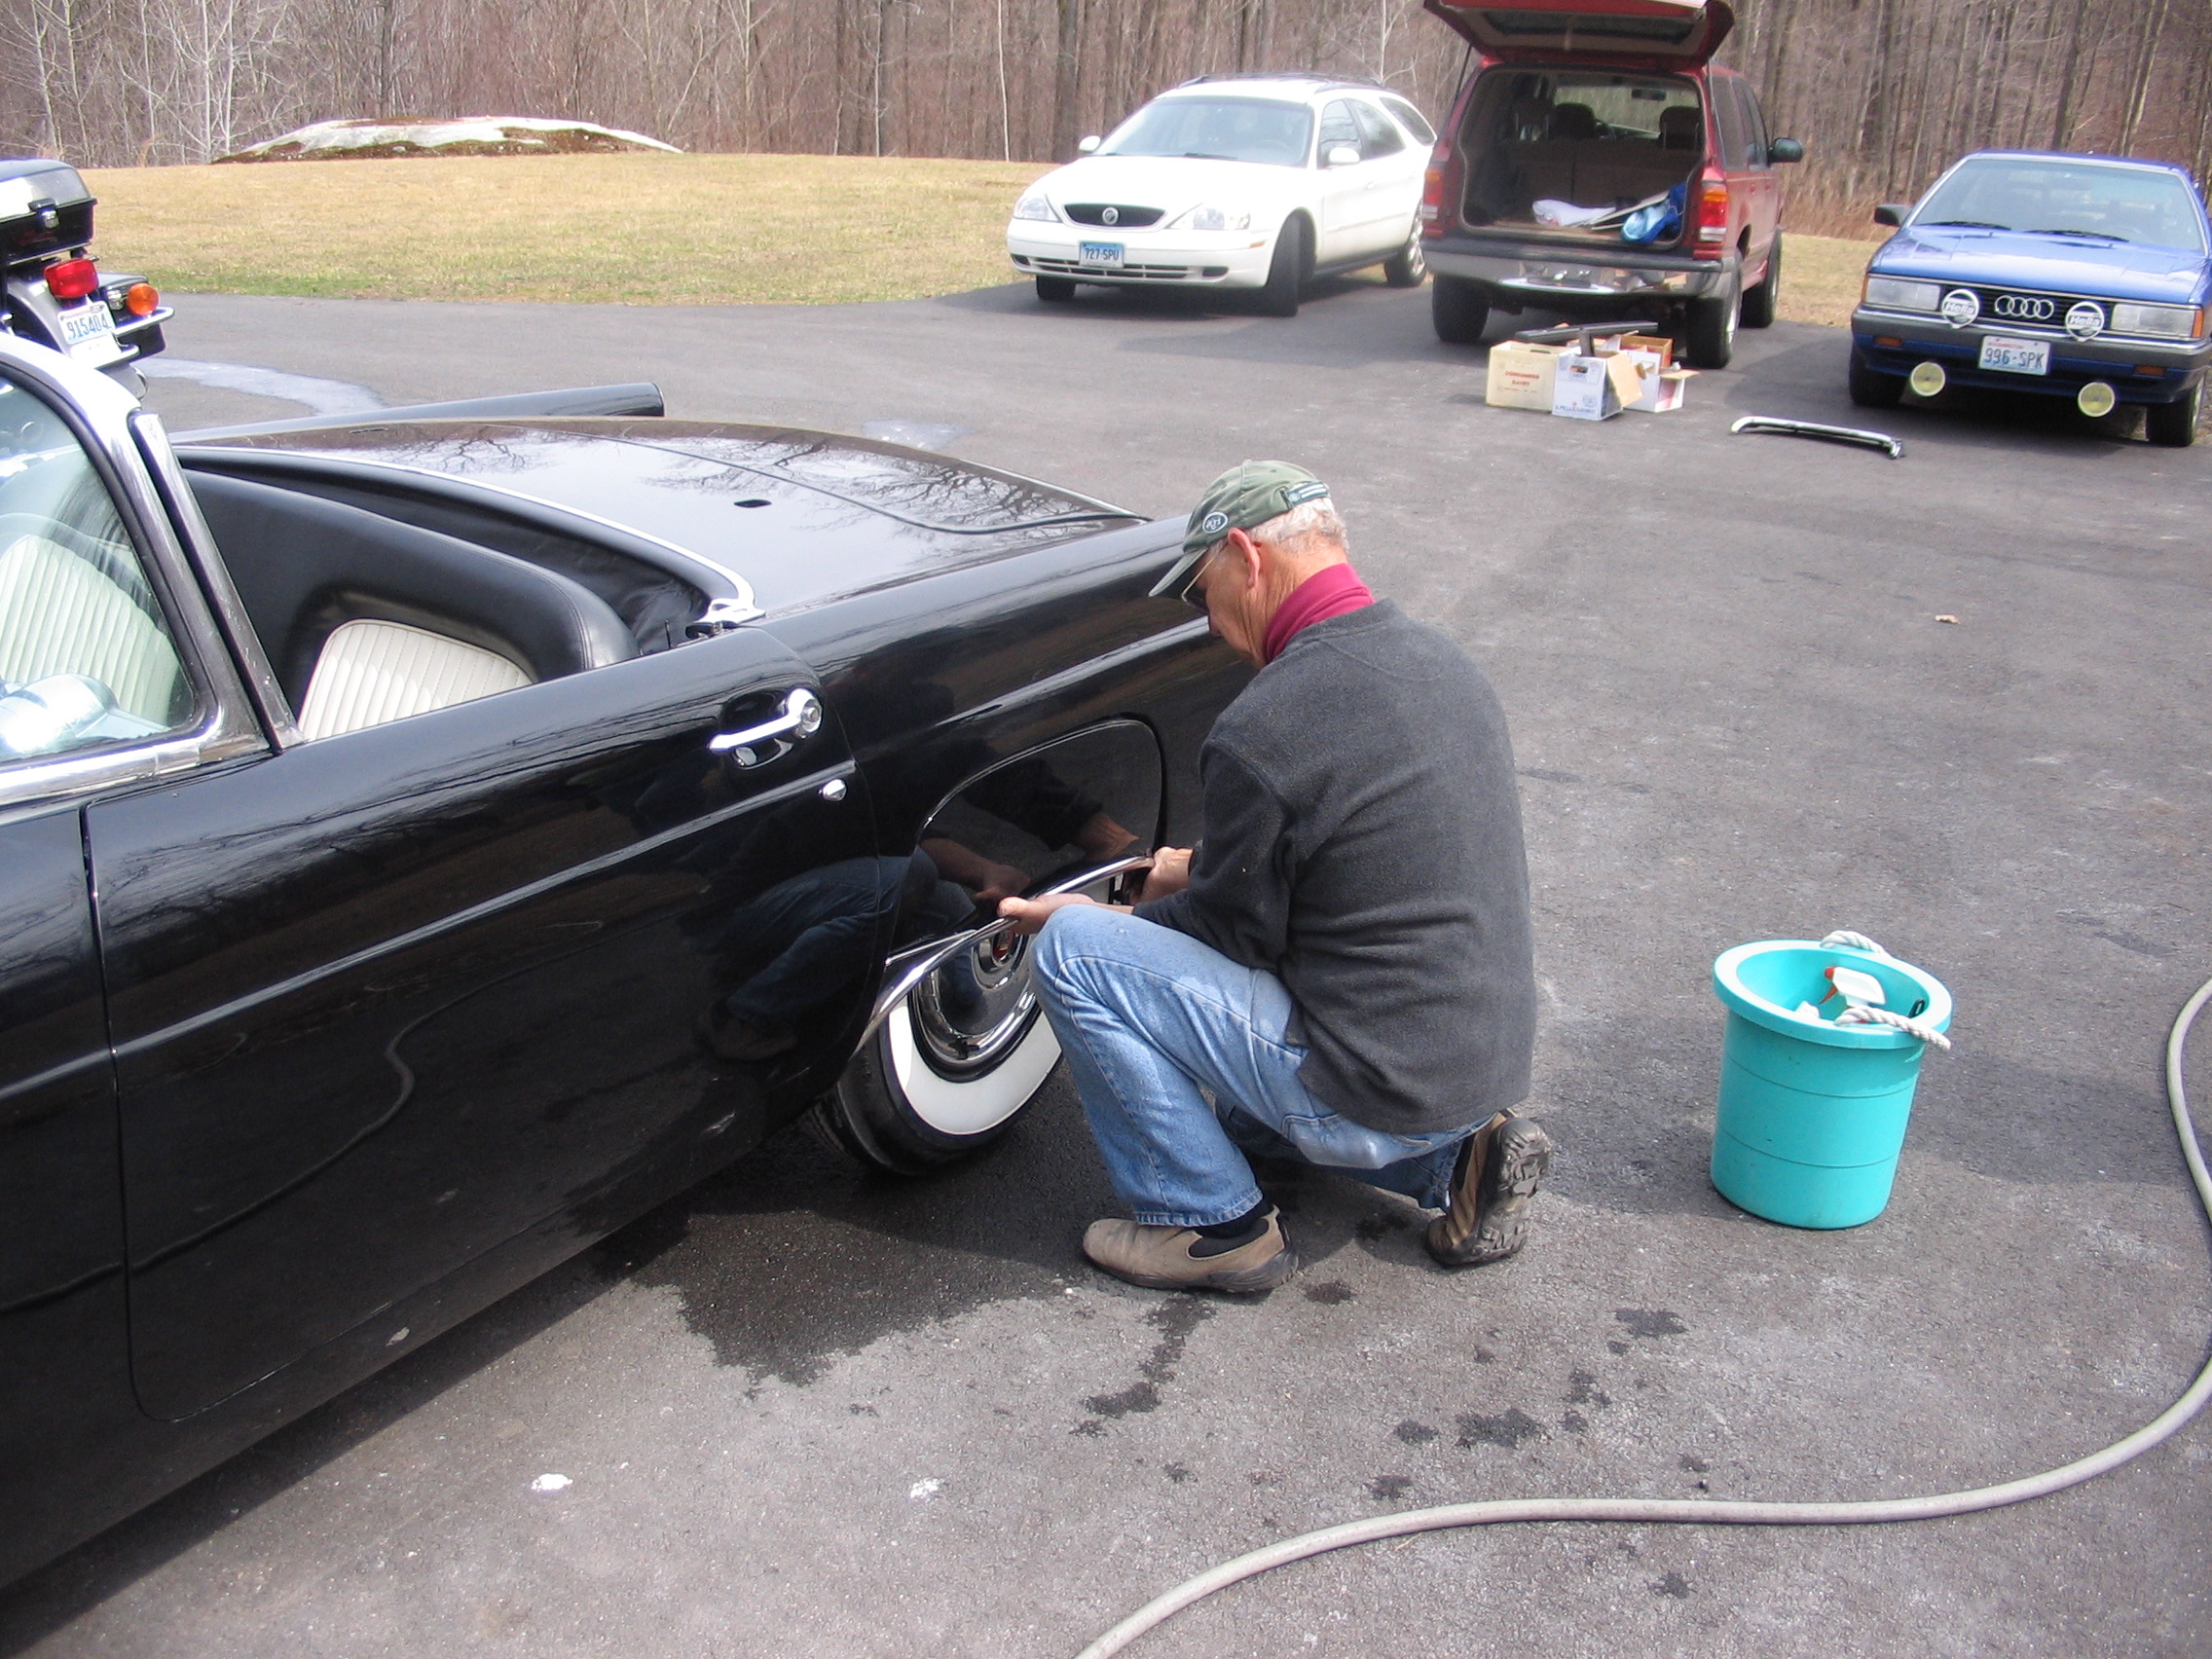
How It All Came Together
Doing the work
Click here to read about Doing the work
--------------------------------------------------------------------------
Replacing the wiring harness
--------------------------------------------------------------------------
Other Projects

Special thanks to Francesco and Bob II for organizing and editing this website
FIRST START
After several months of restoring the car, we finally got the rebuilt engine installed. This is how it went:
--------------------------------------------------------------------------
How It All Came Together
Doing the work
Click here to read about Doing the work
--------------------------------------------------------------------------
Replacing the wiring harness
--------------------------------------------------------------------------
Other Projects
Special thanks to Francesco and Bob II for organizing and editing this website
After several months of restoring the car, we finally got the rebuilt engine installed. This is how it went:
--------------------------------------------------------------------------
How It All Came Together
--------------------------------------------------------------------------
Other Projects